
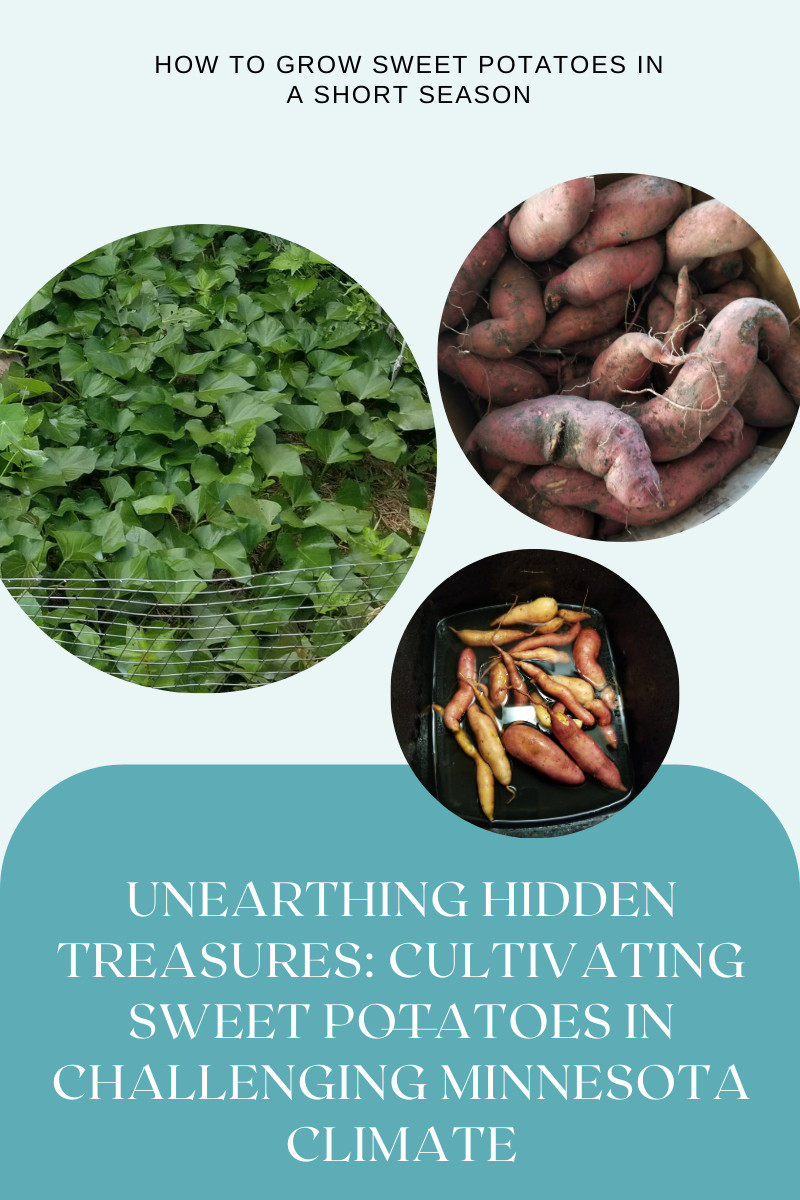
 Growing Sweet Potatoes in MN
Growing sweet potatoes has some unique techniques compared to other spuds.
For starters, they are in a different family of plants. Regular potatoes are in the Solanaceae, or the nightshades family, the same family as tomatoes, where sweet potatoes belong to the bindweed or morning glory family, Convolvulaceae.
In MN we have a very short summer season which makes growing sweet potatoes more challenging. Depending on the variety, they generally need at least 100 days (some varieties as long as 170 days) in the ground after the slips are transplanted and they love heat, are not frost tolerant and need lots of water, but well draining soil.
All gardening takes some trial and error to determine what works in your specific growing climate. And Sweet potatoes, like other veggies, take some practice to get good results. I’ve been growing them for 6 years and each year gets better. (Hint: nothing grown in a home garden ends up looking like the store bought variety- because growing conditions are different).
I’m in St. Paul MN and since I’m in the city, I get a slightly warmer microclimate than out state in the same zone. Your own backyard or where your garden is located can also create microclimates that vary from the surrounding areas. I’m going to share what I do to grow sweet potatoes in my yard to give you a base to start your own, but I highly suggest keeping notes and trying different things yourself.
After all Gardening is an art form.
Understanding Sweet Potatoes
Potatoes and Sweet Potatoes
Due to their different characteristics they are propagated differently. A regular potato has eyes that will grow and you can put the potato in the ground and it will grow and produce tubers underground.
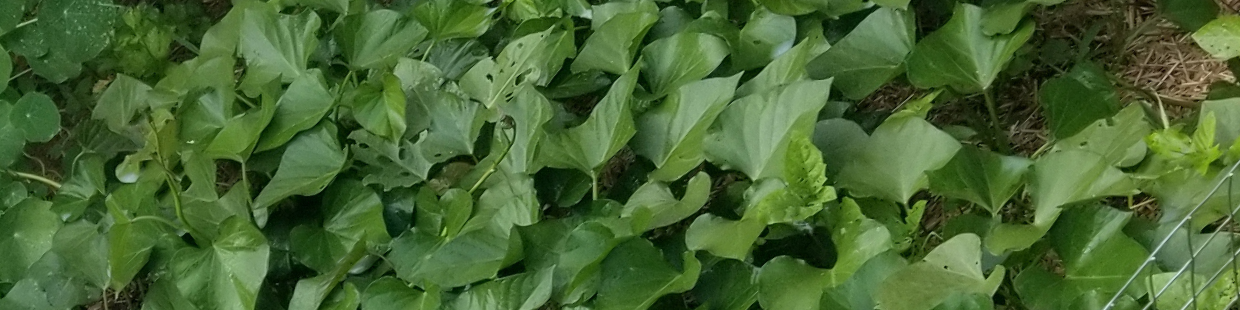
A sweet potato, however, needs some extra steps at the beginning of the process if you want to get tubers to eat and not just beautiful vines. We call this starting slips. The growth off the potato needs to be removed from the tuber and rooted in water and then transplanted in soil to get more tubers, if you just plant the sweet potatoes like an regular potato you will only get vines… which are beautiful foliage, and edible, but likely not what you are going for here.
Preparing for the Growing Season
You will want to pick a variety that is hardy for our cooler summer. There are varieties that grow well in Hawaii, but likely will not do well here. When I started out I found a small garden center near me who got slips from local growers and picked up my first batch of slips from them that year. That way I knew I was getting a variety that was already acclimated to our growing season.
Some varieties on the shorter side for growing include:
- Beauregard’ (90 days) originally comes from Louisiana, but grows well in the North, too. It has dark red roots, dark orange flesh, and stores well.
- ‘Bush Porto Rico’ (110 days) is good for small gardens and for baking.
- ’Centennial’ (100 days) is the leading variety in the U.S. It is carrot-colored and has a good storage life. It is also a good producer for northern growers.
- ‘Georgia Jet’ (90 days); Red skin covers moist, deep orange flesh. Extremely fast-growing type; good for the North.
Sweet potatoes need warm ground to transplant. Keep this in mind for the timing of getting yours in the ground. Usually, mid May to early June in zone 4b. The soil temp needs to be at least 65F before you transplant them out and they need night time air temps above 55F. I extend my season by setting up a temporary greenhouse over that section of the garden as soon as possible (with snow melt) in the spring. This helps warm the soil faster and provides a warmer climate to transplant them in a bit earlier than if it were open air.
The biggest prep is getting slips started early enough. This has been a learning curve for me as the most widely known version is to stick a sweet potato half in a jar of water by a window and let it sprout. However, last year I tried a new-to -me method of using a shallow tray of soil and I got a ton of sprouts far faster than the water jar method.
I usually start this process in January because you need time for …
- sprouts to start growing,
- get about 5-6 inches tall,
- cut them off the potato and root again in water,
- then transfer into soil and acclimate.
This time can vary greatly from year to year so I like to err on the side of too much time rather than risk not having slips.
Starting Sweet Potato Slips
The first year I bought slips to get me started. The main reason for this is that store bought produce is typically treated with anti-rooting agents to keep them from growing before you buy them in the store. And rather than trying to find ones that were not treated, it seemed easier to me this way, plus I got a variety that was acclimated to growing in my MN climate.
The next year I had saved a few small tubers from my harvest. And in subsequent years I just grab a spud or 2 from my last year's harvest when it's time to start slips.
The 2 methods for Starting slips are:
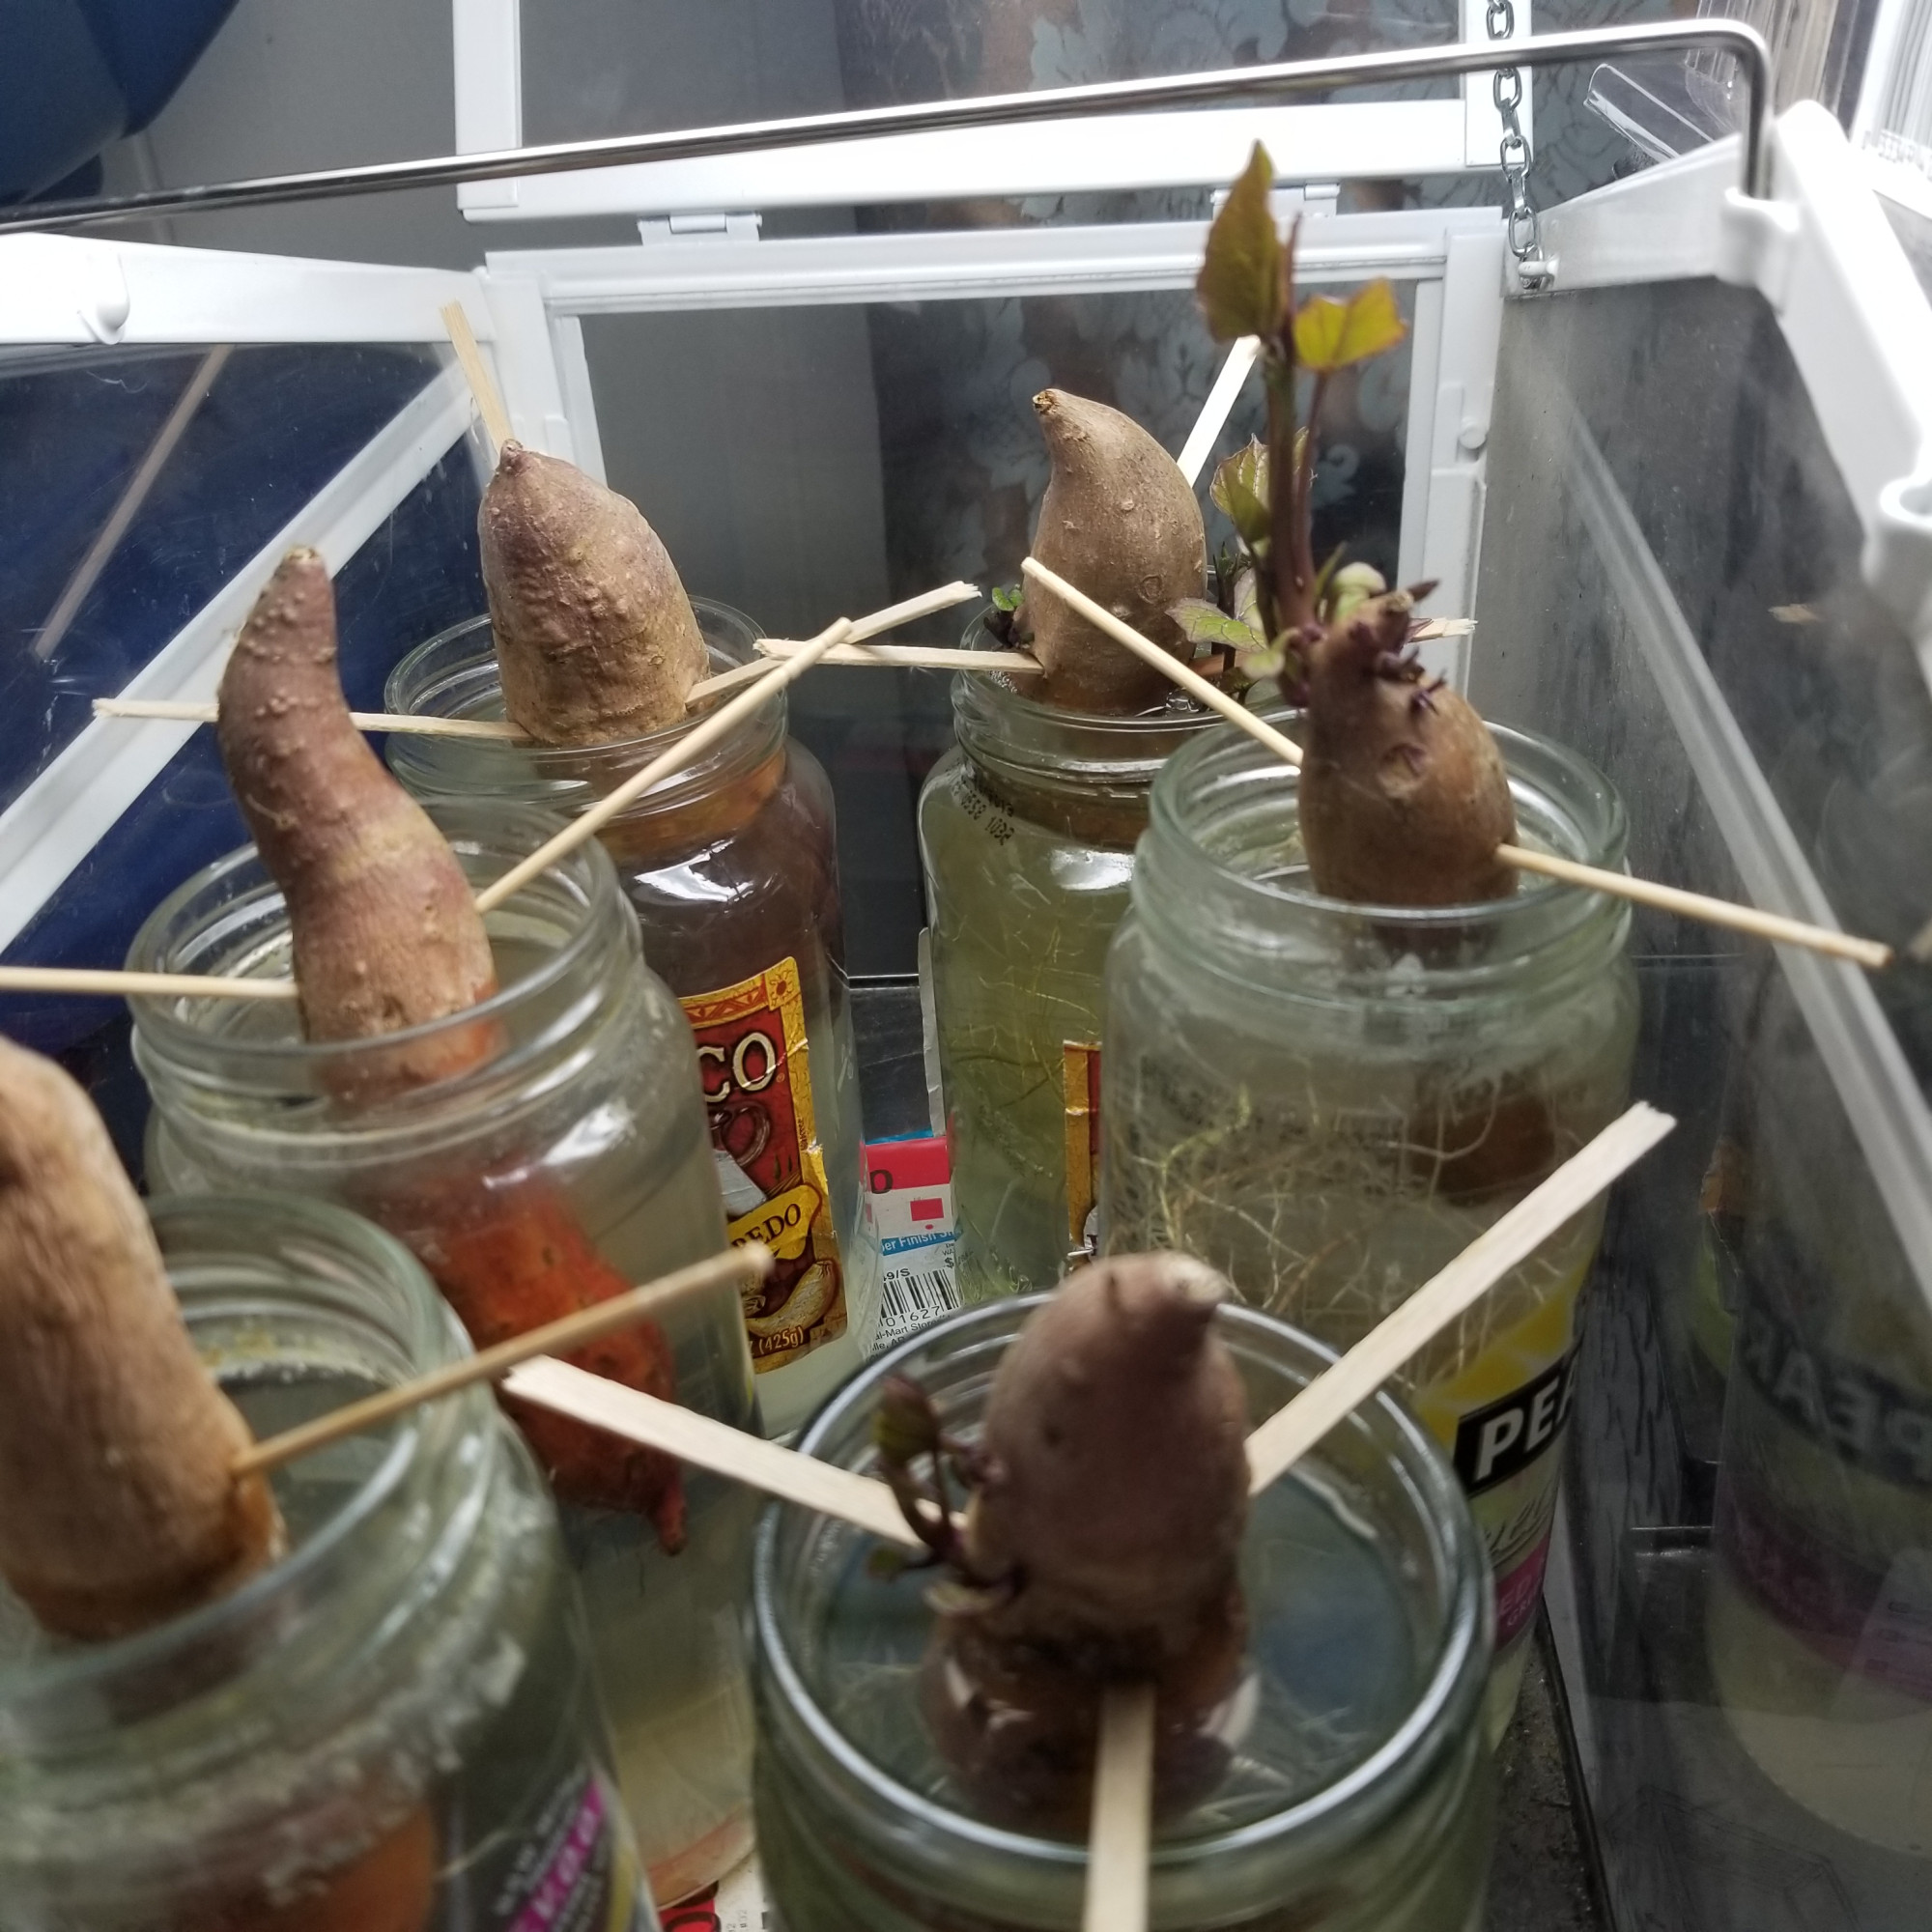
Water version: In a small jar or glass, suspend a potato so that half is in water and half is above water. Set in a sunny location or under lights. The first nubs will look purple and then start growing into tall green stalks.
When they are 5-6 inches tall, cut them from the potato using a sharp knife. You don’t want any roots from the potato attached but if the sprout was on the edge of water and the root is coming from the green growth and not through the potato, those are fine.
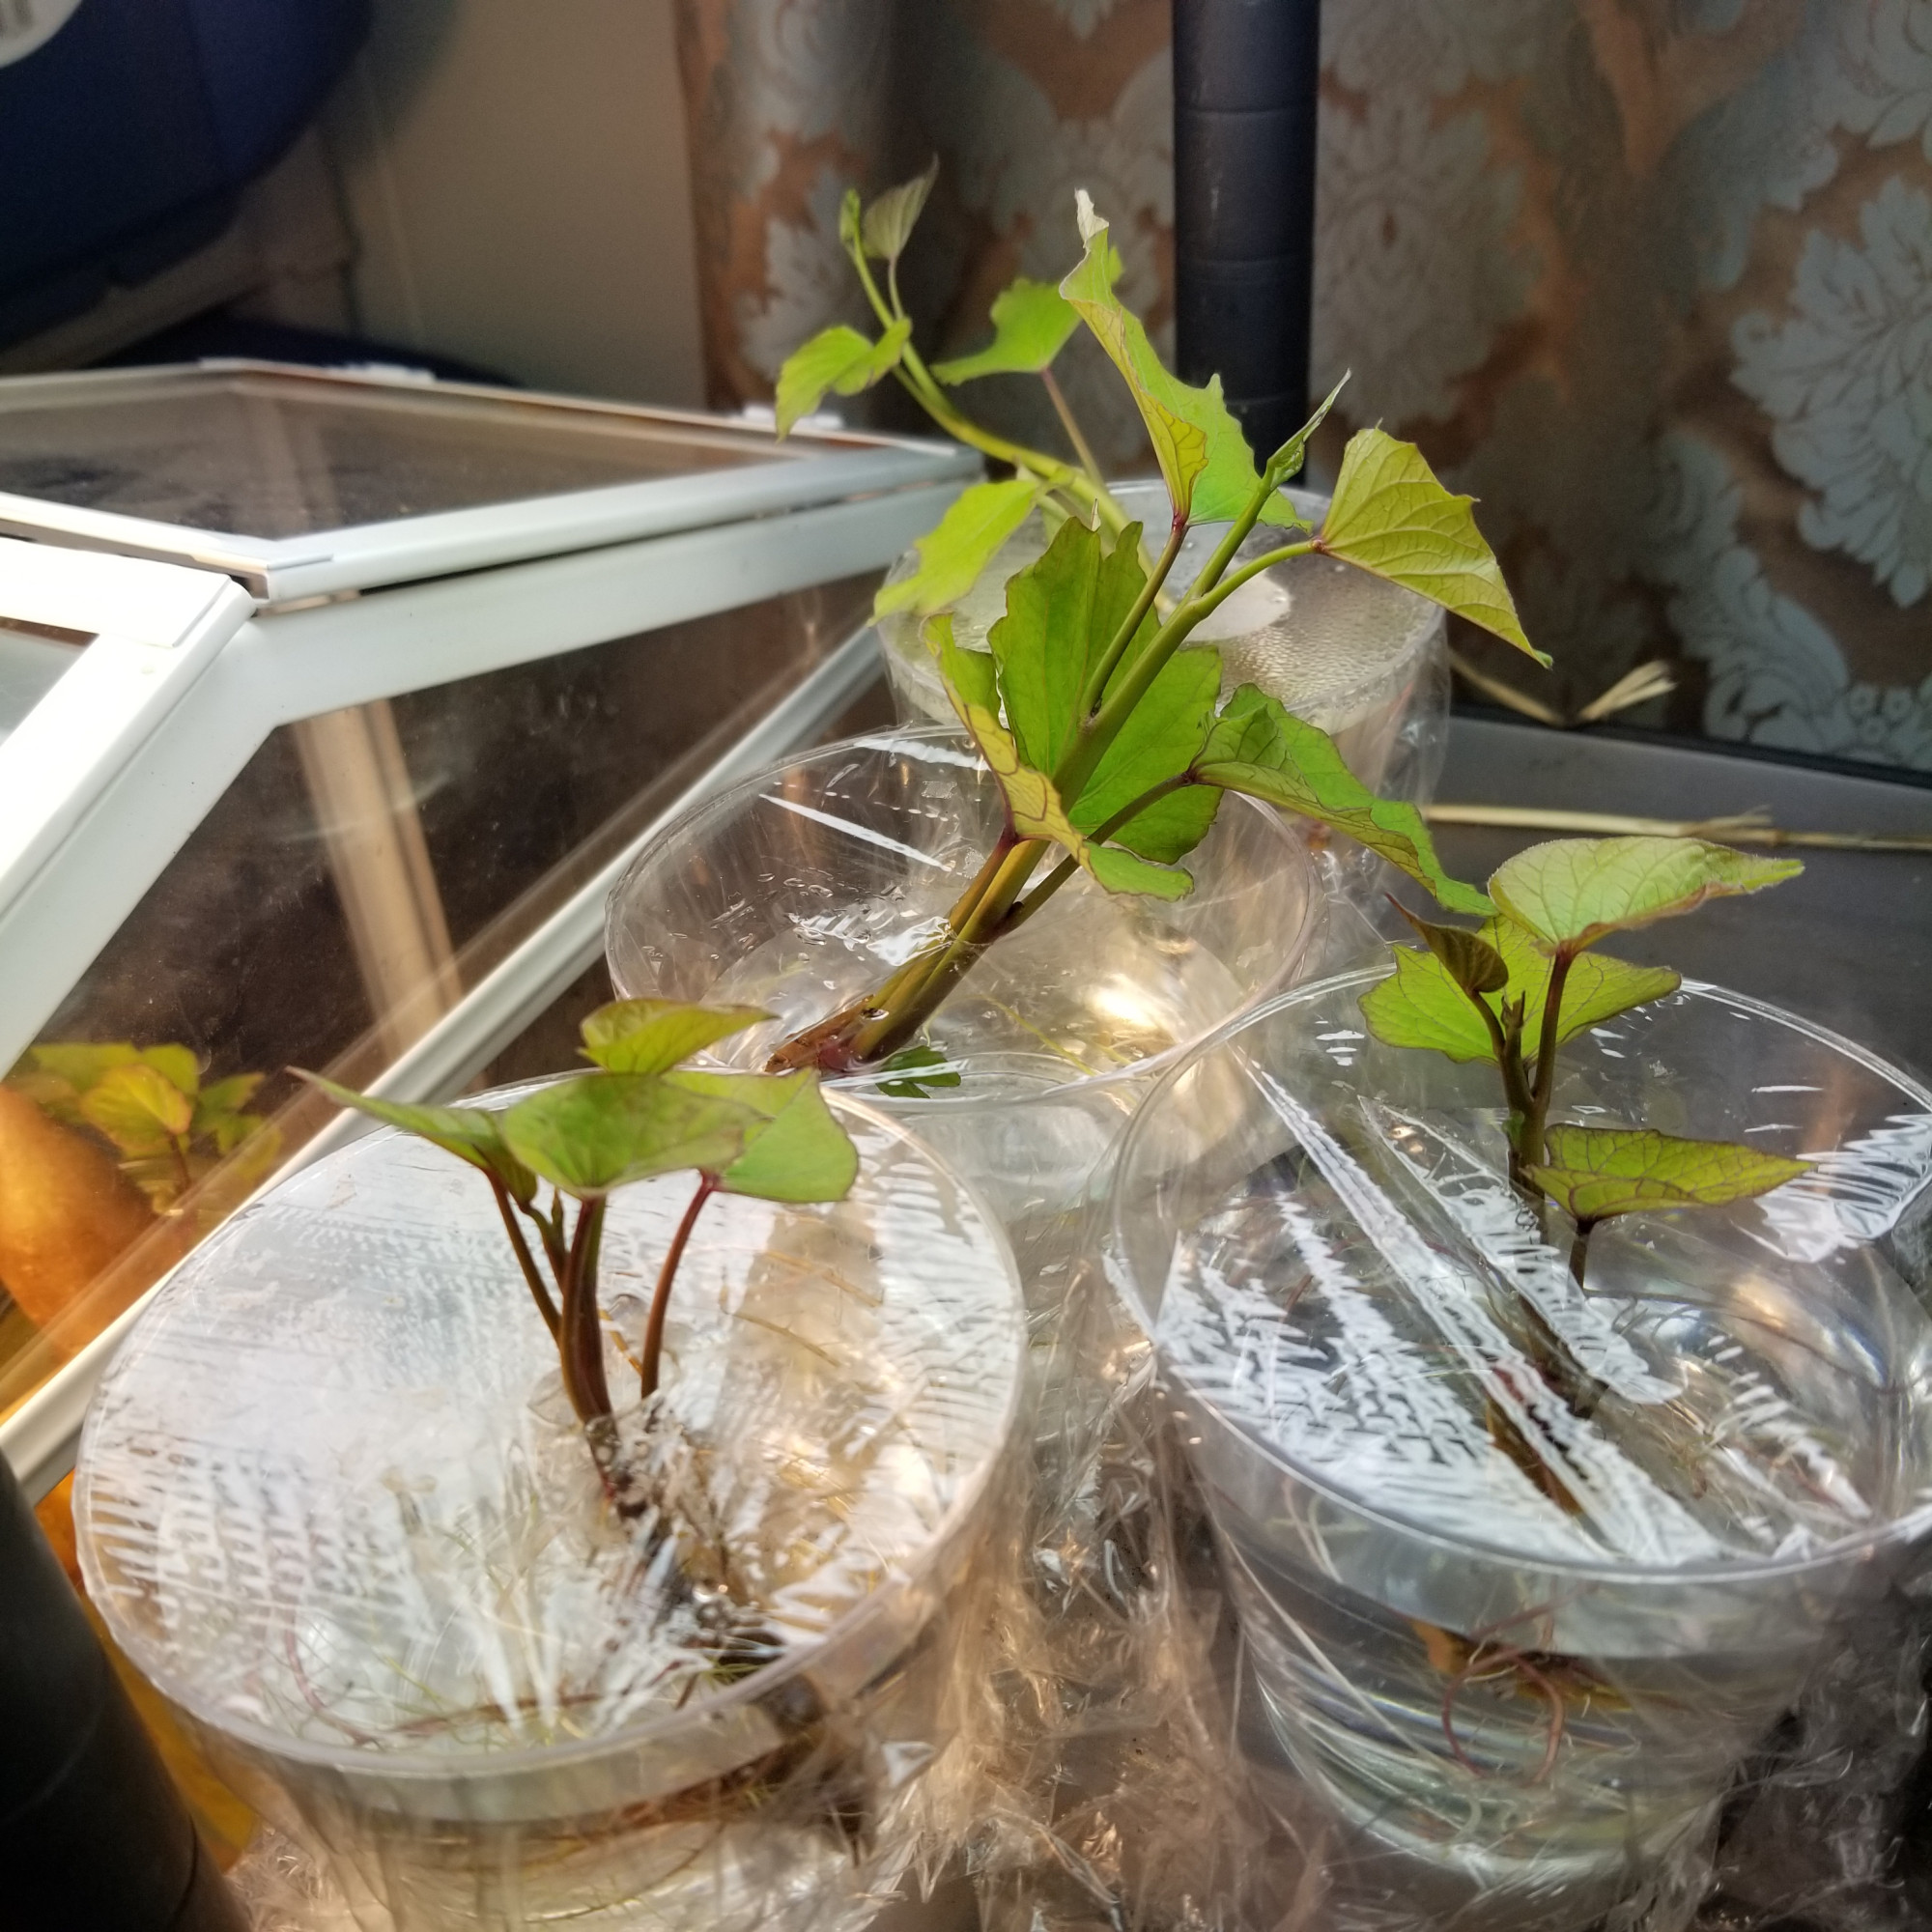
Place the green sprout in its own cup of water to start rooting.
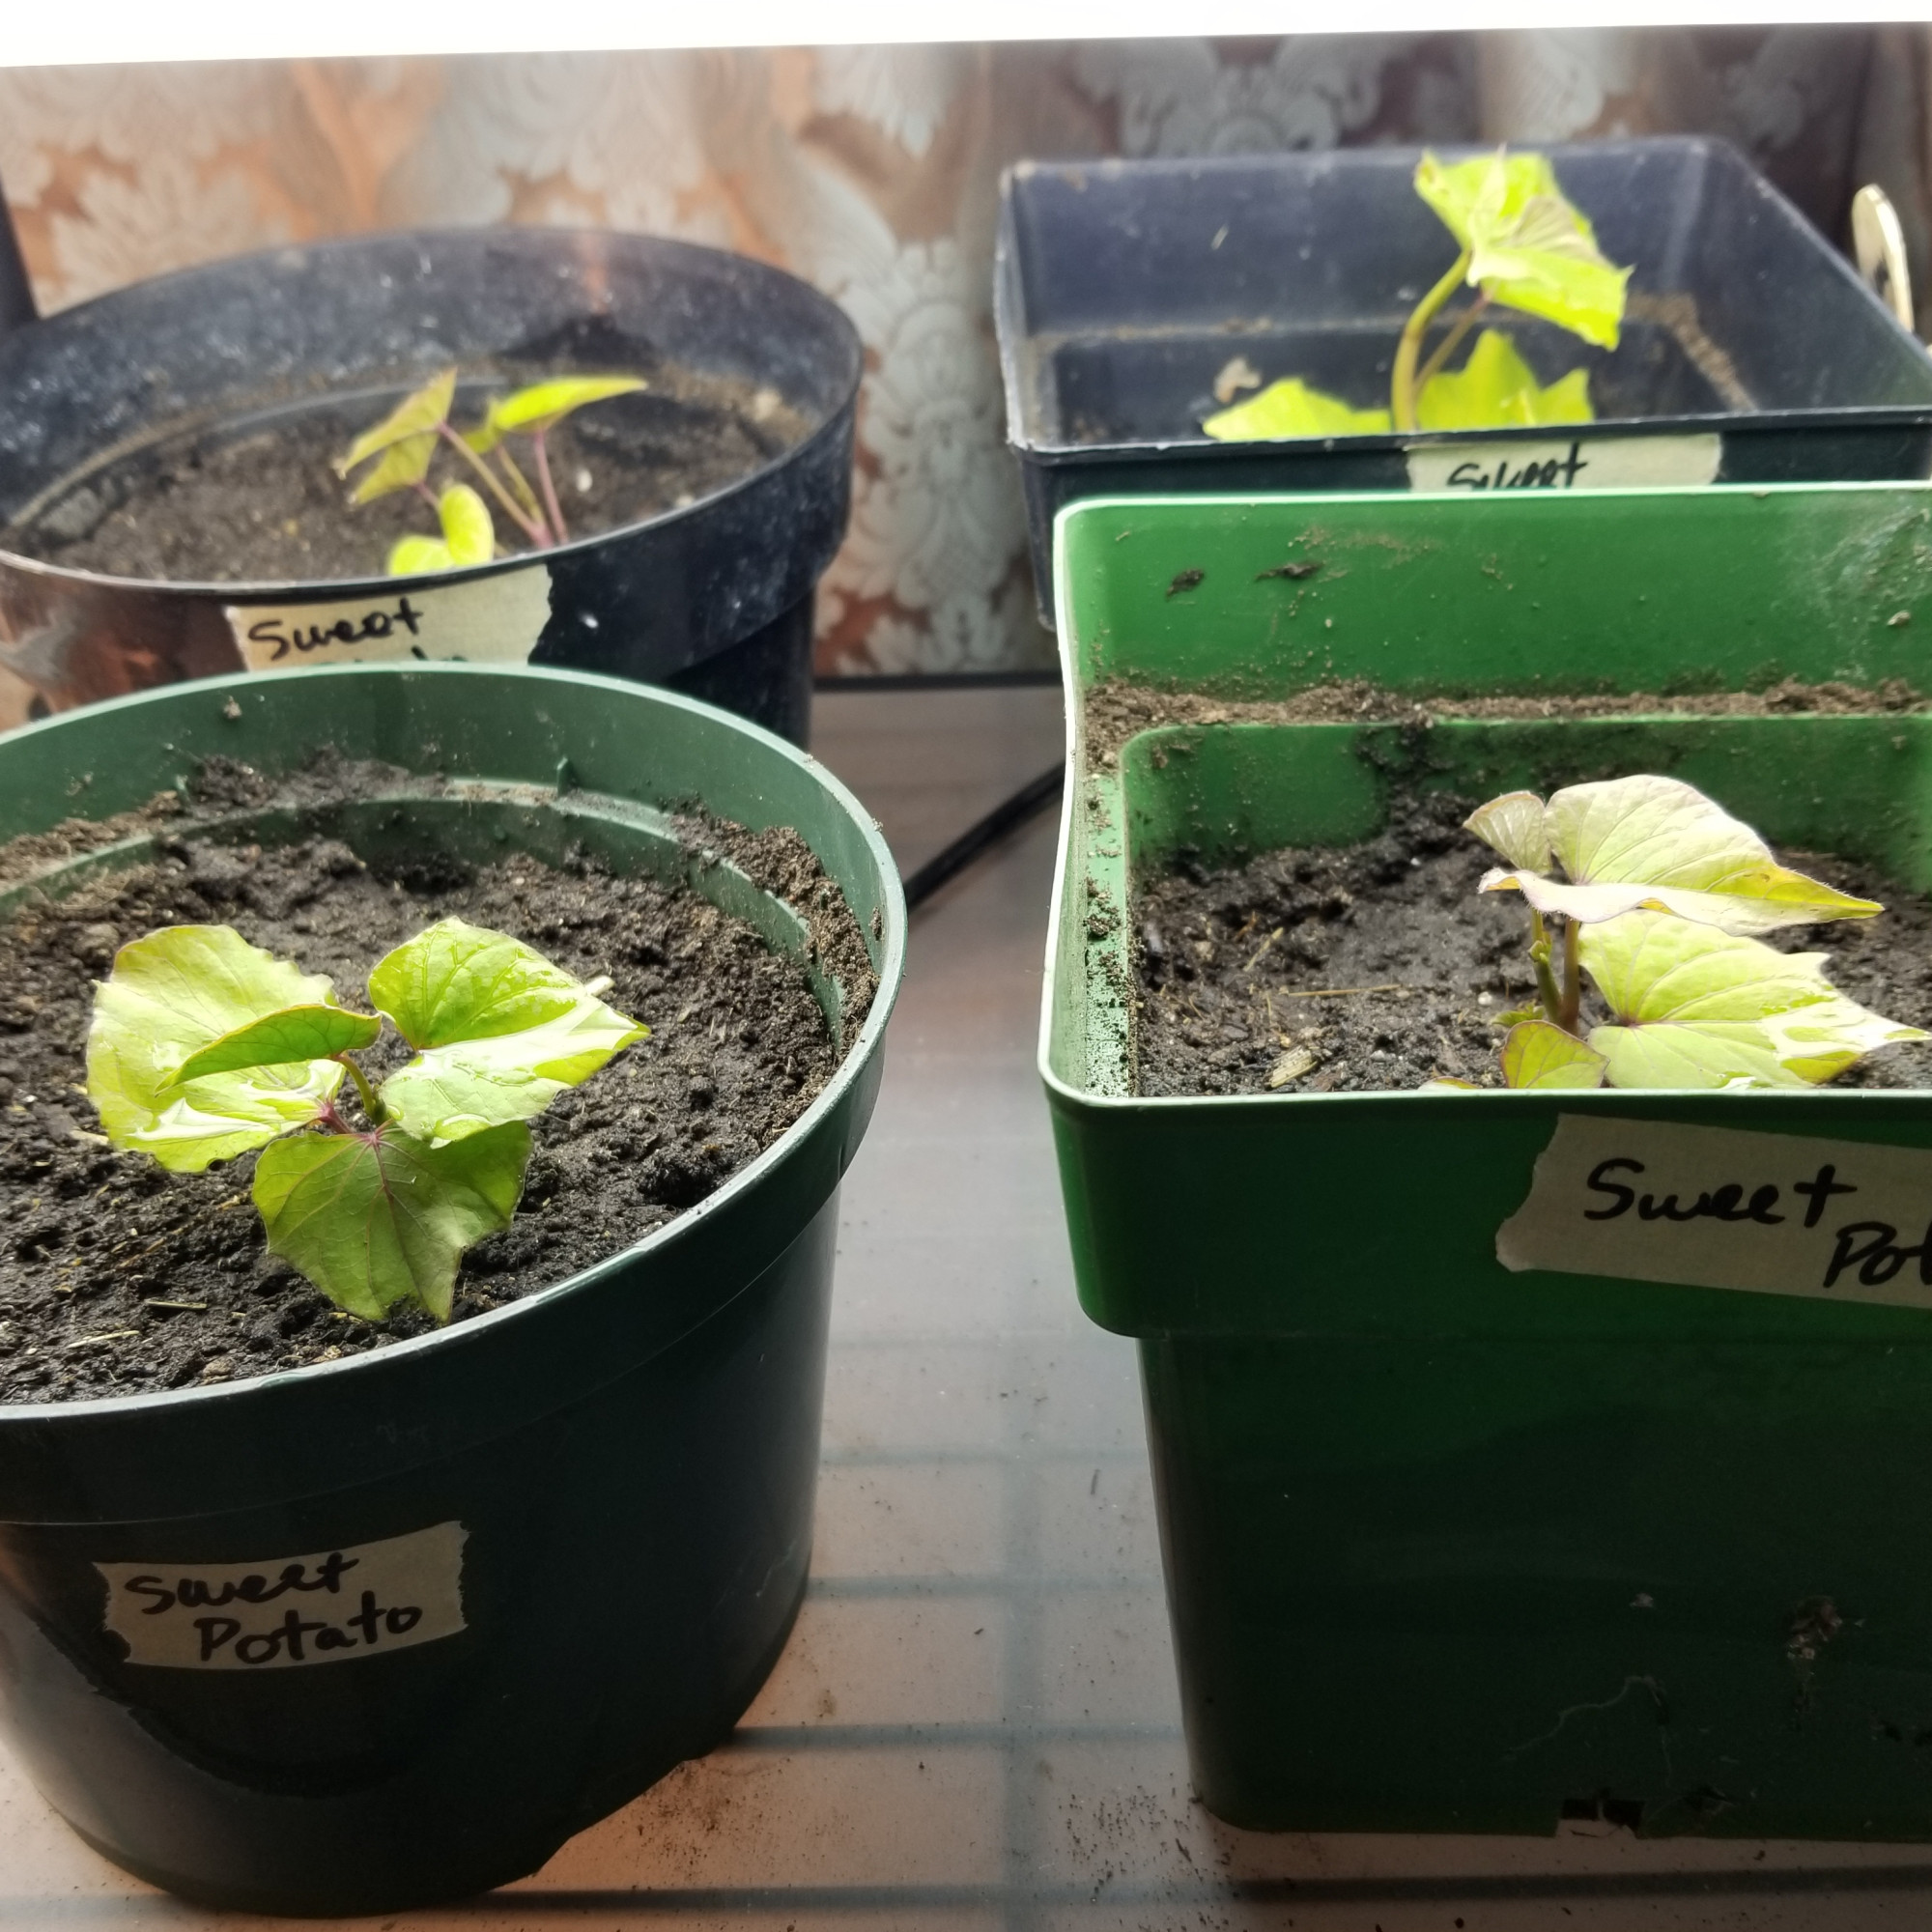
Once you have a good number of roots on the sprout, you can transplant it into soil. You can use some potting or seed starting mix but I suggest at least 50% garden soil to help them get used to where they will be growing outside. I also mix a little earthworm castings or composted chicken manure (just a smidge) into the soil to give them some nutrients until they get outside.
Soil version: Lay the potatoes flat in a shallow container of soil so ⅓ to ½ of the potato is covered but the top of the potato is above the soil. Moisten the soil and mix in some earthworm castings or composted chicken manure to add some nutrients to the soil (most seed starter potting soil doesn’t have added nutrients and some added nitrogen is helpful for green growth).

on the left Jan 10, on the right Feb 16th
I used a seed starter tray because I could put a seed starting mat under it and I had a tall dome to put over it to keep warmth and moisture in the tray. My house temp is on the cooler side so this is what worked for me. If you keep your area above 70F you might not need the heat mat and/or dome.
Once the sprouts were 5-6 inches tall (and hitting the top of my dome) the rest of the steps are the same as the water method.
Both versions will require warmth, light and moisture. Depending on your house temp (or where you start your seedlings) you may want to add heat. I used a seed starting mat for added heat in both methods. I keep mine under the same grow lights for other seedlings because I don’t have south facing windows for light.
I started using the water version although it was very inconsistent and took quite a long time to get slips the first few years. Then I heard about the soil method, which I tried this last year and it went crazy! So that is the method I will do again this next year.
Transplanting Sweet Potato Slips
Before transplanting, like most plants started indoors, they need to be hardened off before they move outside. Sunny warm days are good for this if you have them, but start them in the shade. To learn more about hardening off plants, check out this post.
Sweet potatoes need warmth to go outside. Where you put them also needs to have a lot of direct sunlight. They will still grow in partial shade but will not grow or produce as much if other plants shade them out (ask me how I learned that one🤦♀️).
With my greenhouse, some years I’ve been able to transplant inside the greenhouse in mid may and get a couple weeks more out of the season. 100 days is about 3.5 months and the number of days above 70F here in MN are not too much more than that. 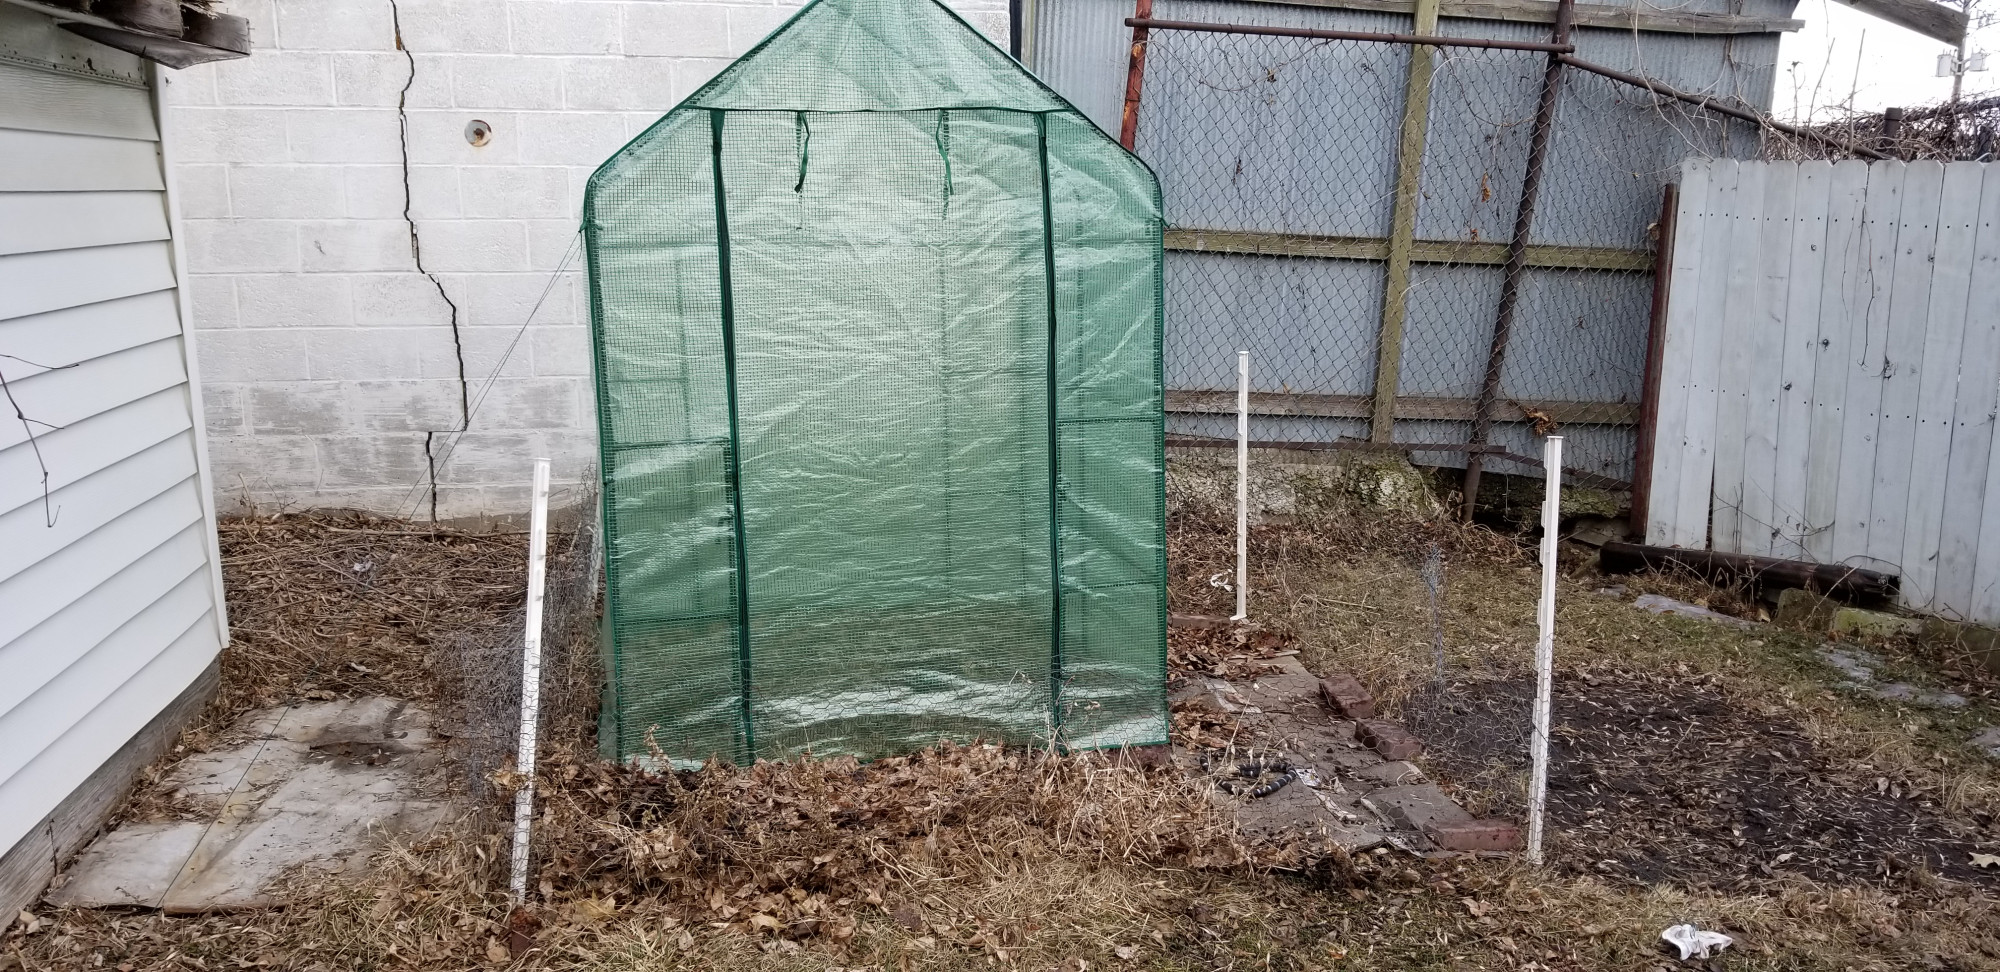
In preparing the soil I always mix in compost and some composted chicken manure. At this point you want added nutrients but not too much nitrogen or you will get lots of vines and not a lot of tubers.
For a section with potatoes I’m going to use my potato fork to loosen the soil down as far as possible- usually 8-12 inches deep.
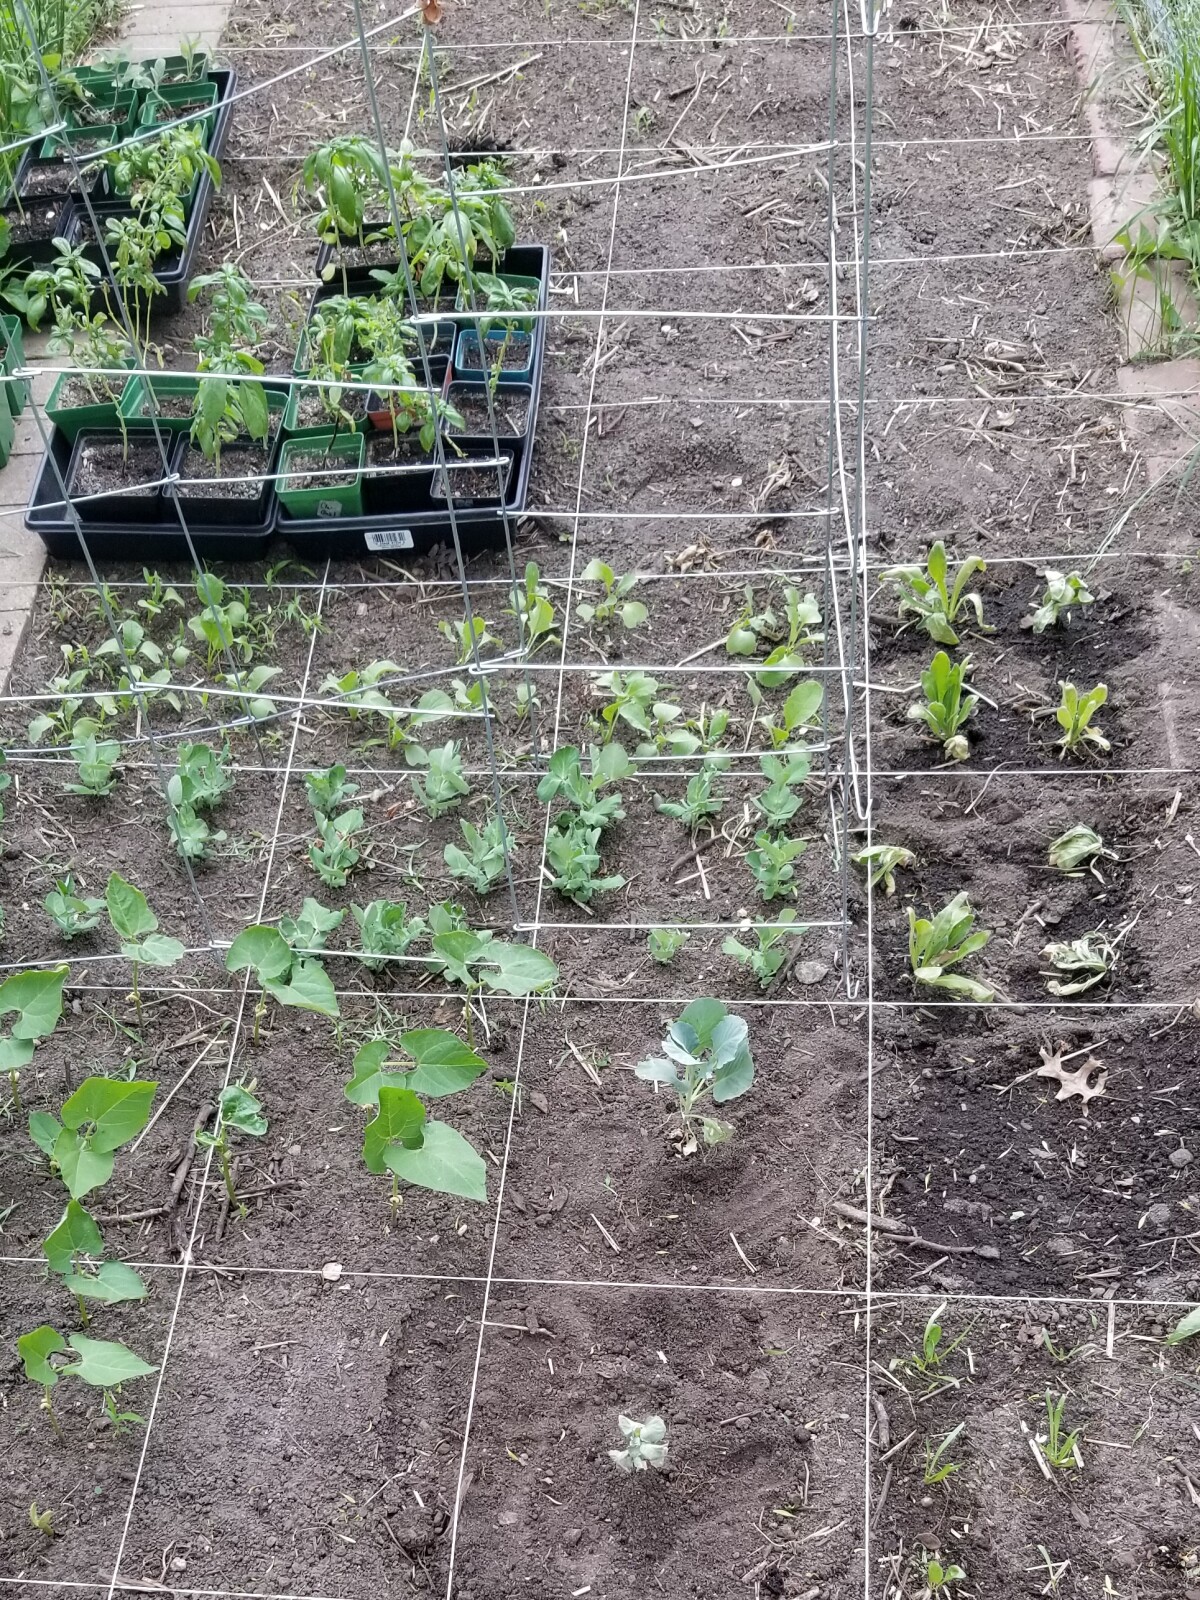
I transplant the slips about a foot apart. When transplanting, remove the lower leaves on the vine, leaving only the top few and bury the root at least 6 inches deep, mounding up to cover the stem where you removed the leaves. The plant will produce tubers at the nodes.
Generally, last frost date in my area is usually* around april 28th but we have had some almost frost nights in mid- may. This is where the greenhouse comes in handy since it absorbs heat in the day and stays warmer overnight if we get a cold one. But this past year our may was so cold I didn’t even get my sweet potatoes in the ground until Memorial Day weekend.
Caring for Sweet Potato Plants
Luckily, once the slips are in the ground they don’t require a lot of work. I usually mulch around the slips right away while they are small and it’s easy to get straw around them. This keeps moisture in the soil as well as cuts down on weeds.
If we aren’t getting weekly rain (minimum 1 inch per week) I water the garden including the sweet potatoes. I prefer a heavy deep watering 1x a week instead of light watering every day. This gets water down deeper and stimulates deeper roots than shallow watering.
Toward fall weather you will want to watch the overnight forecast. Sweet Potatoes are not frost tolerant and unlike other potatoes if the vines get frost damage and start to turn brown/black the plant will transfer the damage to the tubers in the ground. I tried covering mine one year like the tomatoes and peppers but the vines still turned and when I saw that the next morning I dug the potatoes that day. Unfortunately I still had a few tubers that were darker colored from the damage. I had to peel them and to use them fairly soon as they would not have kept very well.
Harvesting and Curing Sweet Potatoes
The longer they have in the ground, the better, but in our short season climate the vines will not naturally die back like a regular potato plant. After they have had at least 100 days since transplanting and before a frost is the ideal time to dig.
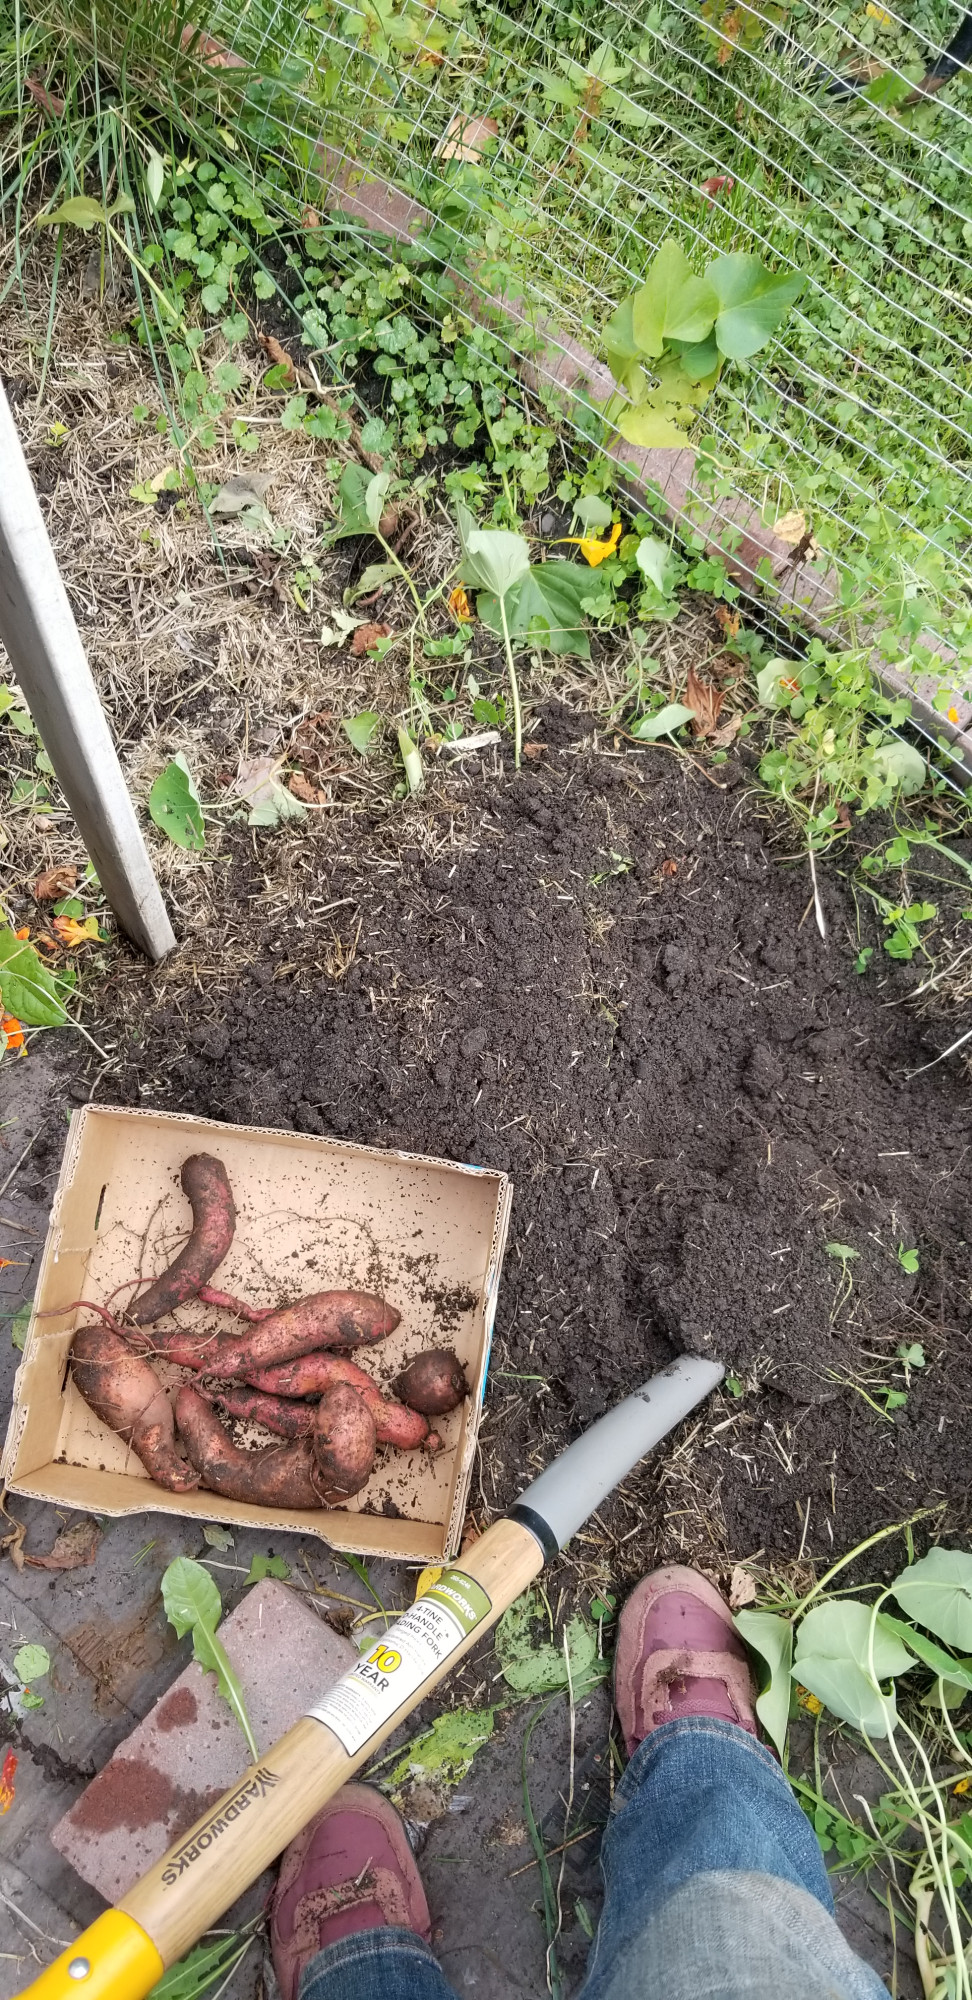
I have a wide fork for digging (I think it’s called a spading fork or something like that). It makes it easy to gently loosen the dirt. I usually start at least 8 inches from where I planted the slip and hope to get around any potatoes but inevitably I will stab at least one. I dig out from around the main part of the plant as I go to make sure I got any outliers that were farther away. I think they would spread out more and be bigger in a longer and warmer climate, but each year my harvest gets better.
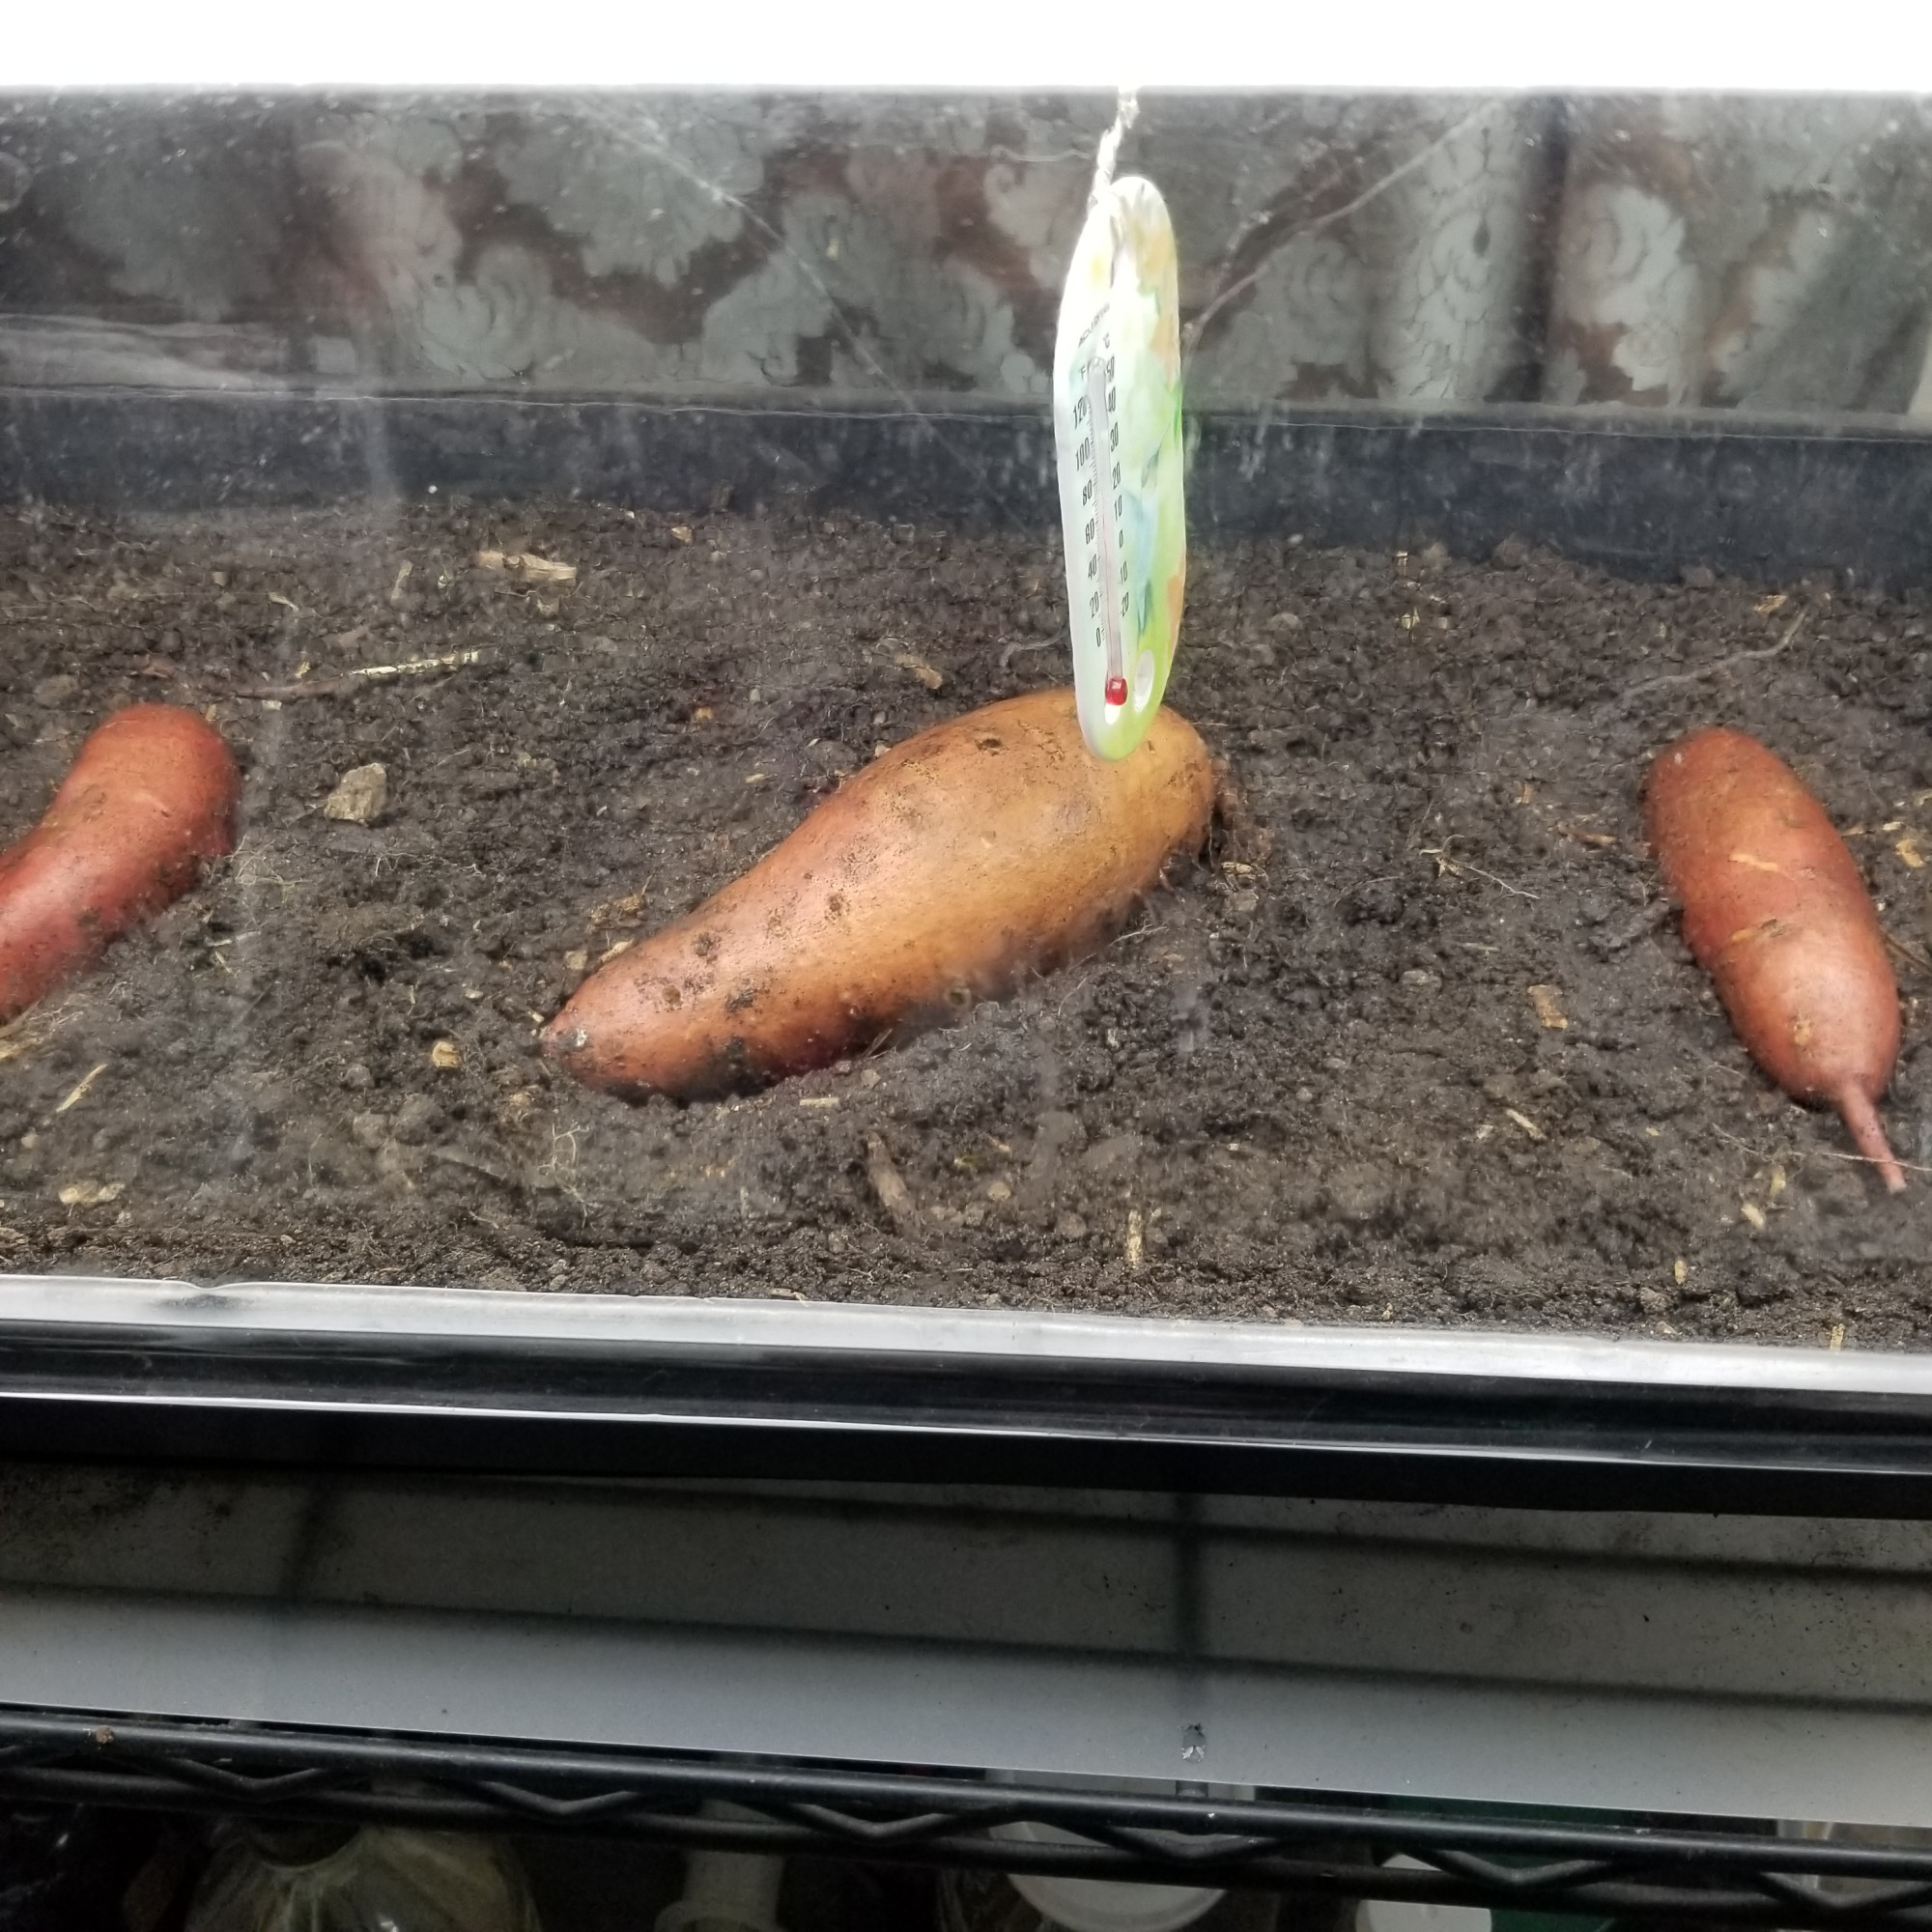
Once you have them dug…. Do NOT wash! First we must cure the potatoes to bring out the sweet flavor. Sweet potatoes need a temperature of 80-85F with a humidity of 80-90% for a period of 7-10 days to bring out the sweetness in the flavor of the tuber. You can achieve this in any way possible with what you have access to.
Since our weather in October in MN is not hot or humid, usually, the method I have chosen to do this involves a few elements. I set this up either on my 3 season porch (warmer with south windows) or in my basement with heat lamps.
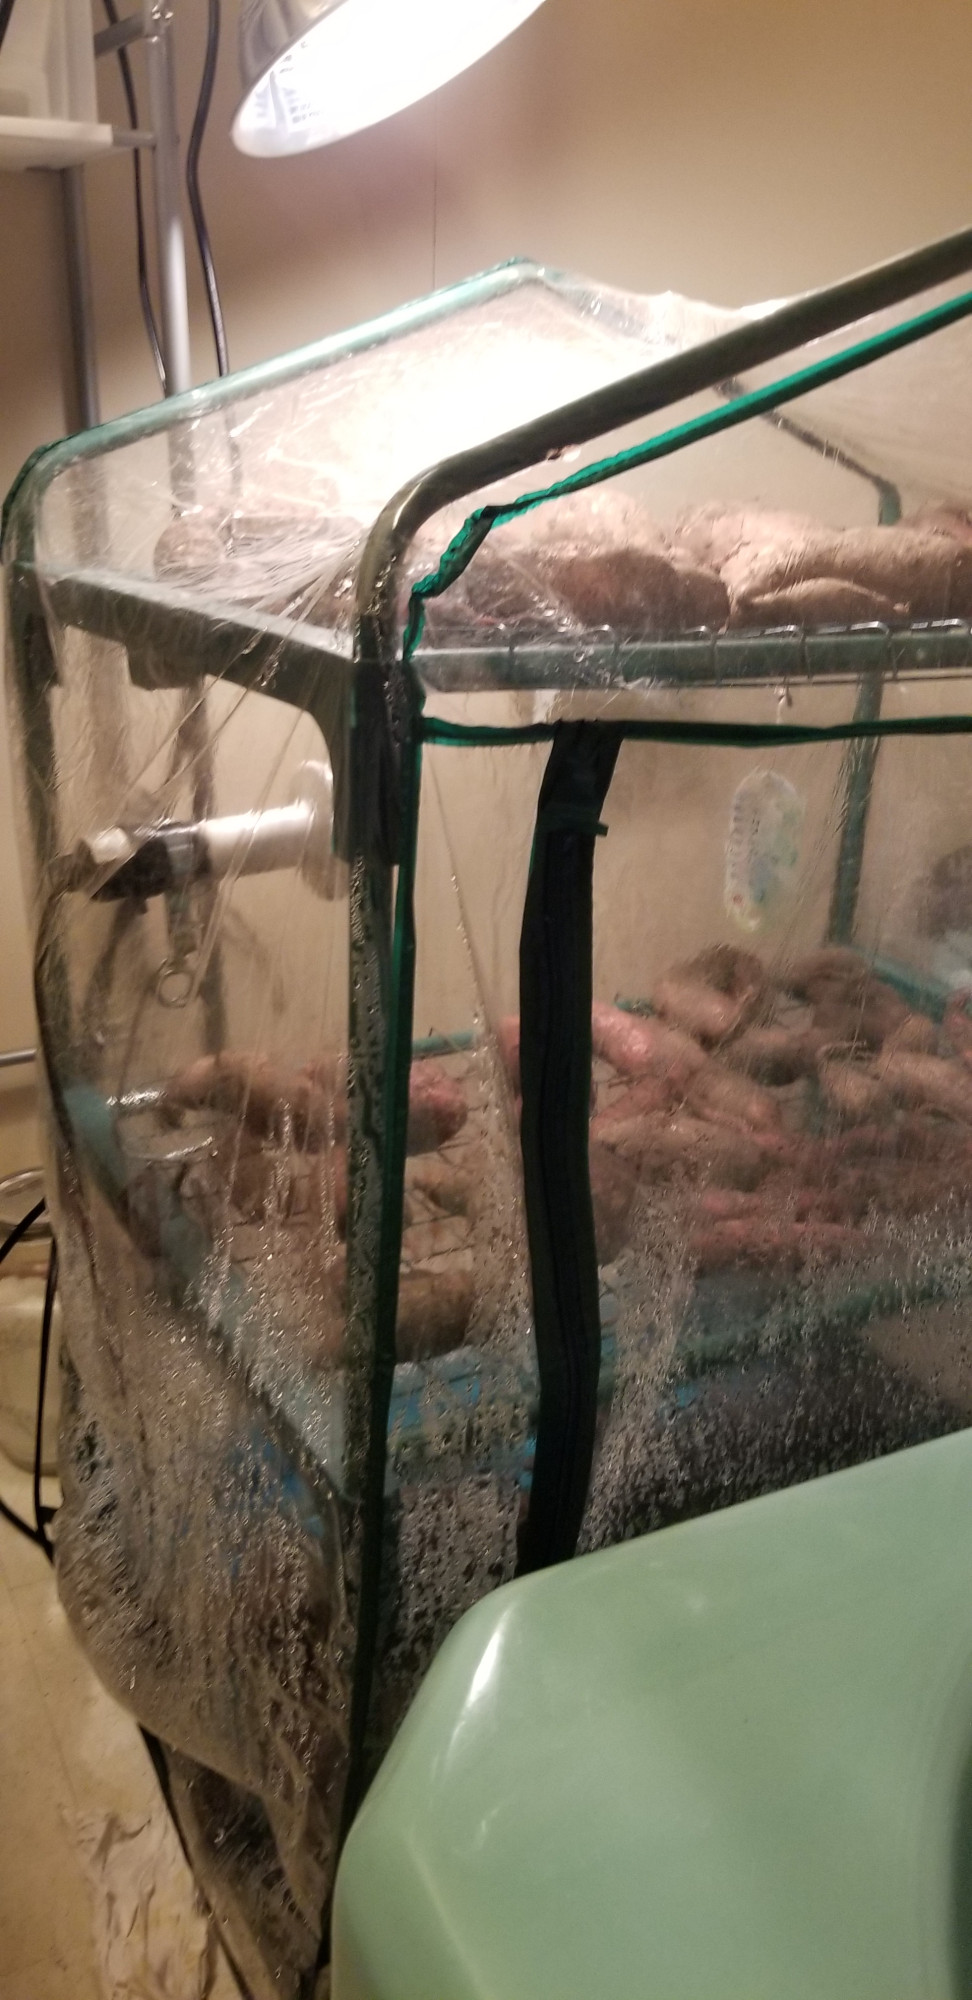
I use a short mini greenhouse with wire shelves, on the bottom shelf I have a starter tray with water in it and a seed starter mat underneath. The mat just heats the water enough to cause condensation and produce humidity in the the greenhouse. I then use a pet heater (one used for amphibians for heat) on a clip inside the greenhouse, making sure it won’t touch anything directly and just adds heat inside the greenhouse. I will plug this into a timer where I can adjust how much it’s on or off based on the temp inside. I spread the potatoes out on the wire shelves so they are not touching each other and have air flow around them.
This varies slightly by where I set it up, on the porch the southern sun will help heat it and the pet heater isn’t on as much during the day but more at night. In the basement the pet heater is on more and I add a heat lamp above the greenhouse that’s on during the day.
The water in the tray usually lasts at least a week but I check it to make sure it isn’t dry. I leave it based on the time I have before I need to move it/ take it down or whatever. At least 7 days and not longer than 14 max.
Storing and Using Your Sweet Potato Harvest
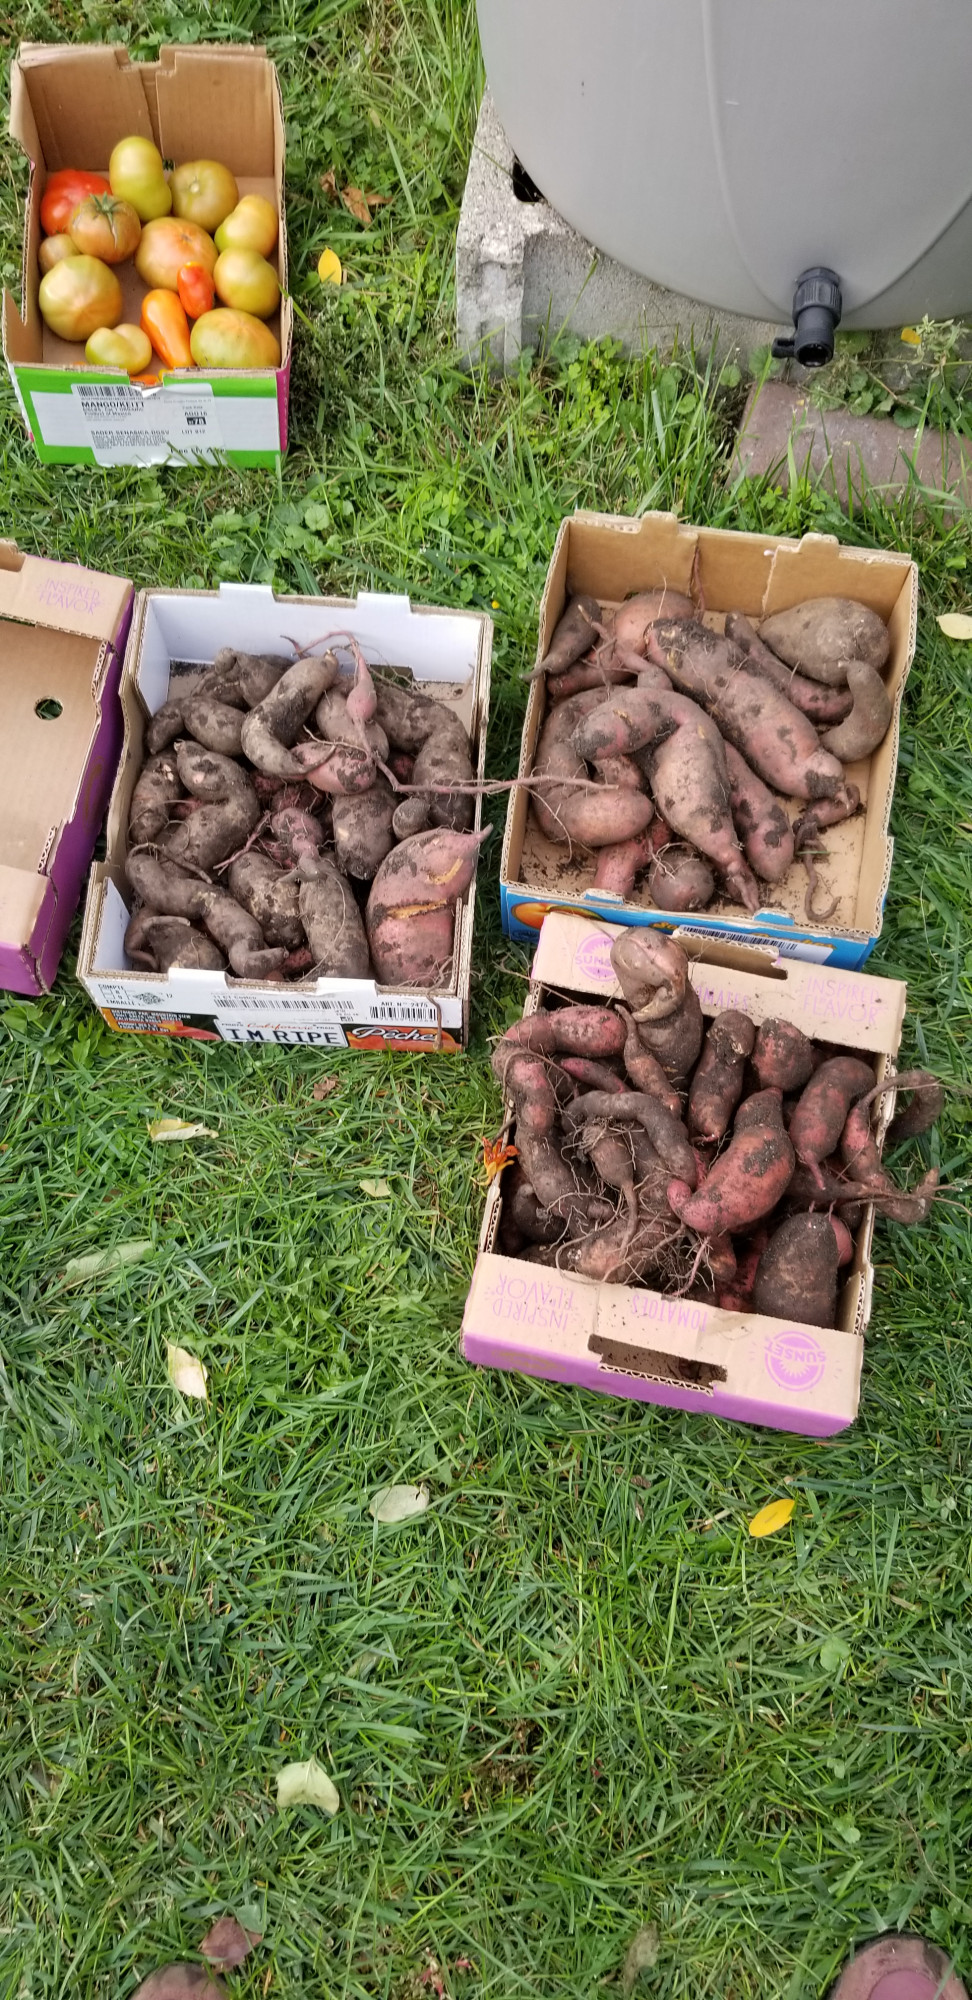
I store the potatoes in a box or boxes with plenty of airflow in my basement. My basement stays very cool and dry during the winter months so a cardboard box on a wire shelf up off the floor works well for me. Strive for a temperature range of 55 – 60 F and can have humidity up to 55%, and definitely do not store sweet potatoes in your refrigerator, as they are susceptible to cold injury. In the basement they should keep for 6 months. I also don’t wash the potatoes until I’m ready to cook and eat them.
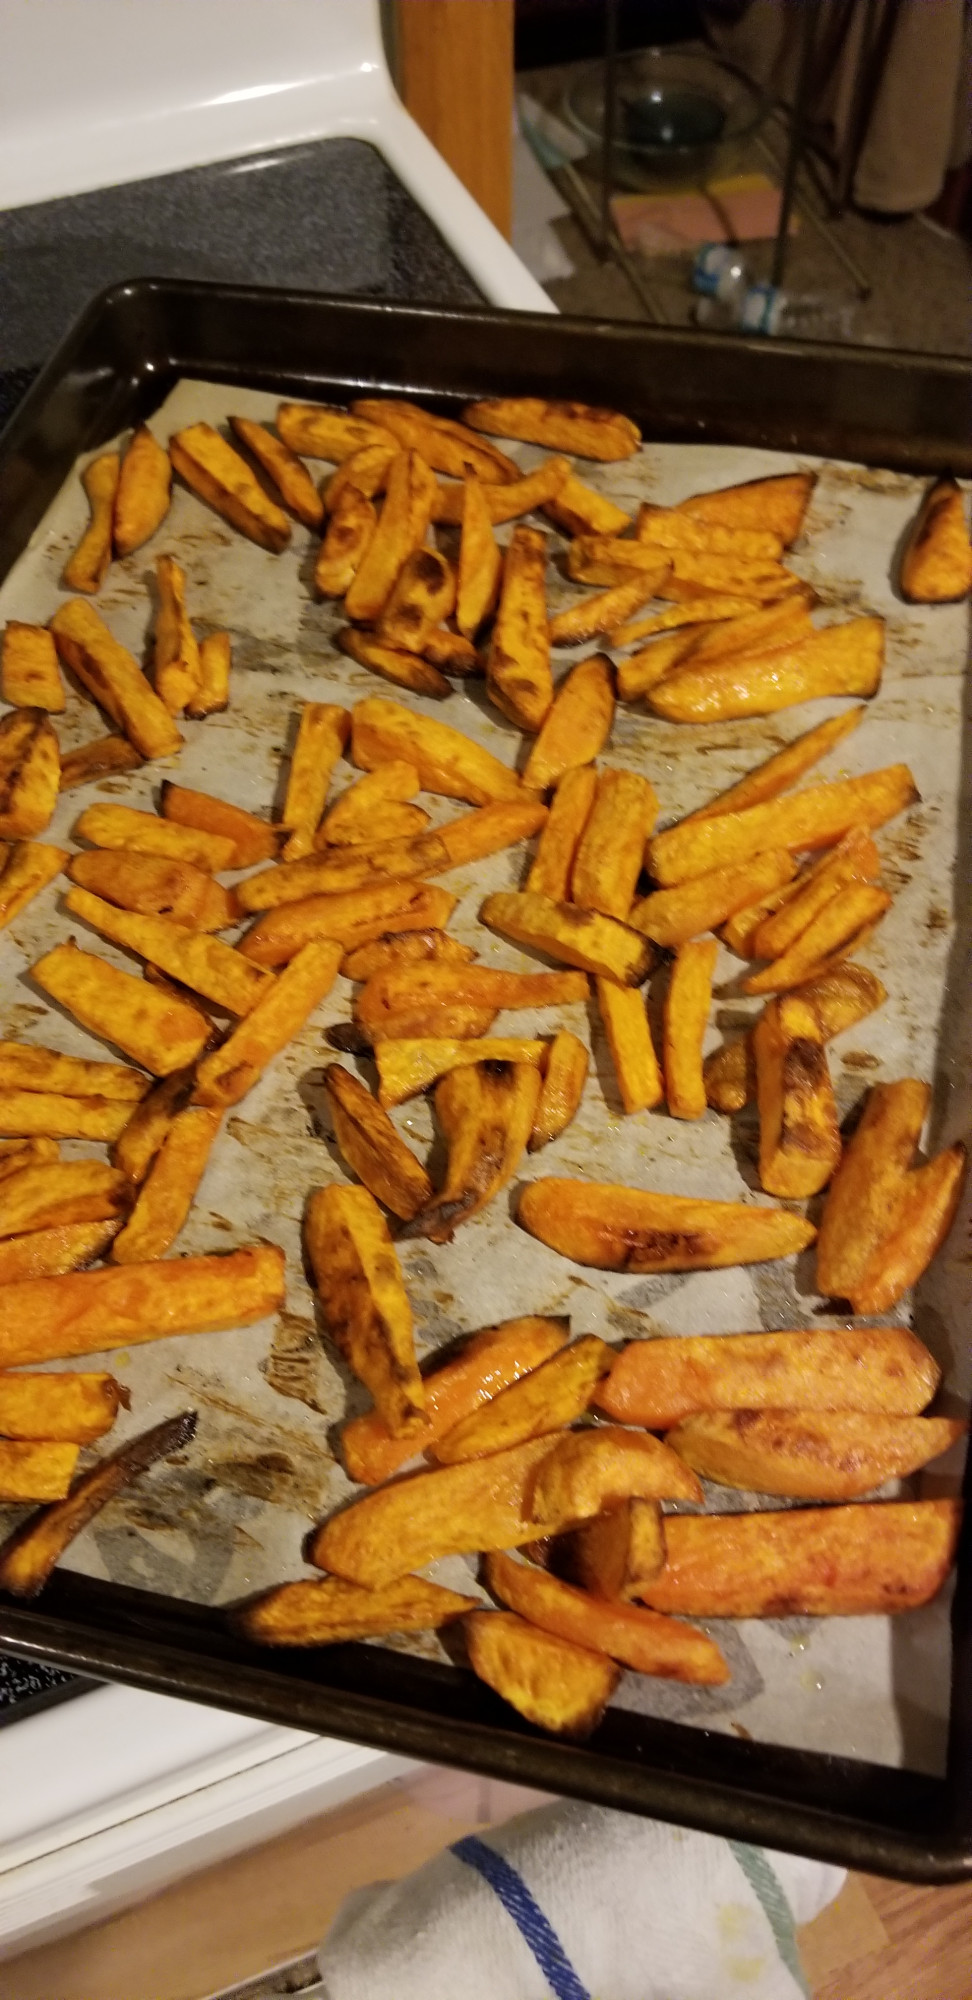
My favorite way to eat sweet potatoes is making homemade fries in the oven but there are many ways to make sweet potatoes.
One year I made Butternut squash and sweet potato soup which you can find in this post, which was really good.
Happy gardening!
Drop a comment on your experience with growing sweet potatoes and what your season is like.


0 Comments