You have started some seeds. Yay! they germinated and little plants are coming up! Now what?
Let's go over growing seedlings and getting them ready for transplanting in the garden or outdoor containers...
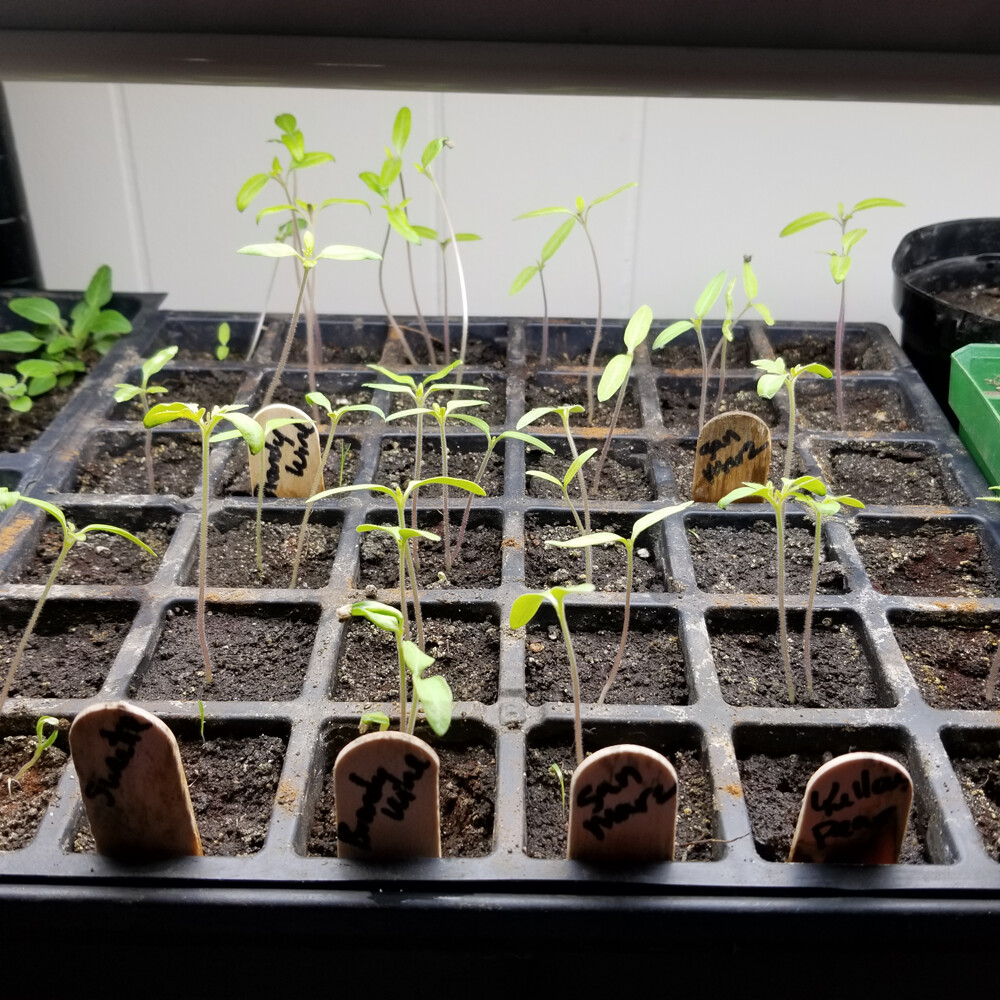
Once seedlings start to come up, most vegetables will start with 2 leaves. These are called the first leaves or seed leaves and they will not look like the leaves of the older plant. These are just to gather nutrients from the light.
Around 2-3 inches tall the seedlings should start producing their first 2 true leaves. These will look like the leaves of the grown plant. Once those leaves are established and the seedling is strong, I consider them “toddler” status and they are ready for the first transplant. At this point they are like a toddler that needs to start solid foods and have bigger clothes. This is just to a larger container indoors. As the seedling grows, they will need more nutrients than the starter medium and the small compartments can provide. Plus they will be healthier, in my opinion, with a larger root system to support them.
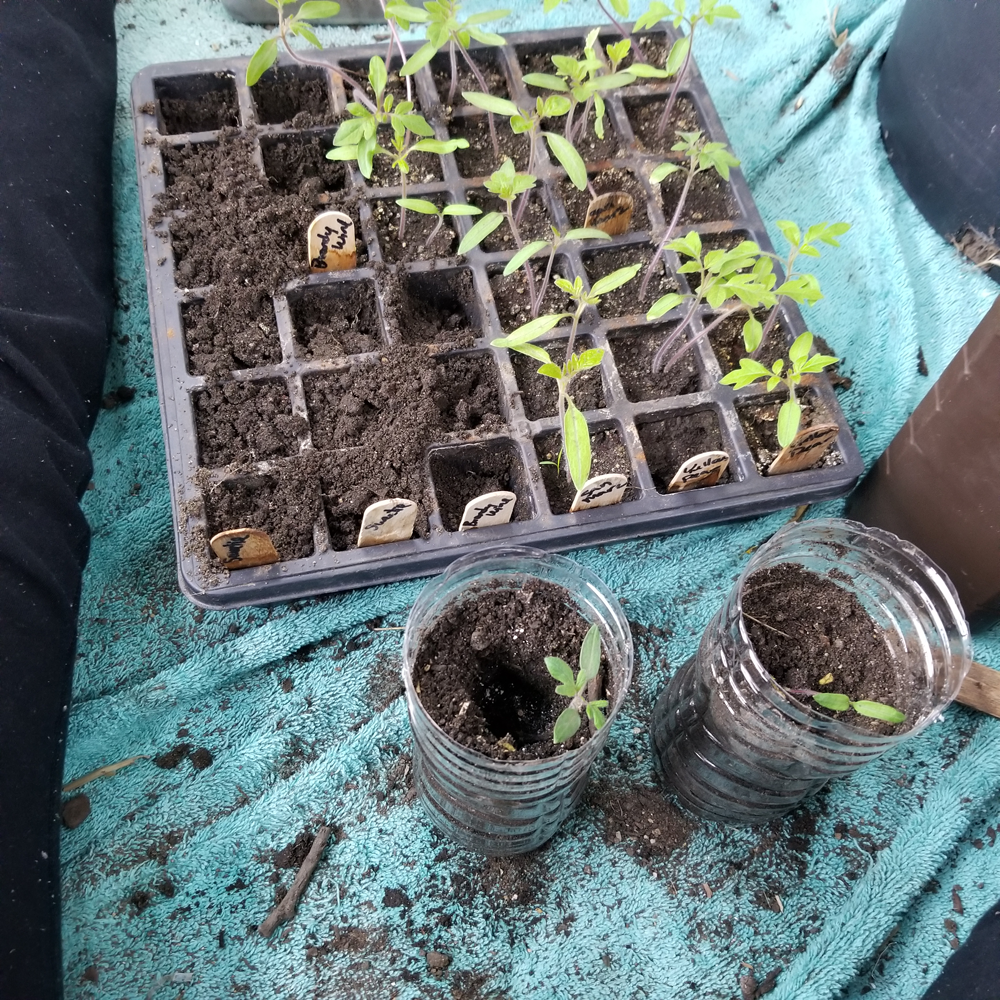
Plants like tomatoes really benefit from transplanting because they get tall very fast in the seedling tray but have shallow roots. They will also grow more roots along the stem if buried in soil. For this reason I want a deep container that will allow for more root growth and bury the stem deeper, but I also don’t want to take up a huge amount of space on my shelf under the lights. So I usually work with 16oz water bottles as my next step container for tomatoes.
Steps to 1st transplanting (known as potting up)
Mix medium of garden soil/ compost
Add water to make sure your medium is the same clumping consistency as for seed starting.
Optional: you can add a pinch of epsom salt to each container as you fill it. But don’t add too much. (A small pinch will give the plant a boost of magnesium to overcome the transplant shock, but a larger amount can dry the plant out and kill it.)
Fill your containers and label them for the plant.
Carefully use a craft stick or butter knife to scoop the seedling out of the tray and gently place in the new container.
Water lightly to remove air pockets.
Place back on shelves under lights. (The lights may need to be raised since the containers are likely taller now, keep the light between 2 and 6 inches above the plants.)
As the plants grow, raise the light and keep the soil damp.
a fan is helpful as they grow to strengthen their stems and will be beneficial later when they are exposed to wind. (I plug mine into the timer with the lights so they are on during the day and off at night. Night is time for regeneration and rest.)
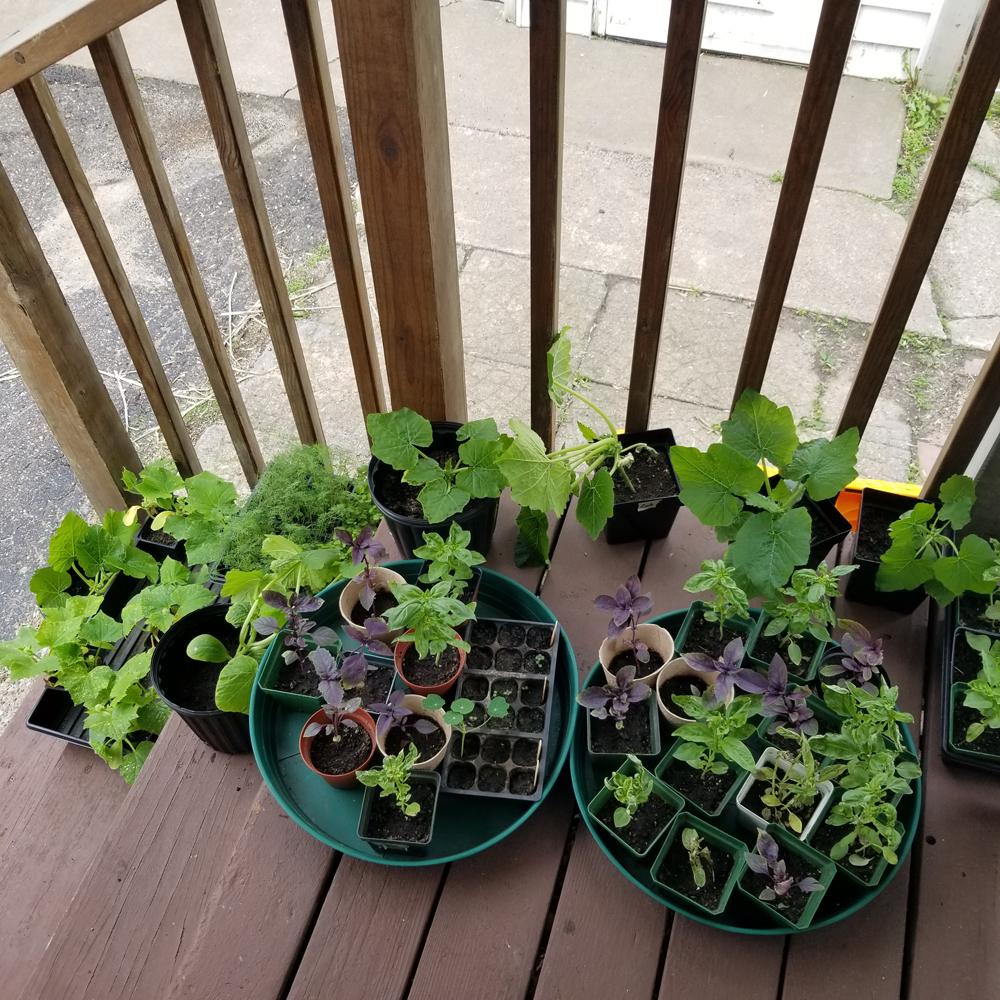
The 2nd transplanting will happen outside into your garden bed or containers.
Before you can transplant your seedlings into the garden, you will have to harden them off- or get them used to the elements like bright sunlight and wind. If you have been using a fan and lights this is good but outside will still be more of both.
When can you transplant out into the garden?
This is depending on your weather and the plant in question. Many seed packets will have some indication, but not all.
We are looking for the typical nighttime lows for your climate and the low temperature tolerance for each plant. The packet is likely going to have “ideal” temp which is when the plant grows best. But that might not be the lowest temp they will tolerate. Remember we want to have the plants in the ground as long as possible to get them to maturity, but we don’t want to stunt or kill them by putting them out in too cold of weather. There are many growing guides online where you can find information on what temperature your plants can handle. Check with your local extension office or google them.
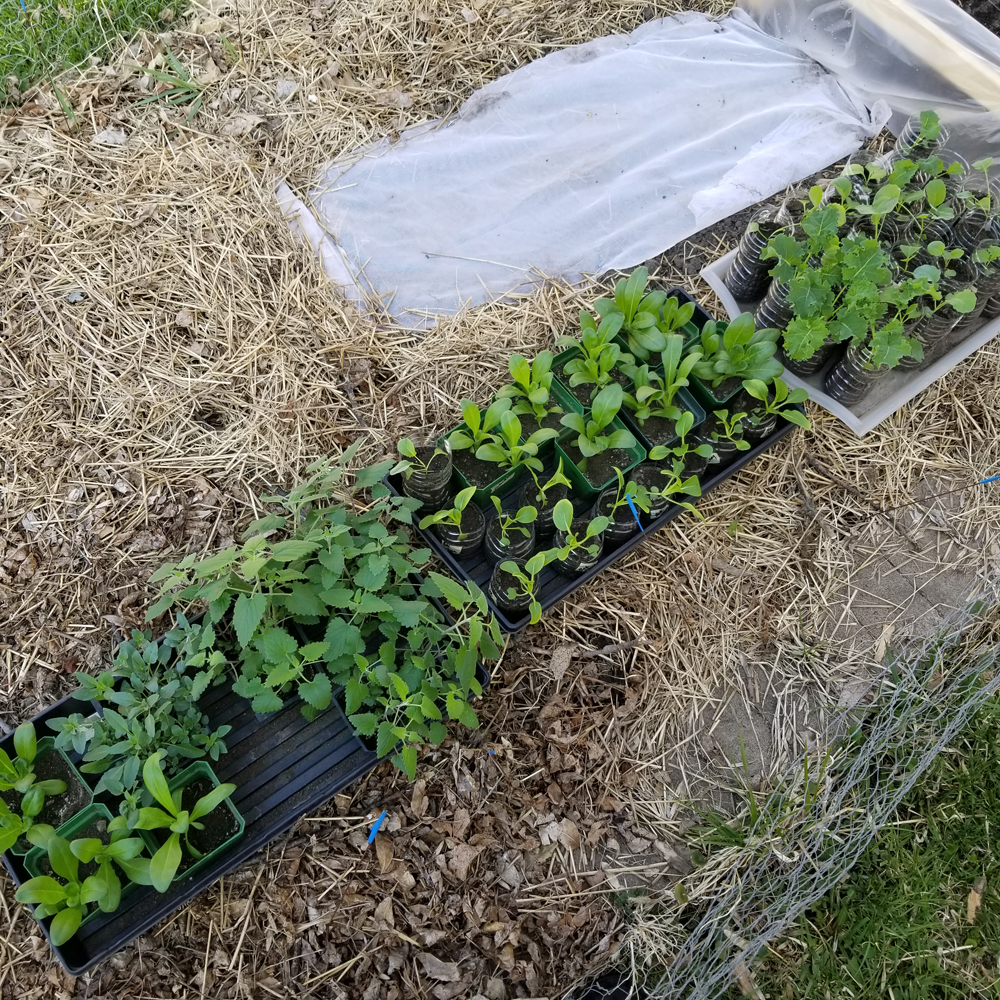
About 2 weeks before the plants are going to be transplanted, you should start taking them outside during the day. First setting them in shade for a couple hours, then slowly increasing the time and moving them toward a sunny spot, ideally near where they will end up. They will get droopy and dry out at first, but each day gradually get stronger. Taller plants may need bracing if you have a particularly windy day, or set them in a sheltered area where they don’t get the full force of the wind. Keep them watered but not overwatered.
This stage can take some time in moving them each day but it helps the plant get used to the outdoors and get stronger for transplant. Hopefully, the last few days before transplant your seedlings have gotten strong enough to stay out all day and overnight. I like to set them where they will be transplanted if possible.
Once the plant is hardened off, it's ready to transplant in the garden or container.
If you enjoyed this post and are interested in getting started gardening, I have created a beginner gardening course walking you step by step through planning a garden, seeds and seedlings and transplanting. Click here to learn more and snag beta pricing. 


0 Comments