
Are you interested in starting a garden but not sure where to start?
Are you wanting to provide food for your family or just have some fresh vegetables or herbs in the summer or somewhere in between? In this post I will cover the basics for getting started gardening. Here are 10 basic steps to gardening.
How to Start a Garden – 10 Basic Steps
1. Decide what you’d like to grow
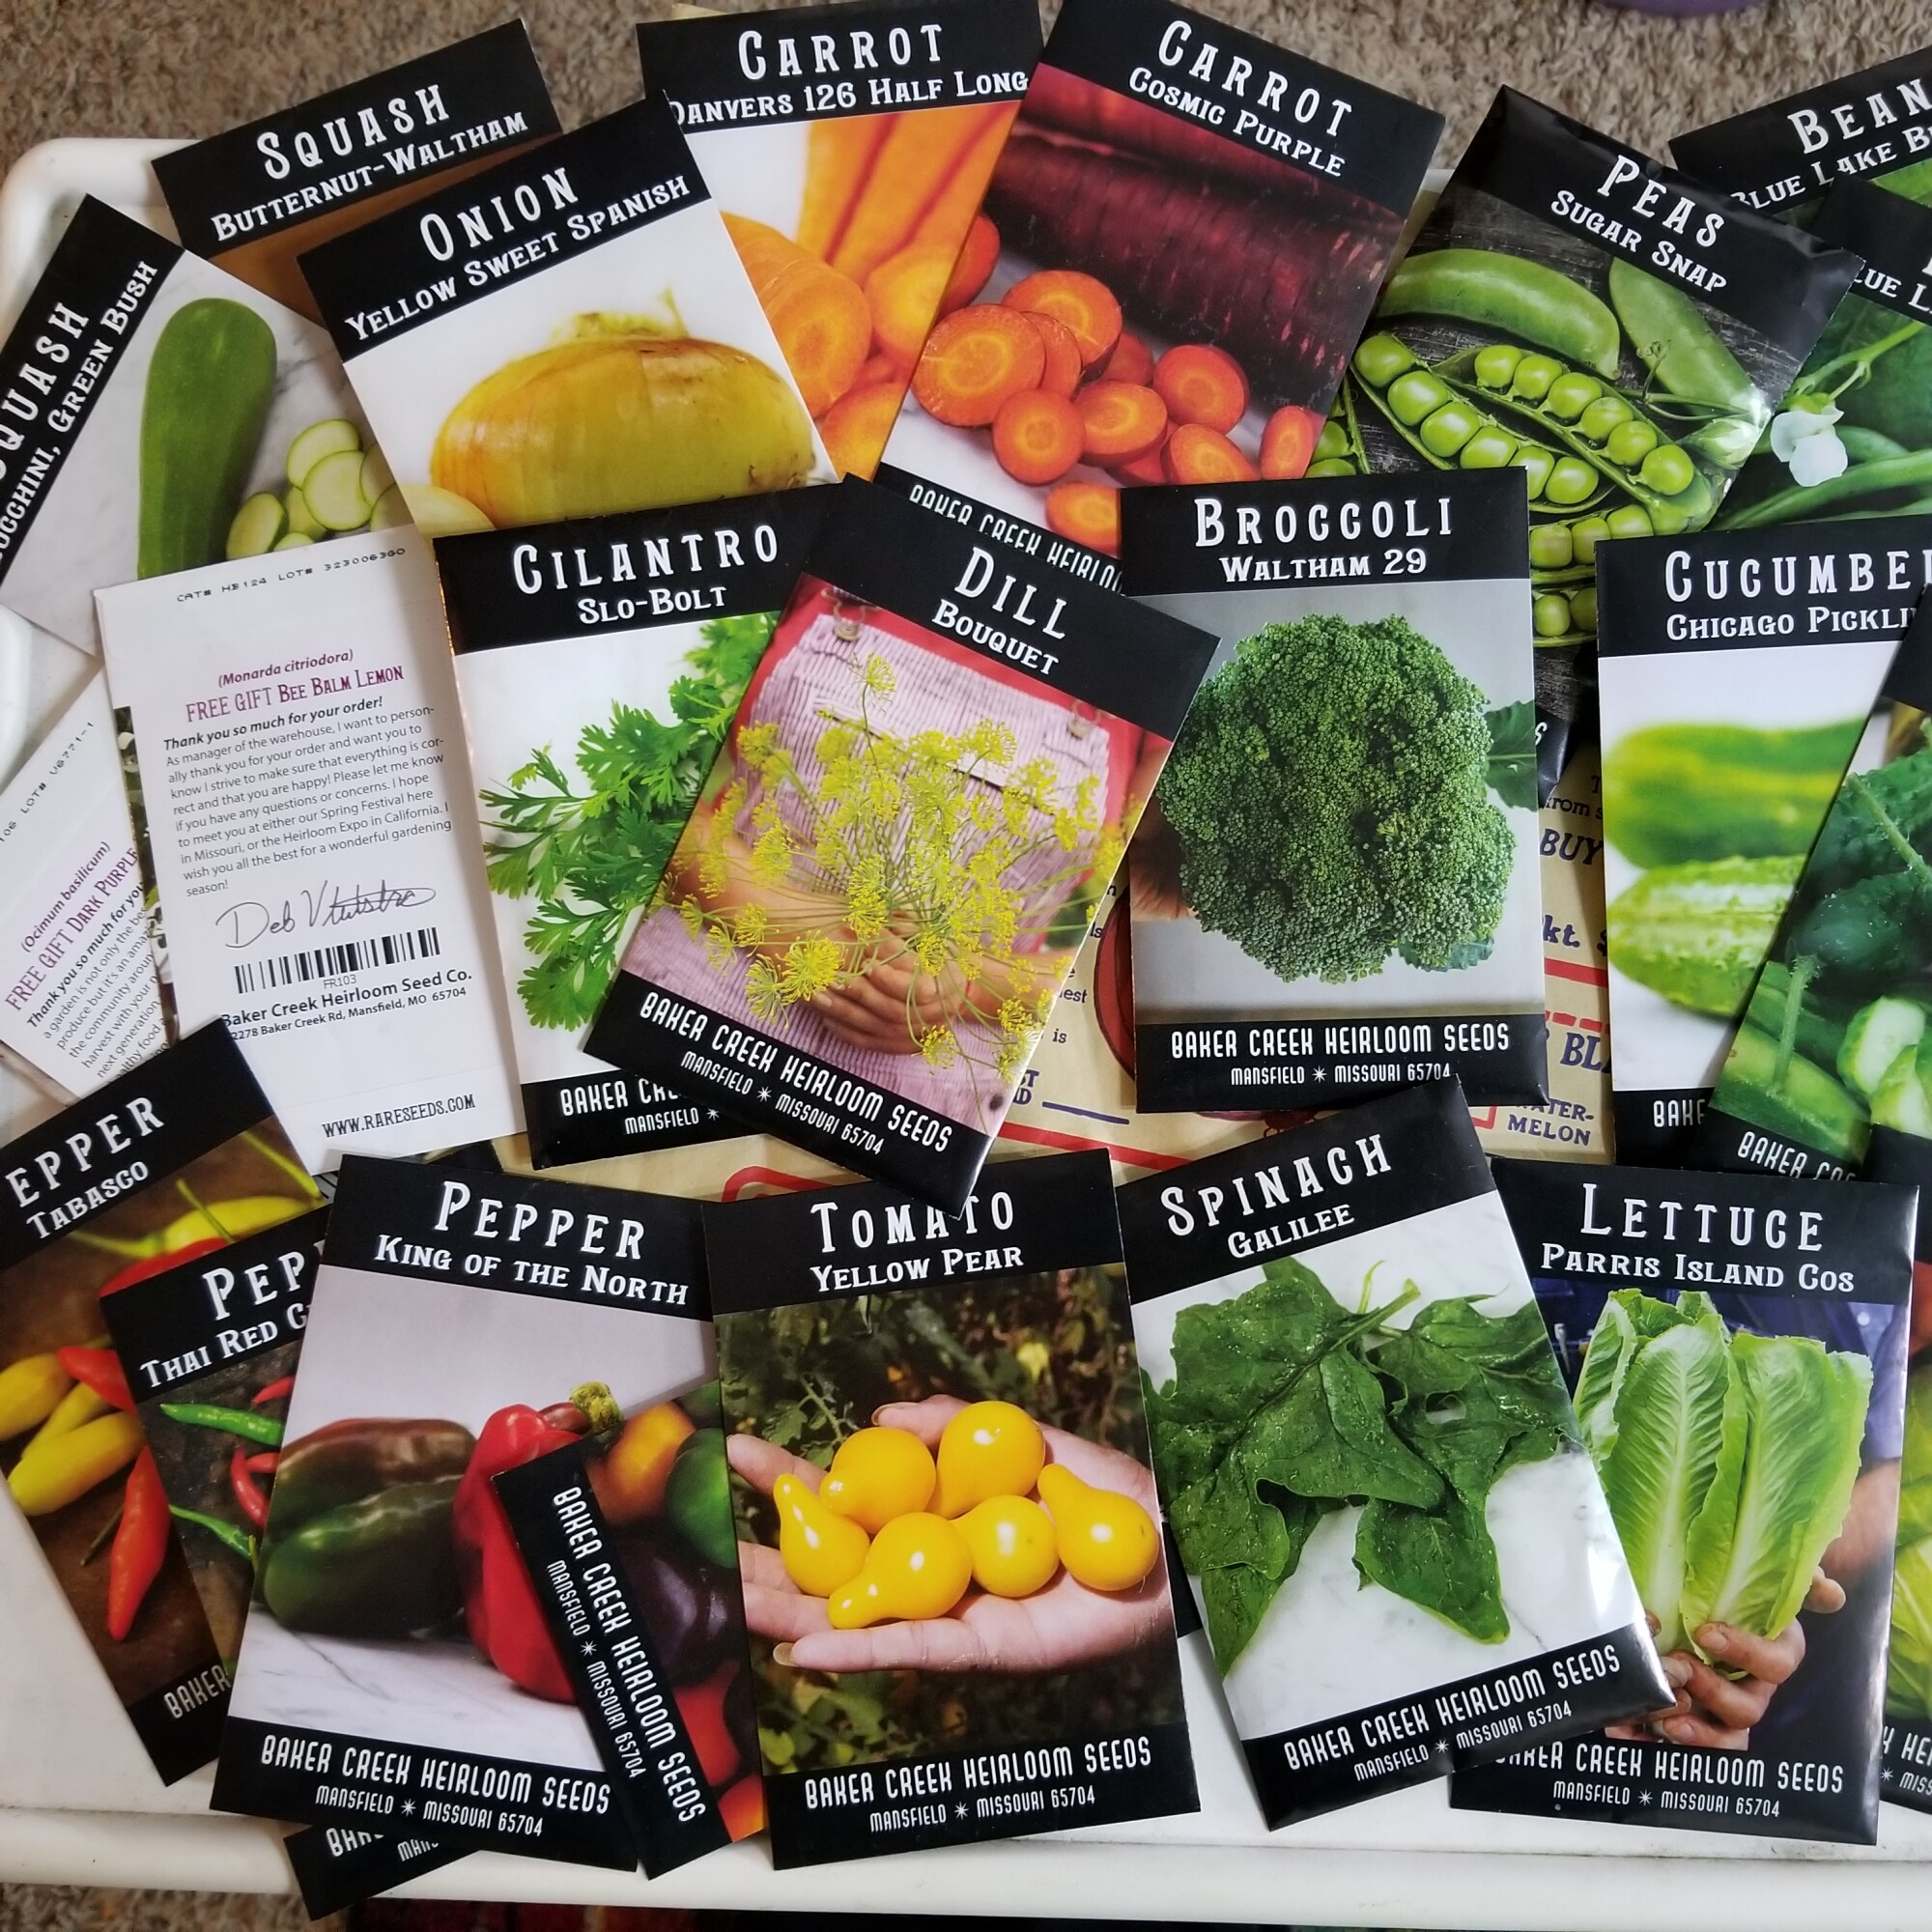 veggie seed packets
Think about veggies you would like to eat. If you or your family won't eat it, then there isn't any reason to grow it. The exception being flowers and some herbs, because many will attract pollinators and deter pests, as well as look pretty and smell good.
Also, think about the growing season for your area. Most seed varieties will have some indication for zone hardiness on the packaging. Check out the Almanac's zone hardiness map here.
I also like to look at the days to full maturity, because I'm in a more northern zone of 4b, I would likely pick a variety that will mature in 60 days as opposed to 100 days because my growing season is much shorter.
2. Choose a location
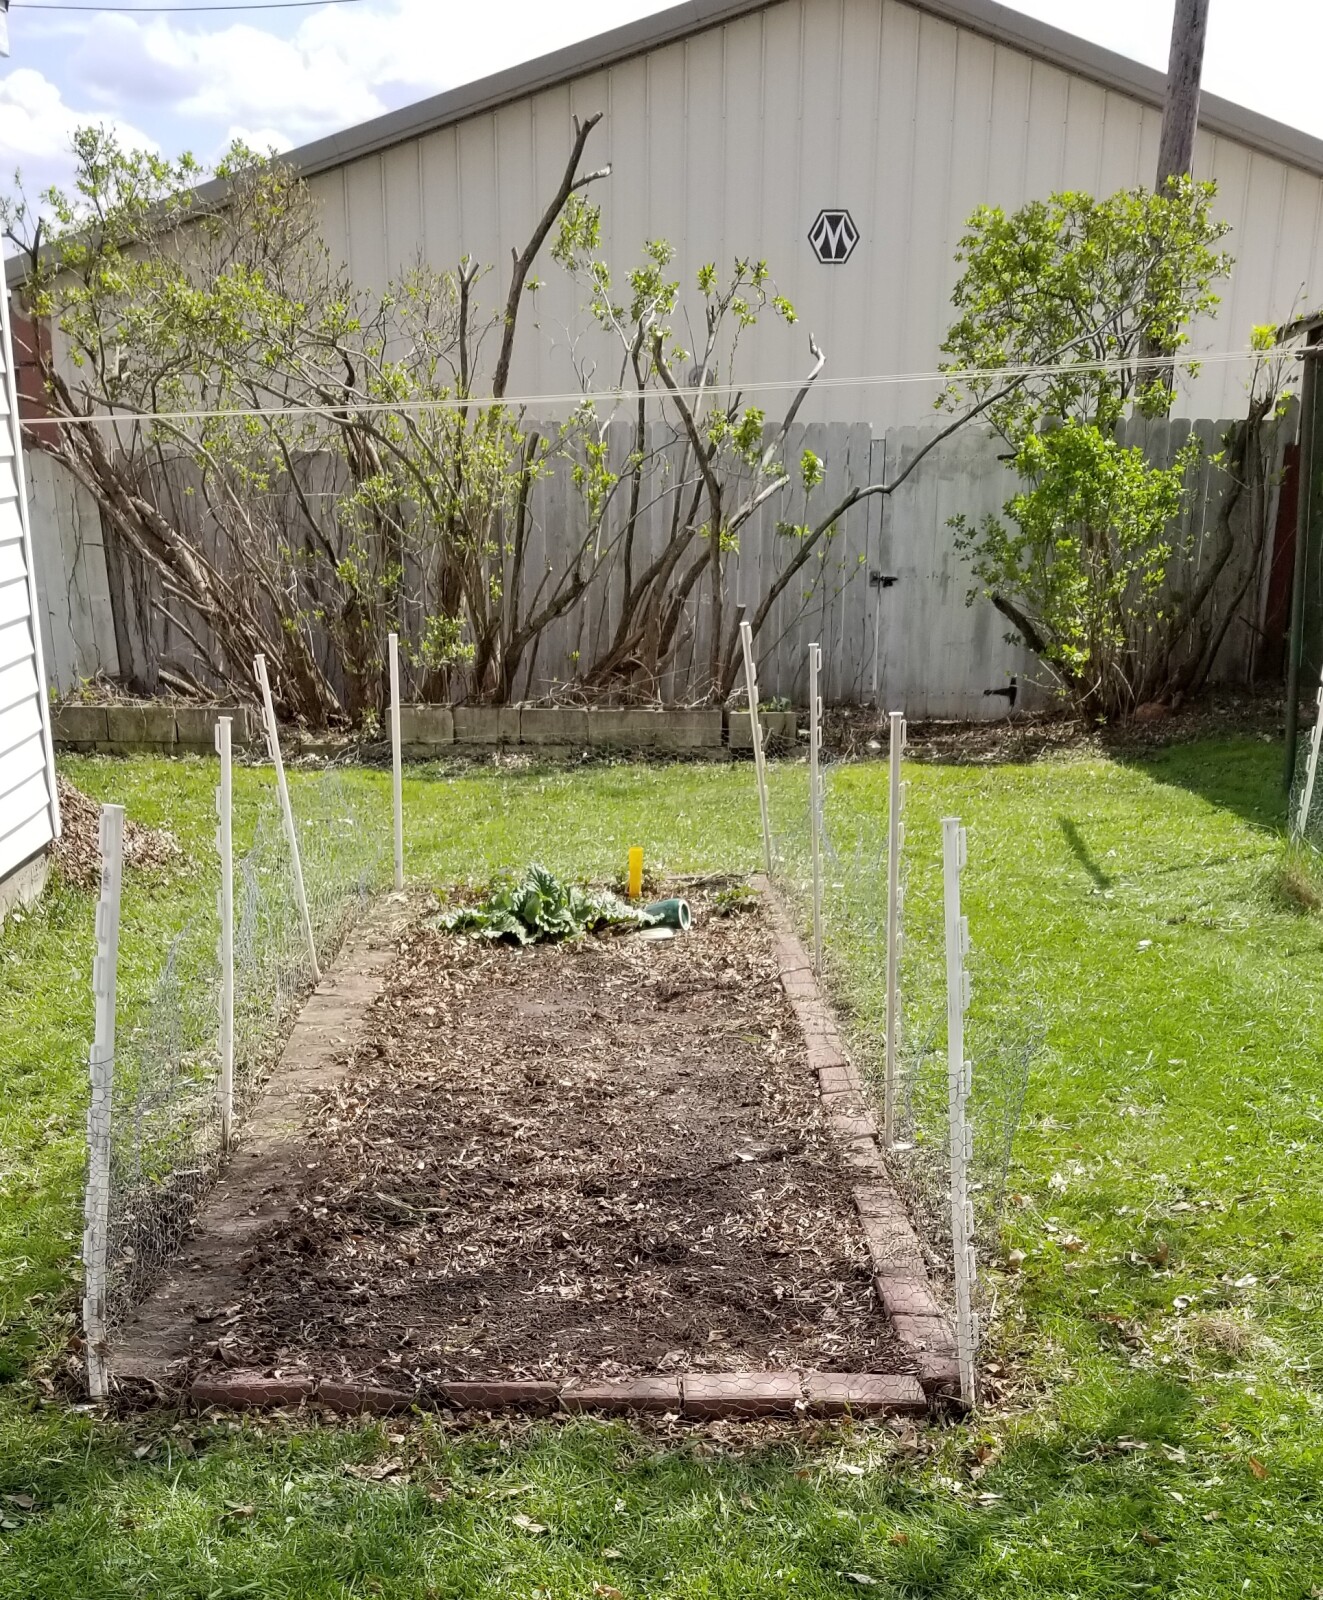
 future garden plot
Most veggies want full sun, with a minimum of 5hrs of direct sunlight for fruiting. Some plants like greens, herbs, and root veggies will grow well in partial shade. If you have a particularly hot summer, like Texas for example, you may want mid afternoon shade.
Also, pay attention to other bushes and trees in your yard. If you have a black walnut tree, not many plants will grow near it. The roots of larger trees may extend further than expected from the base of the trunk and encroach on your garden; stealing the nutrients and stunting the root growth of the veggies.
Pay attention to wild /domestic animal paths. If you have a plethora of rabbits in your yard (like I do), or a neighborhood dog that cuts through regularly, you might want to put up a fence to keep some critters out.
Consider access to all parts of the garden. Are you going to be able to access each area to harvest as produce is ready?
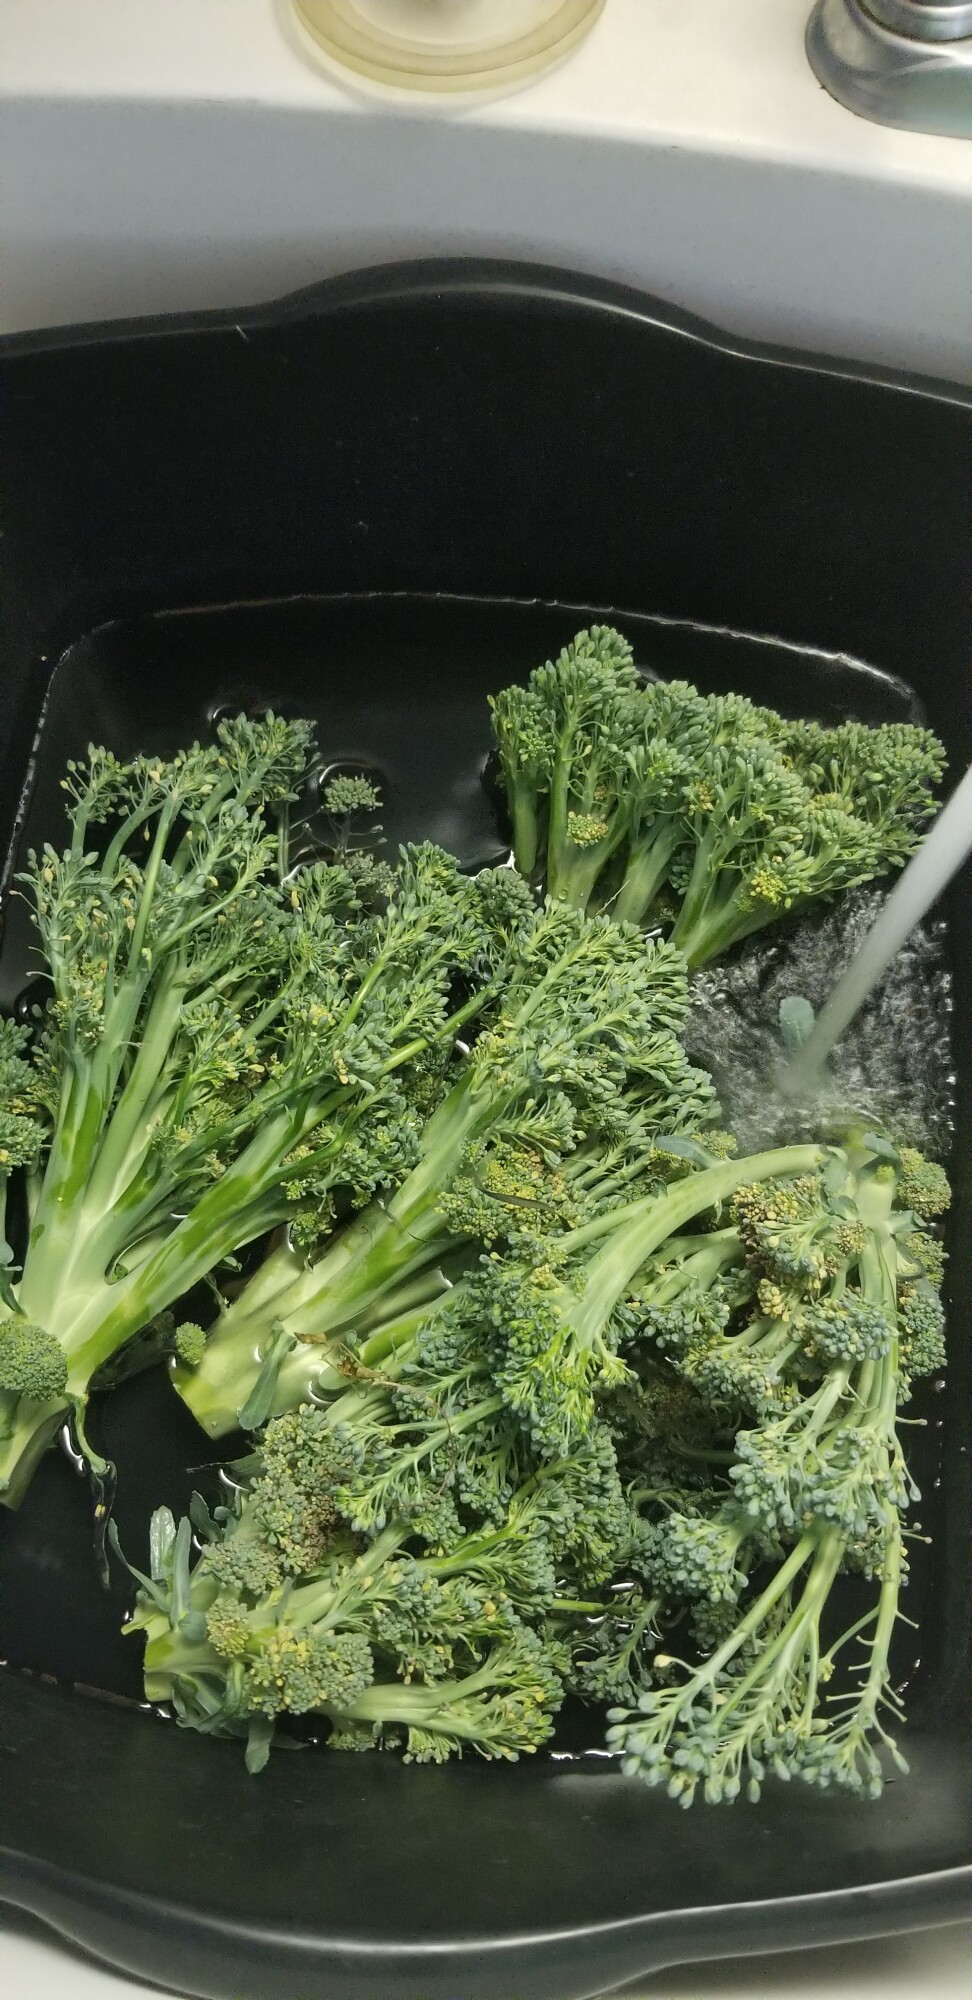
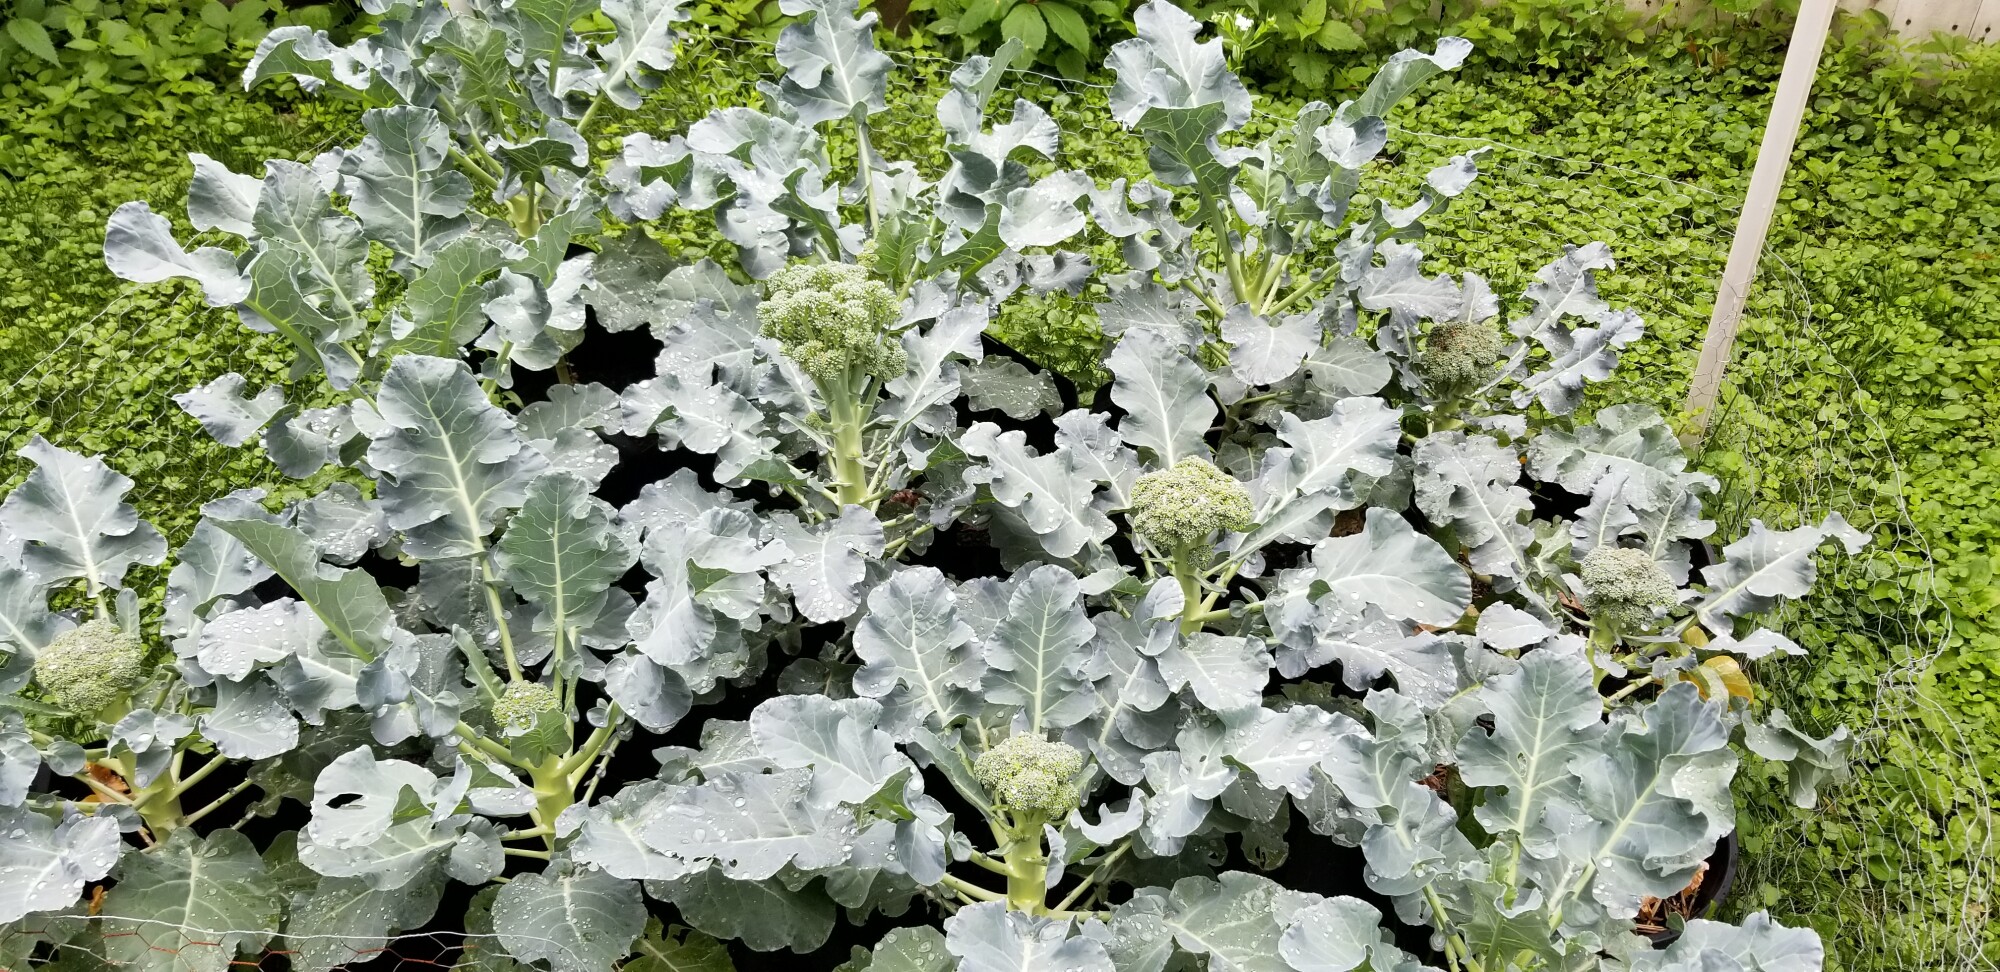 broccoli in grow bagsIf you don't have ground space to plant things you can get grow bags or containers to grow smaller plants. Many vegetables have varieties labeled for container growing. Herbs easily grow in pots or window boxes. The location is still an aspect so set up your containers to get good sunlight. If you are trying a fruiting veggies like tomatoes or peppers they should be located where pollinators will find them.
3. Plan your garden beds
 raised bed
Once you know what you would like to grow it's time to plan where things will grow in each bed and the types of beds you want. Consider growing things in block or groups instead of rows. The idea is to minimize walking paths and maximize growing space, but blocks or beds should be less than 4 ft wide at any point so you aren't tempted to step into the bed and compress the soil.
Starting with a small garden is actually better as you can get your feet wet and learn things without a lot of time and materials invested. You can always do more the next year after you have learned what works for you. A small well tended garden can produce the same or more than a large untended garden.
Raised beds look great and may be more accessible to some by being higher off the ground, but they also dry out faster. In particularly dry areas, a sunken bed can help collect moisture. Hills or mounds can be used to make one section of a bed raised for plants that don't like wet feet.
If you are short on space consider vertical gardening. I add trellises to the edges of my beds for vine like plants. This saves space from the vines taking over the garden. Cucumbers and snow peas love to climb on a trellis. I manually wind the squash and sweet potato vines on trellises to save space.
Another way to use small space is to plant in Square Foot Garden style where each bed is broken down into 1 ft squares. each square is planted with the maximum number of plants it can sustain based on the type of plant. I personally use this technique in my yard. I started with a bed that was 4 ft by 15ft and now have 1 bed that is 4 ft wide by 17ft long (Pictured at the top of the page) and one bed that is 3ft by 3ft. My third bed is a keyhole layout that is a 7 f by 7ft square but there is a 2ft wide by 5 ft long "path" from one side so I can walk in and reach all the areas of growing space. Each of the larger gardens have the same 48 squares to plant in, plus the long garden has 5ft at one end that is perennial rhubarb and strawberry patch.
Use of companion planting references can be helpful when planning. These lists are compiled by gardeners all over as to which
plants like other plants as a direct neighbor or if there is a plant that doesn't do well next to one. Click Here to download a pdf of my companion planting chart. It's not exhaustive, and leans more toward plants I grow myself. Many companion planting lists can contradict each other based on location and varieties so I did did the best I could with my research to eliminate as much contradiction as possible.
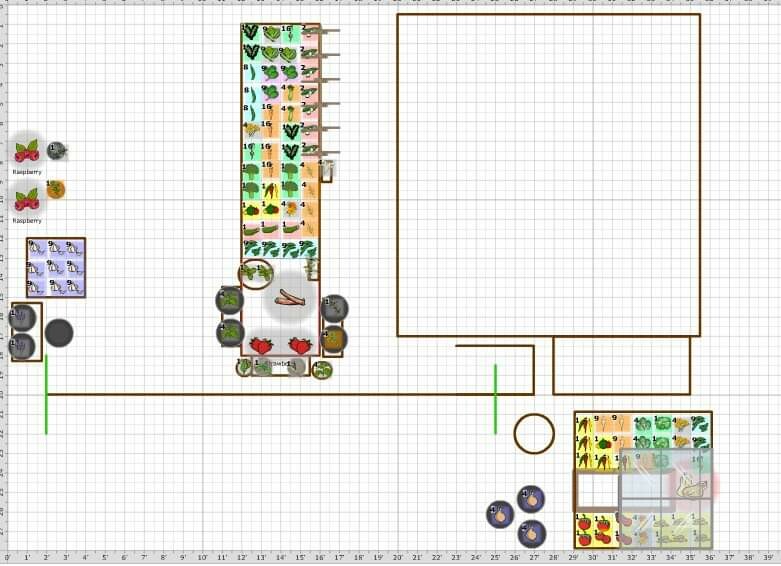 garden plan in Old Farmers Almanac garden plannerYou can draw your beds out on paper to plan where you will plant each thing, or there are garden planners online that can help with that as well. Once you have the beds planned out you know how much of each seed or how many transplants you will need.
4. Invest in basic garden tools
Consider getting a few simple tools for you garden to make the process easier.
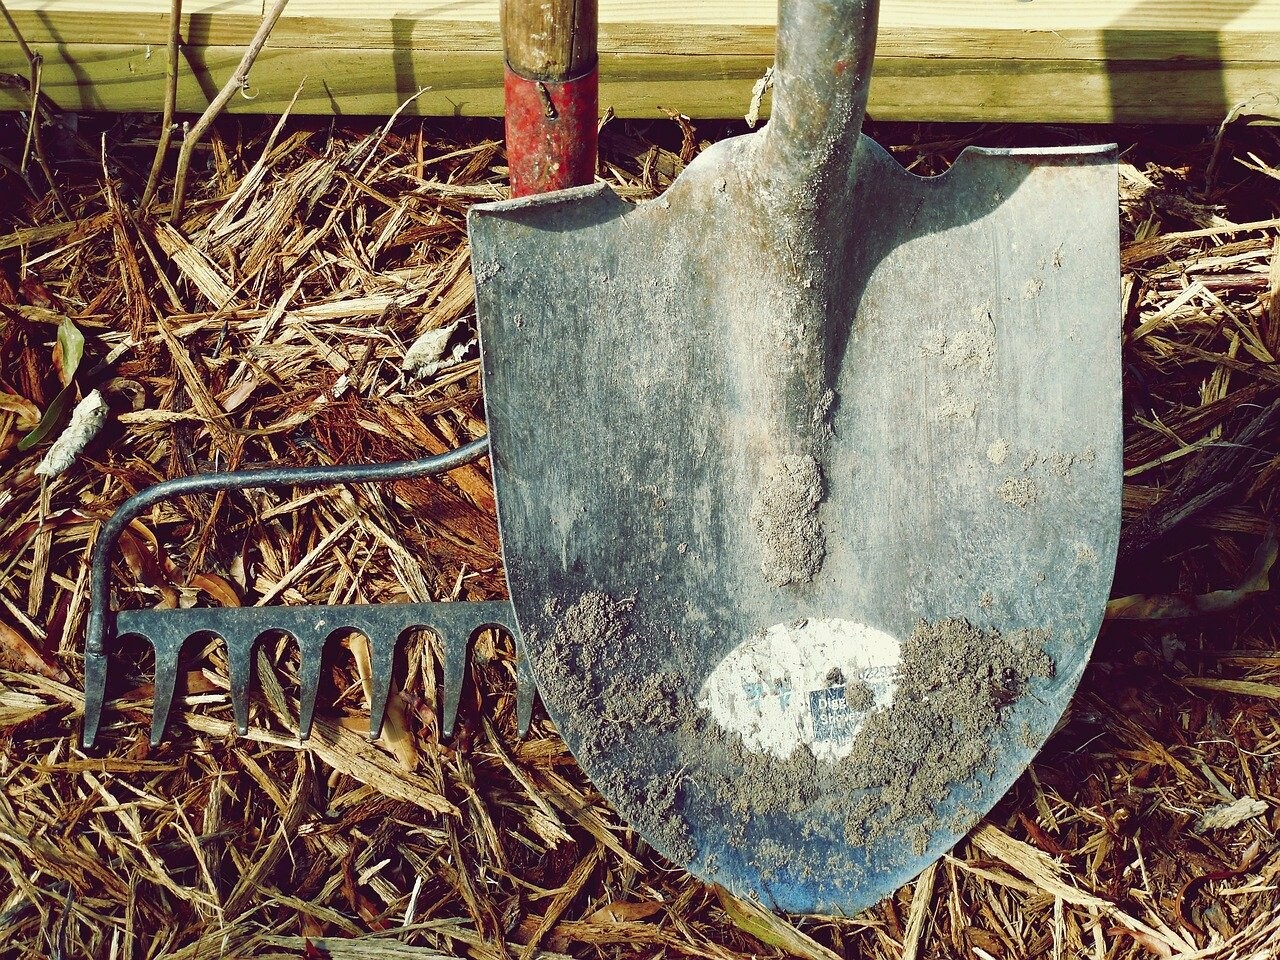
Basic tools:
Leaf rake
Soil rake
garden shovel
garden hoe
hand tools
If the soil hasn't been used for gardening in a while it's best to break it up and till it. Especially if it was lawn that has been walked on and compacted. Compacted soil will allow water to run off rather than soak in and be much more difficult for digging in to transplant and for plants to grow roots through. There are hand tool tillers and motorized tillers. If you are just starting out on a small garden you may not want the expense of a motorized tiller. This is ok. A manual hand tiller works great. In fact, last year my garden was too wet to use the motorized tiller so I dug up both beds with a potato fork. Check back for a follow up article on soil moisture and working the ground. This is a simple tool with wide tines and a shovel style handle. Great for gently breaking up the soil, or digging root veggies.
Garden gloves are useful for days when you need to work a lot of soil for transplanting or pulling a lot of weeds.
Small hand trowels will work for most transplanting digging needs. You may want a hoe or rake if you are doing a larger garden in rows. When I plant in squares, any seeds just need a finger poked into the soil at the depth specified.
Don’t buy cheap plastic tools if you can avoid it. Shop yard and estate sales for bargains on real metal tools, or visit your local garden center. Get tools that are the right size for you to reduce the risk of injury.
Good tools will save time and effort, and your back. Keep tools clean and sharp, just like you should treat a good knife.
5. Test your soil
Before you start building your garden beds or planting, you need to know something about your soil.
Is your soil acidic, alkaline or neutral pH?
Do you have sand, clay, silt, rocks, or a mix of all four?
Is there a risk of soil contamination from nearby structures, roadways or other sources?
Does it have a good amount of basic nutrients?
Some of these characteristics can be determined just from looking at the soil. Others may require home tests or professional lab tests. (For instance, lead contamination from old house paint or nearby roadways with heavy traffic is a problem in some areas.)
Most garden crops prefer soil with a pH around 7 (neutral), although some like conditions that are slightly acidic (potatoes, for instance) or slightly alkaline (brassicas). Balanced nutrient levels are also important, as is the presence of organic matter.
Testing Soil Structure with the Squeeze Test
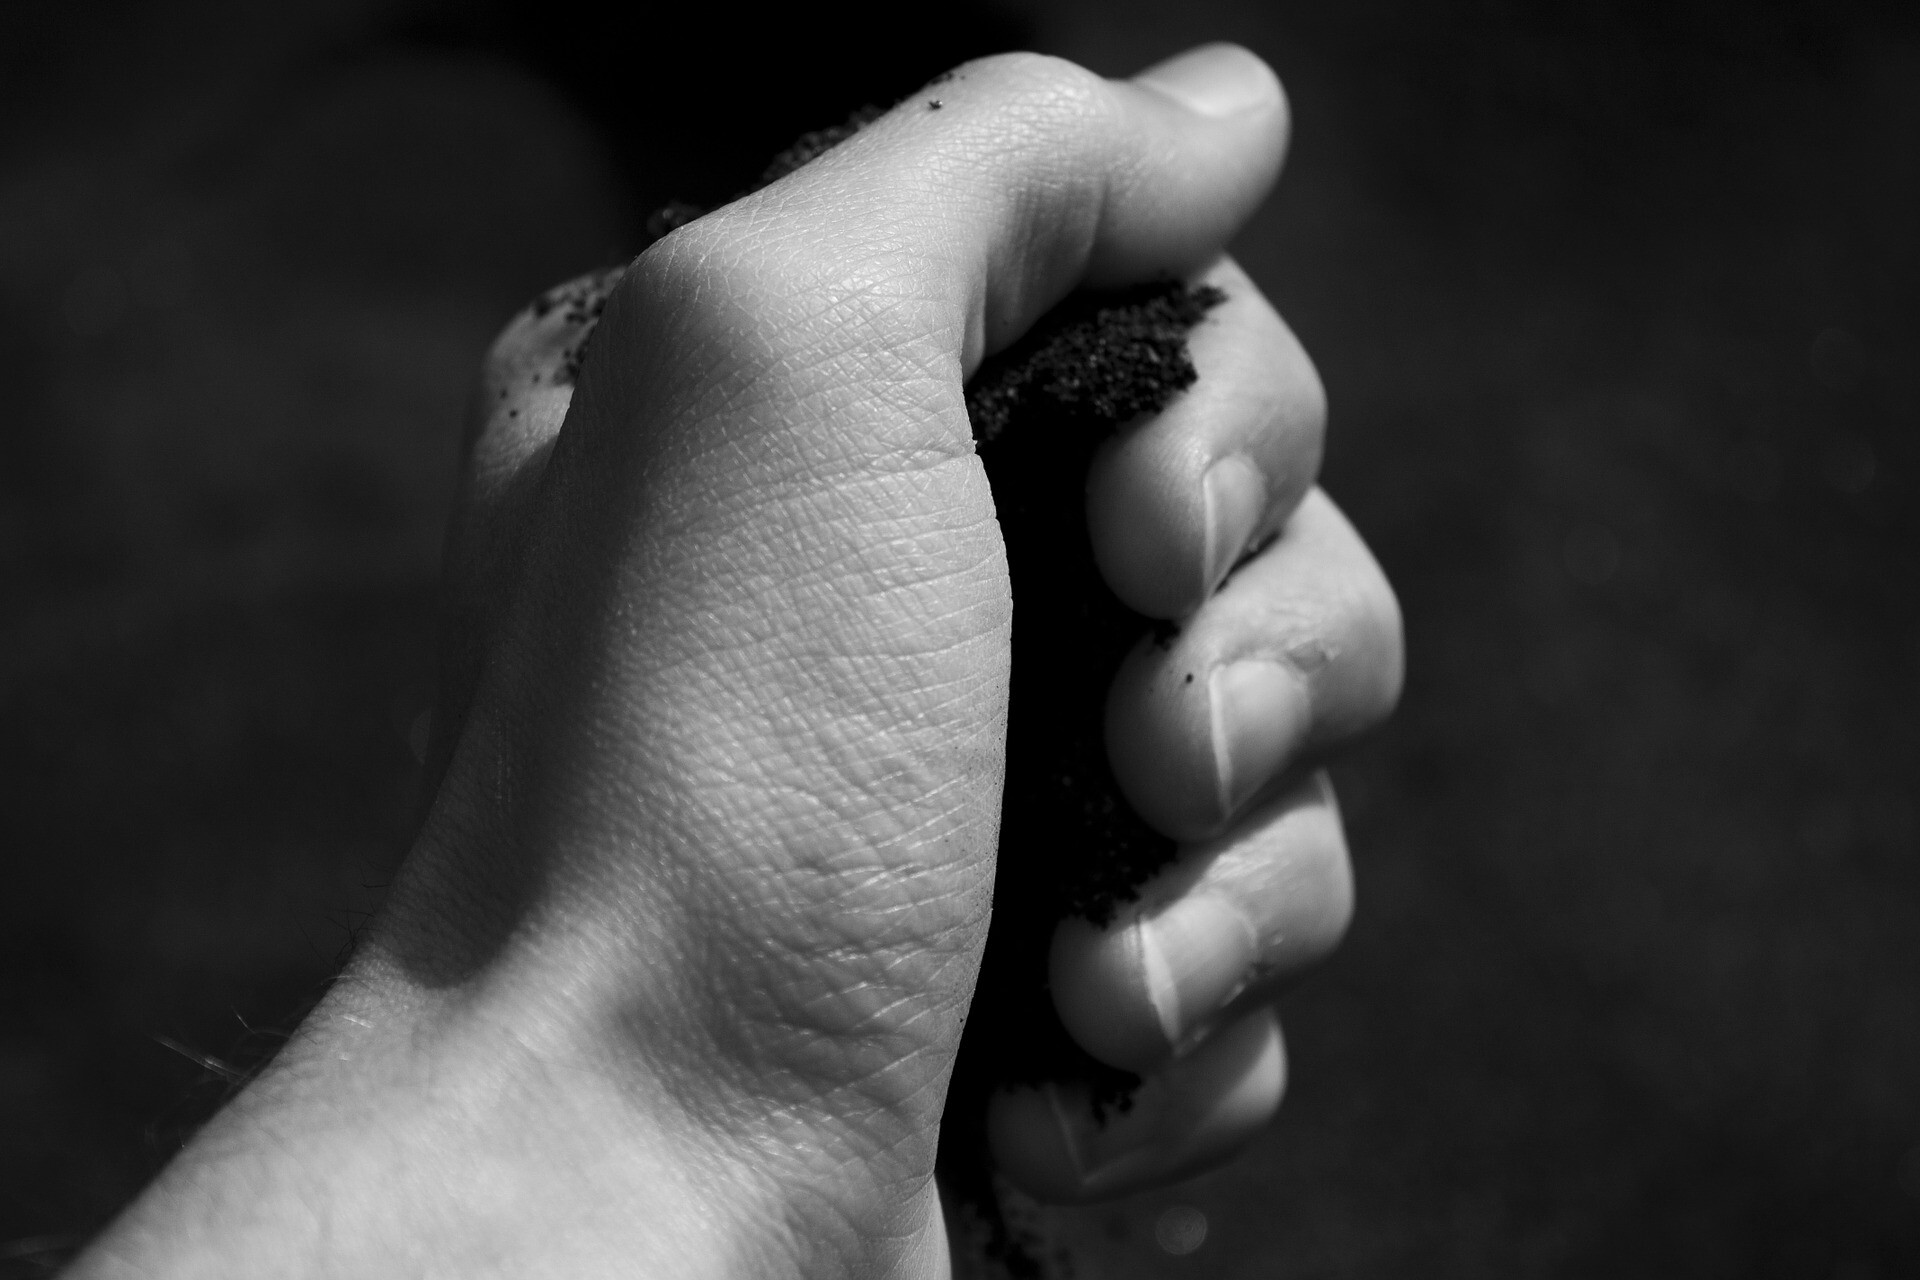
It doesn’t get much simpler than this. When soil is moist (not soggy), grab a handful and give it a squeeze. (If testing in the yard, dig below the sod.) Then, open your hand, poke the dirt ball and look at the soil texture.
If it’s a sticky lump that won’t easily break apart, you have a lot of clay.
Soil that crumbles easily and won’t hold the shape of the fist has excess sand (or gravel).
If the contents of your hand look like crumbly chocolate cake, and falls apart with gentle prodding, you have loam – a balanced mix of sand and clay with organic matter.
Home Soil Test Kits
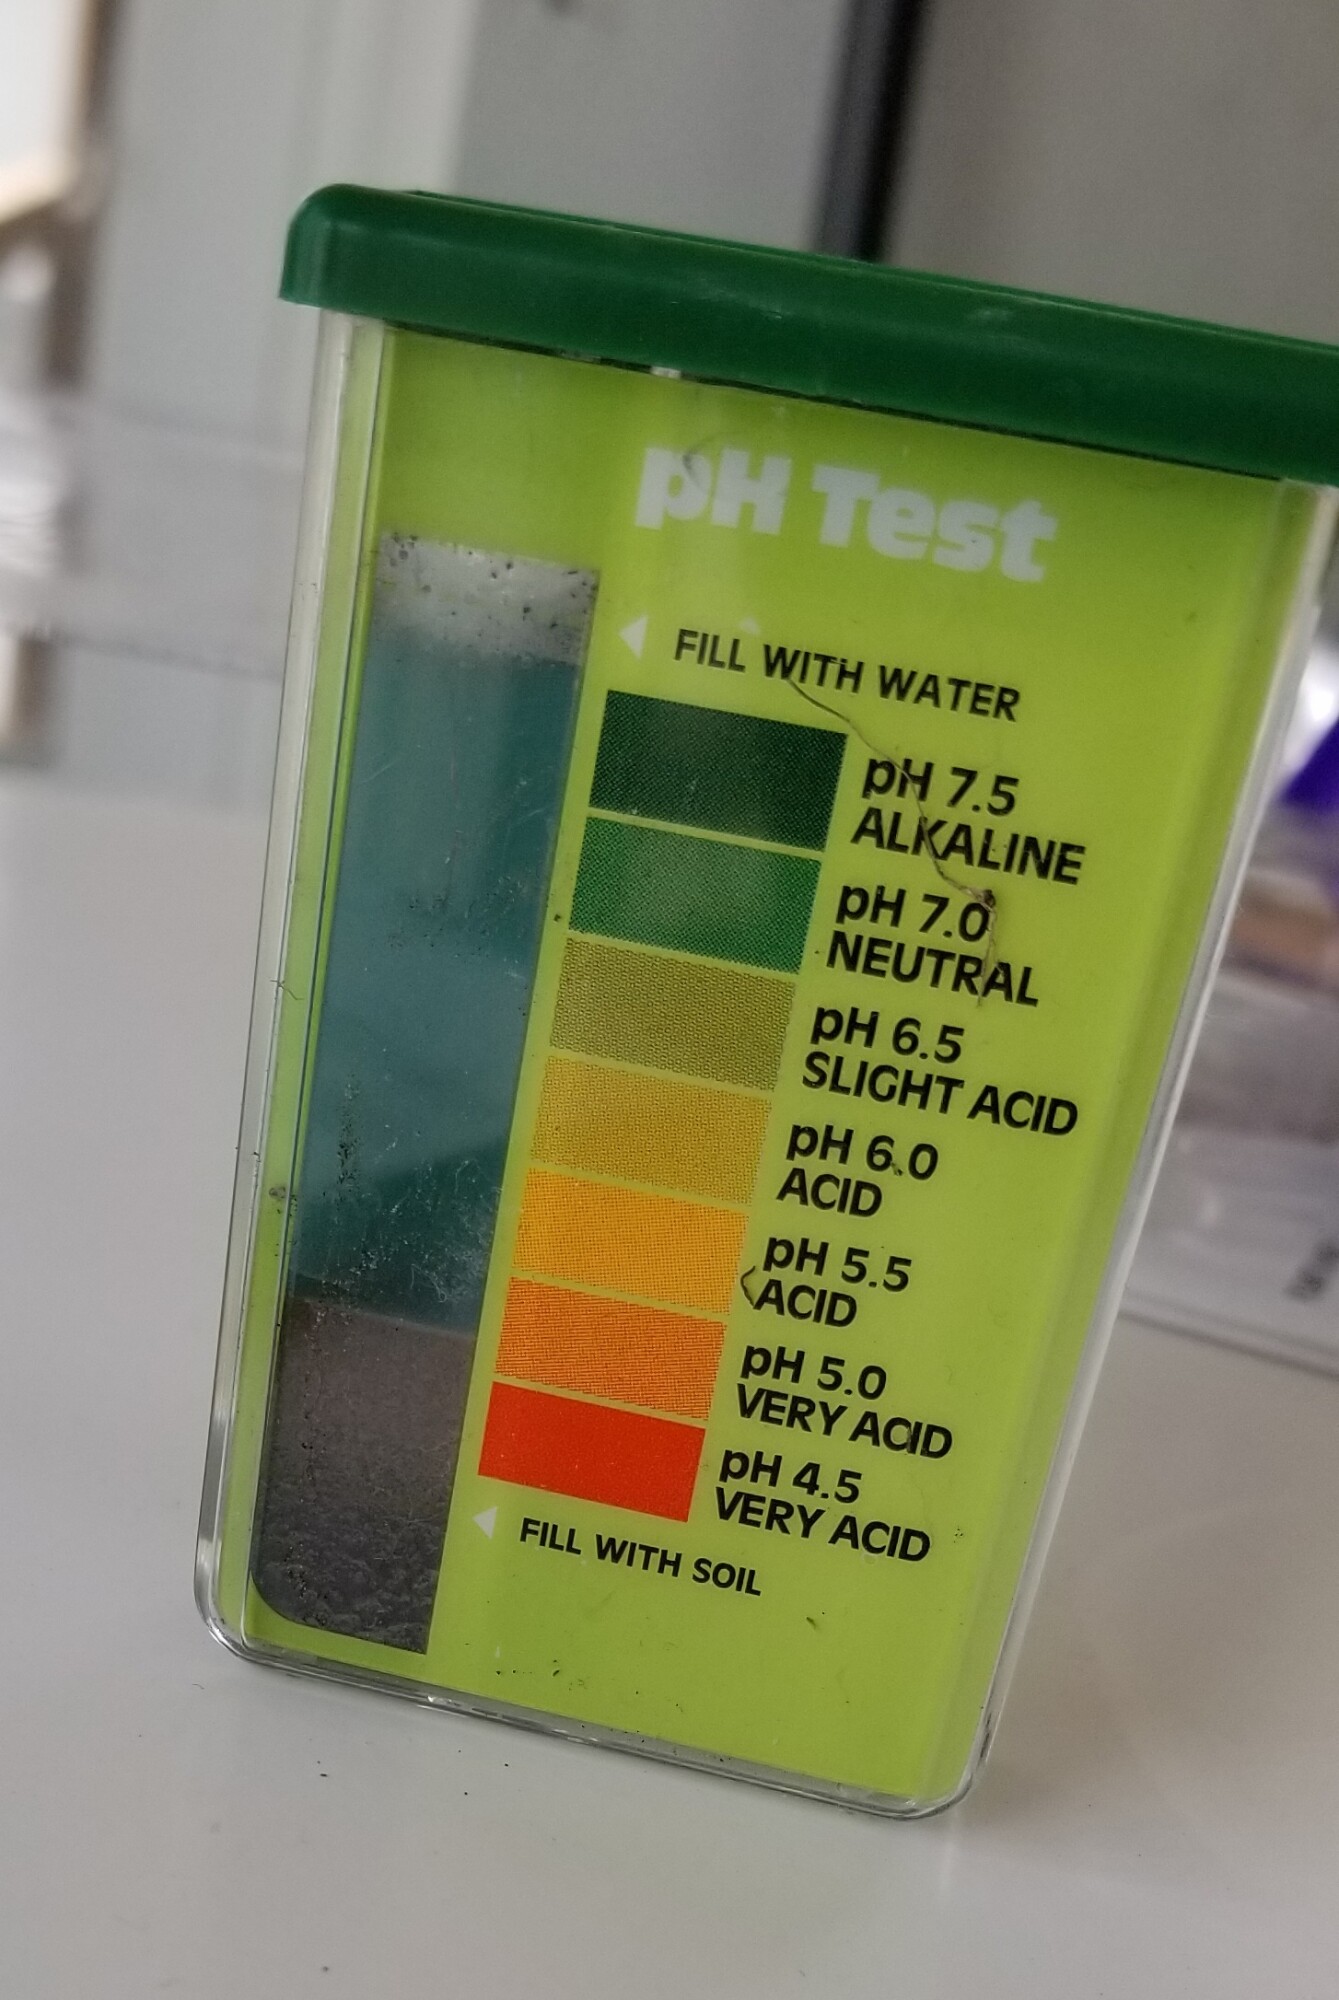 ph test
Rapitest makes home soil test kits. These test pH, nitrogen, phosphorus, and potassium (N, P, and K) with powdered reagents. You prep a sample, add the powder, shake and wait for color.
For the pH test, you add soil, then water, then reagent. For the other tests, you mix a soil slurry with excess water, and then test the water with the reagents.
These tests are simple and easy to use, but may not be the most accurate. I take them as a “ball park estimate”, and fun experiment for the kids. If you are just starting out it can give you an idea of what your soil is like.
Weeds
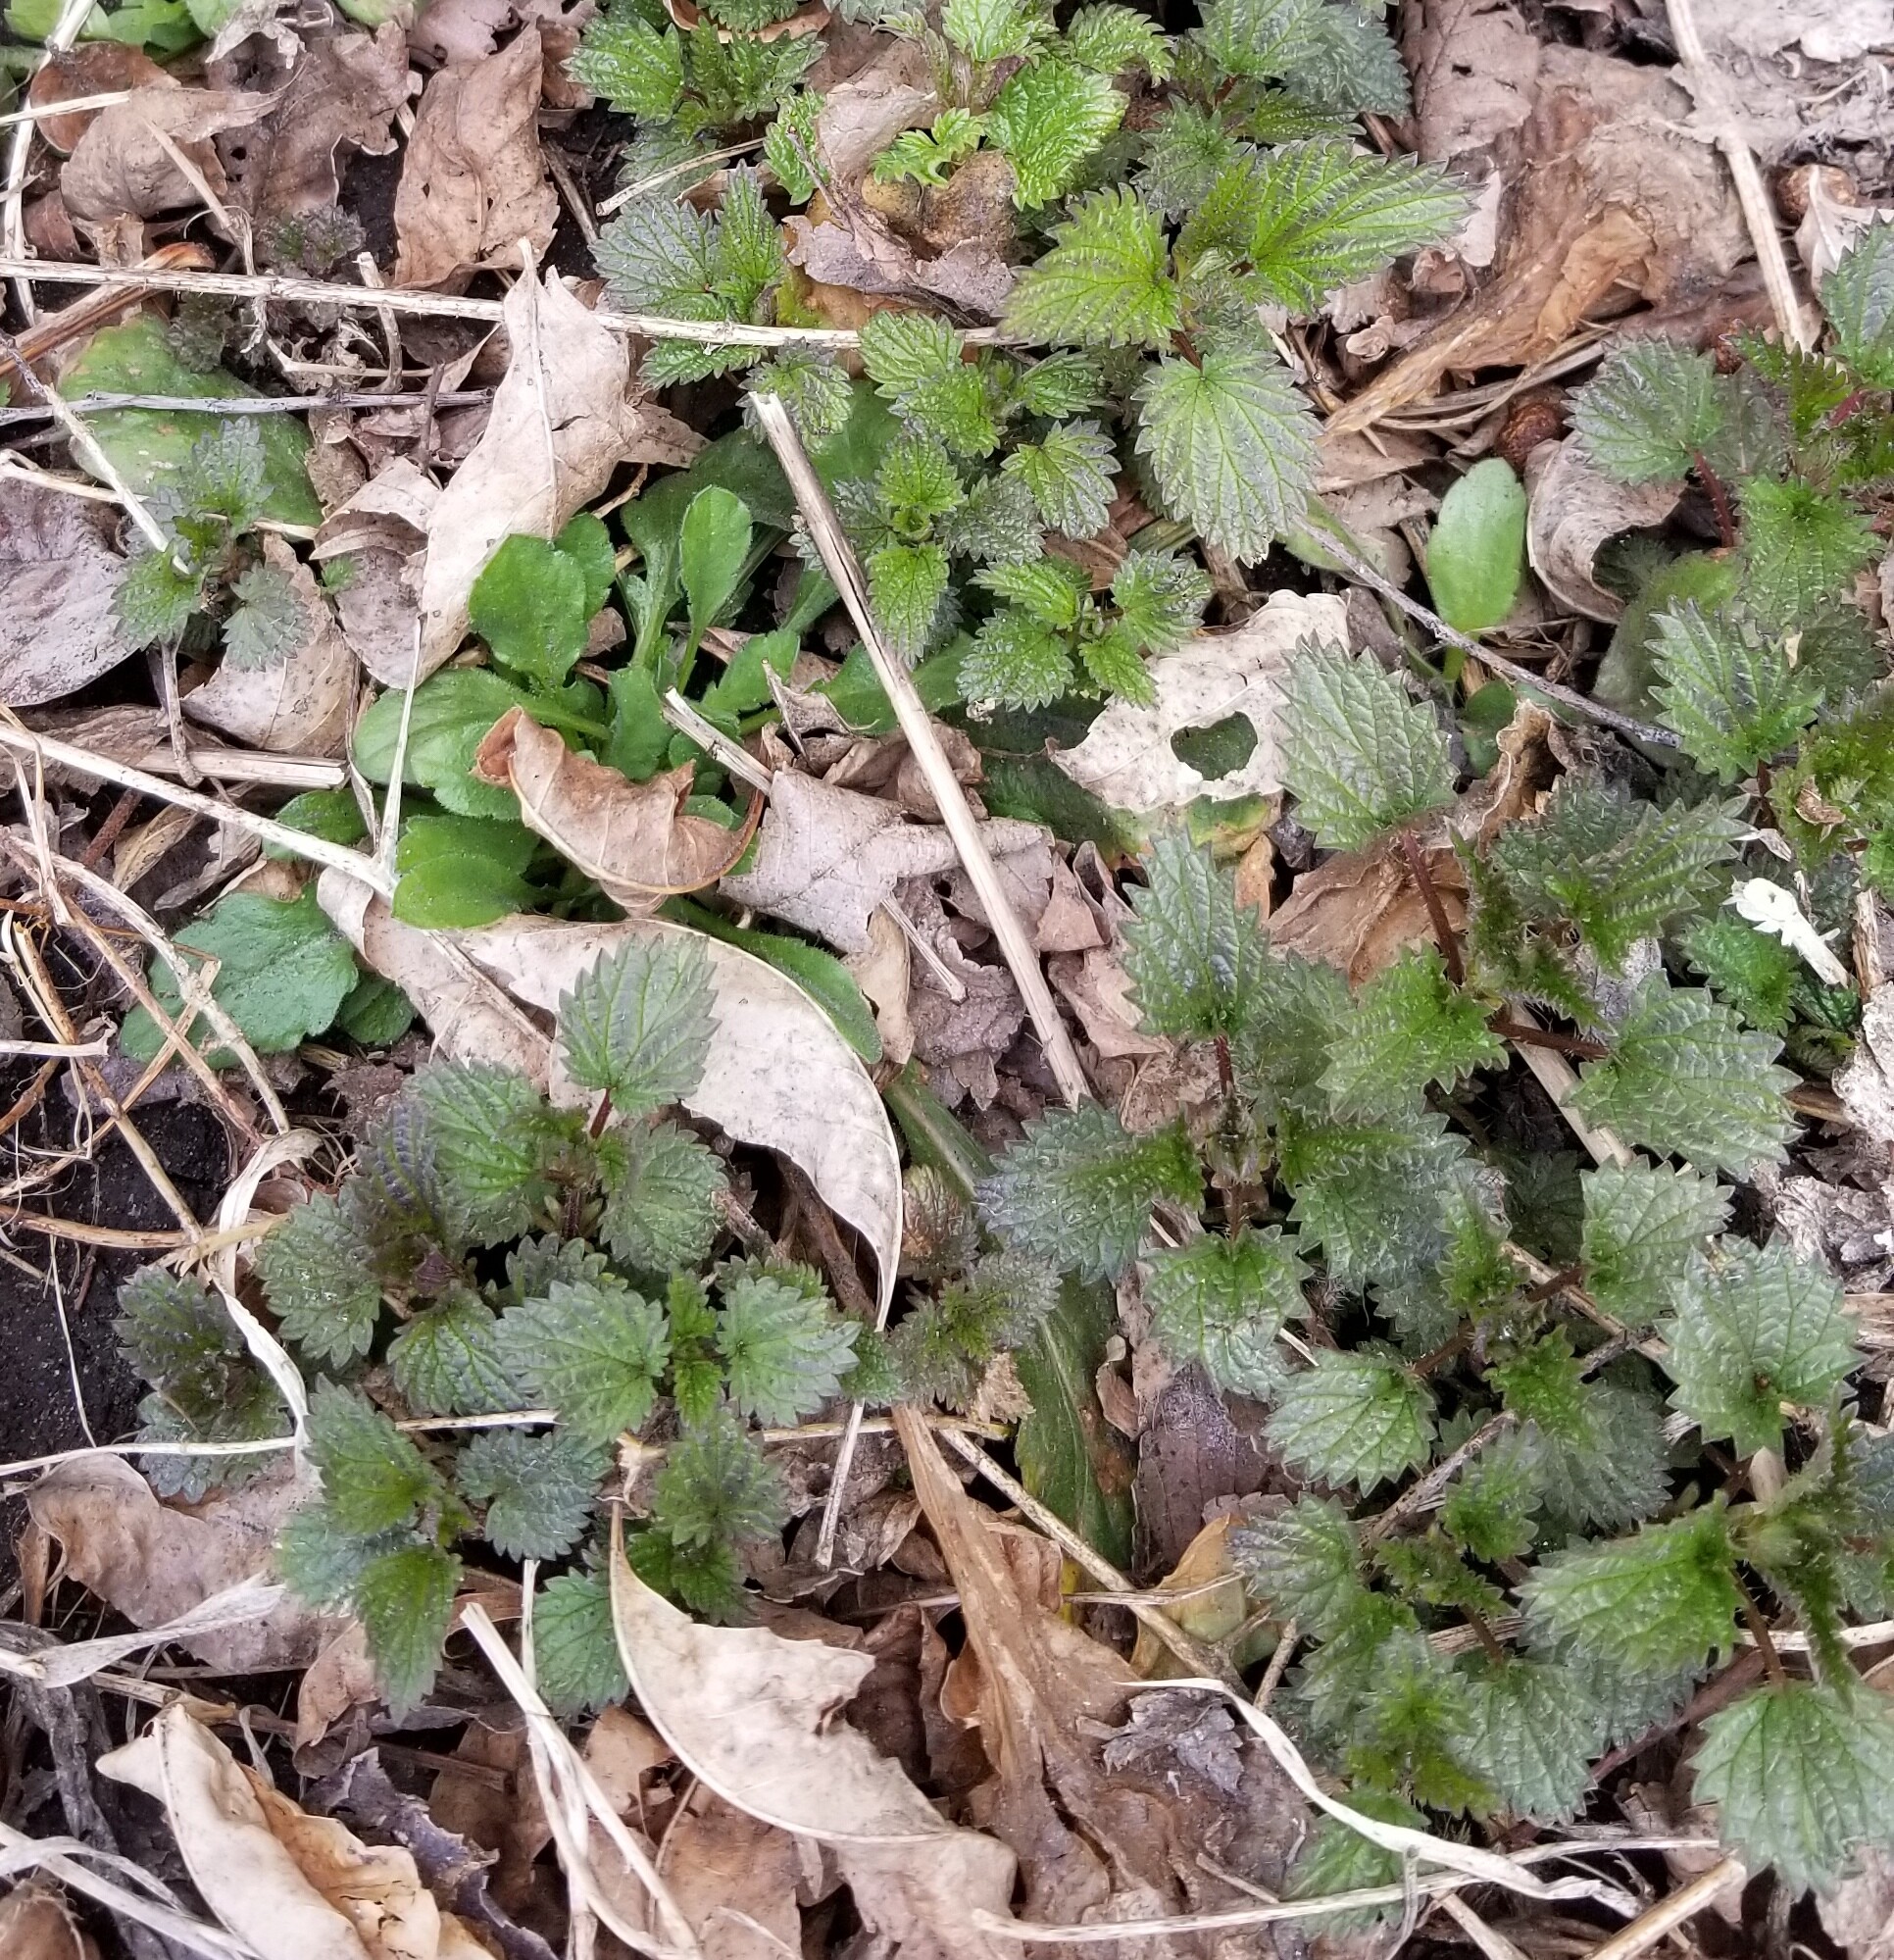 stinging nettle
Different weeds show up in different soils. For instance, abundant dandelions indicate soil low in available calcium. Common plantain and pineapple weed show up to heal compacted soils. Nettles love soil with excess nitrogen.
Know your weeds and you will know your soil. Bring a soil into balance, and many weed problems simply disappear
Professional Soil Testing
If you feel the need for serious soil testing, your local cooperative extension office may offer testing. There are many different labs with mail in soil testing services, such as:
University of Minnesota – Lawn And Garden Soil Testing
A&L Great Lakes Laboratories, Inc.
AgriEnergy Resources
6. Prepare the soil
Build Your Soil
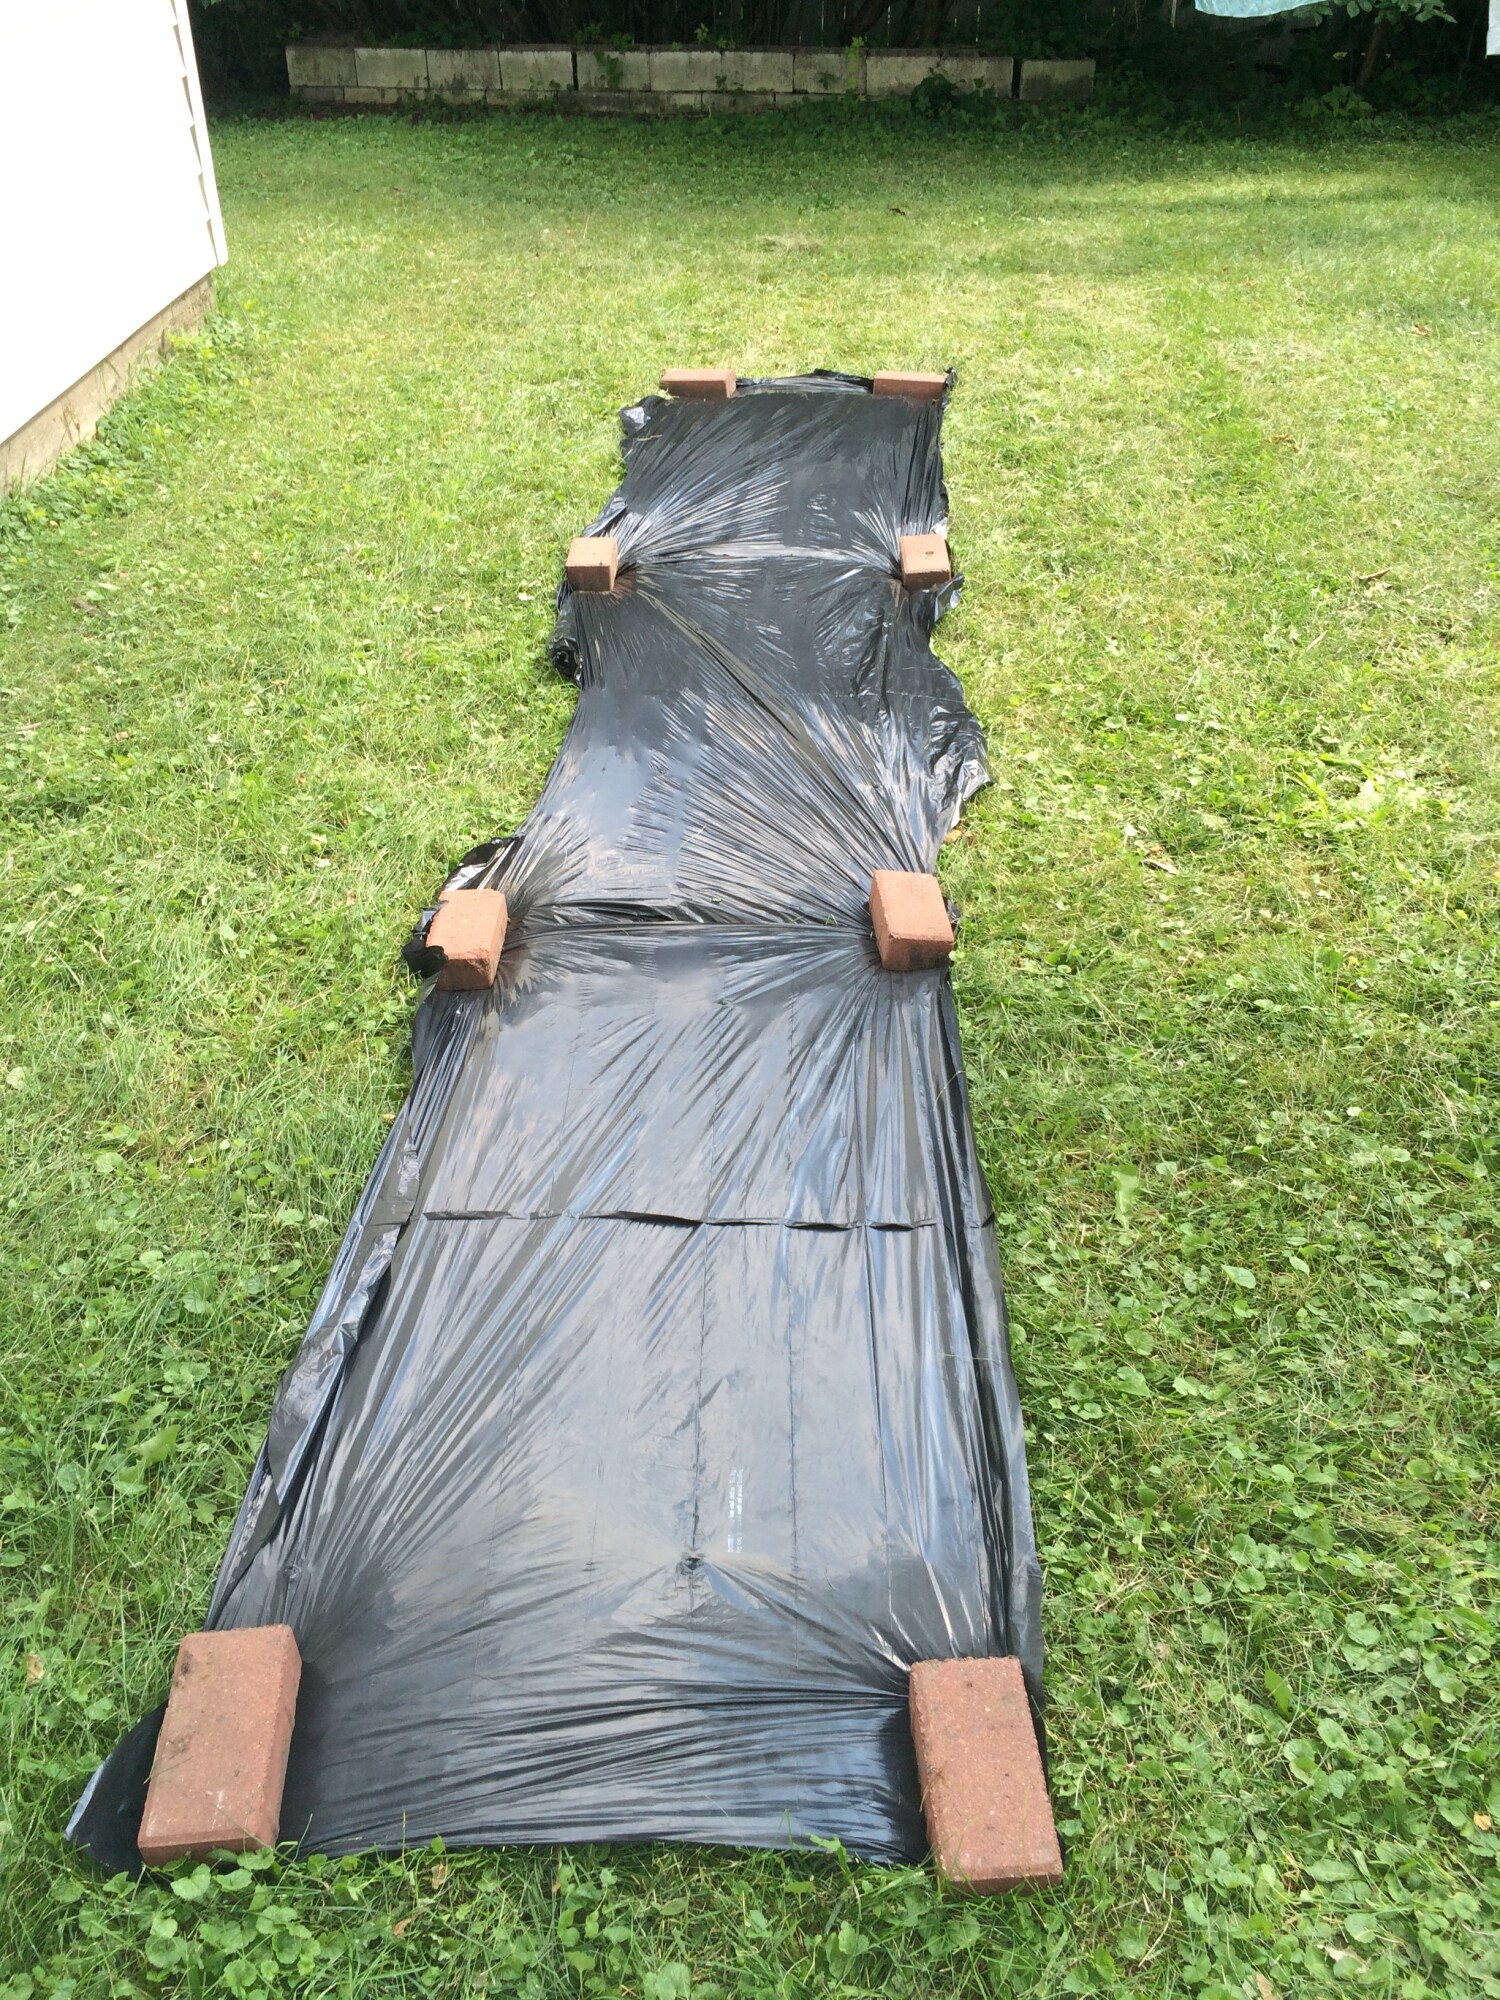
If you’re starting with sod, you’ll either need to cut it up in chunks and repurpose it, till it in, or lay down wet newspaper or cardboard to smother it and build a bed on top. Preparing in fall is best, but don’t let that stop you from starting in spring.
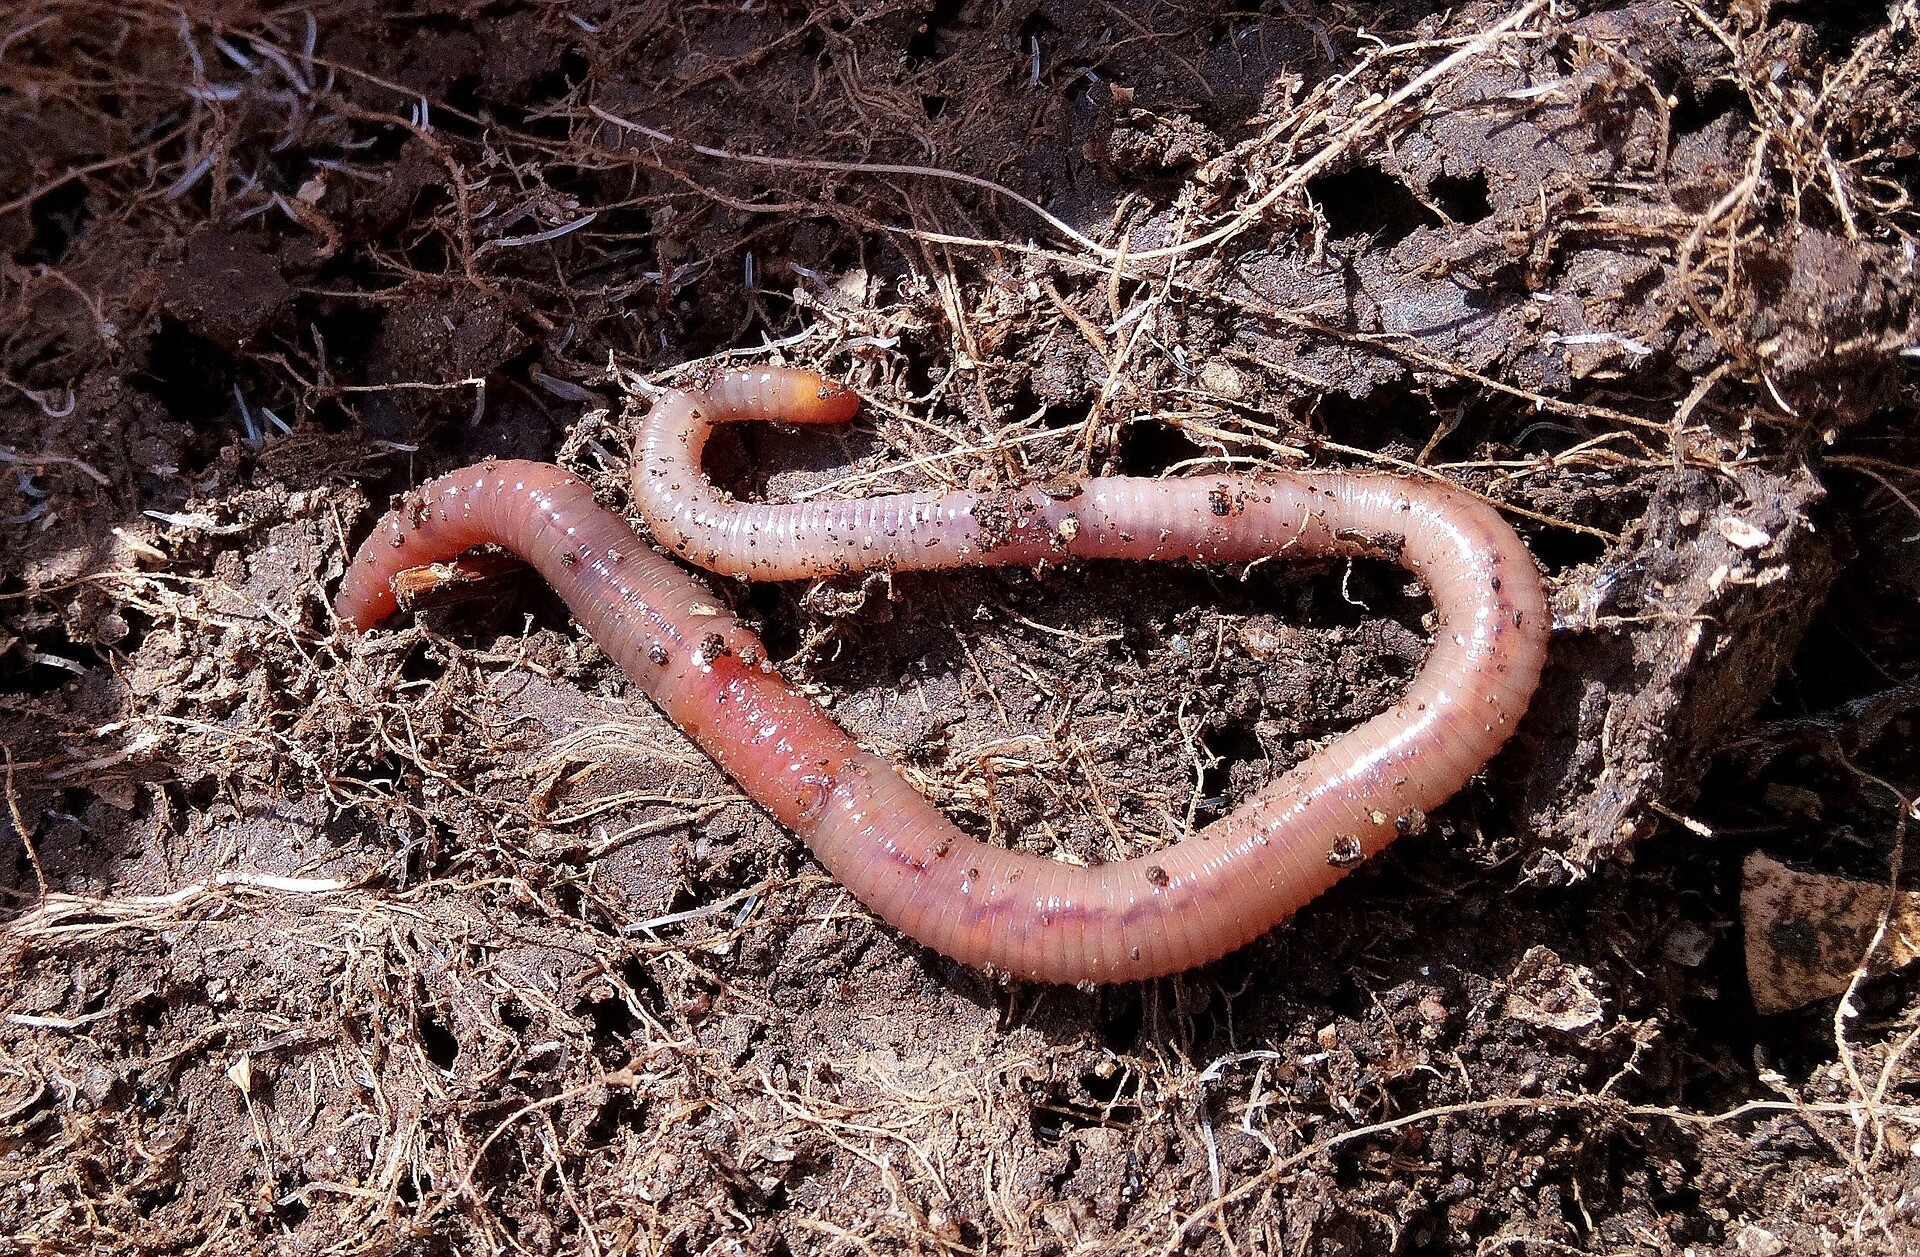
Most plants prefer a deep, well-drained, fertile soil rich in organic matter. Once you start a garden, you’ll gain a new appreciation for healthy soil as it improves year after year. Healthy, vibrant soil = healthy, vibrant plants with built in disease and pest resistance and more nutrition. Earthworms are a good sign of organic matter.
Each year I add a combination of different types of organic matter, including compost, worm castings and mulch.
7. Choose the right seeds or transplants
When picking seeds, check the back of the package for the zone you are in and the days to maturity. You want to pick seeds that will thrive in your climate and mature in time before first frost (for most). Some will be frost hardy or tolerant.
Also look at spacing needs if you have a small garden.
If you want to grow specific varieties you will probably need to start your own transplants. These are seeds started indoors before the weather and garden is ready outside, so they will be well on their way by the time they are transplanted in the garden.
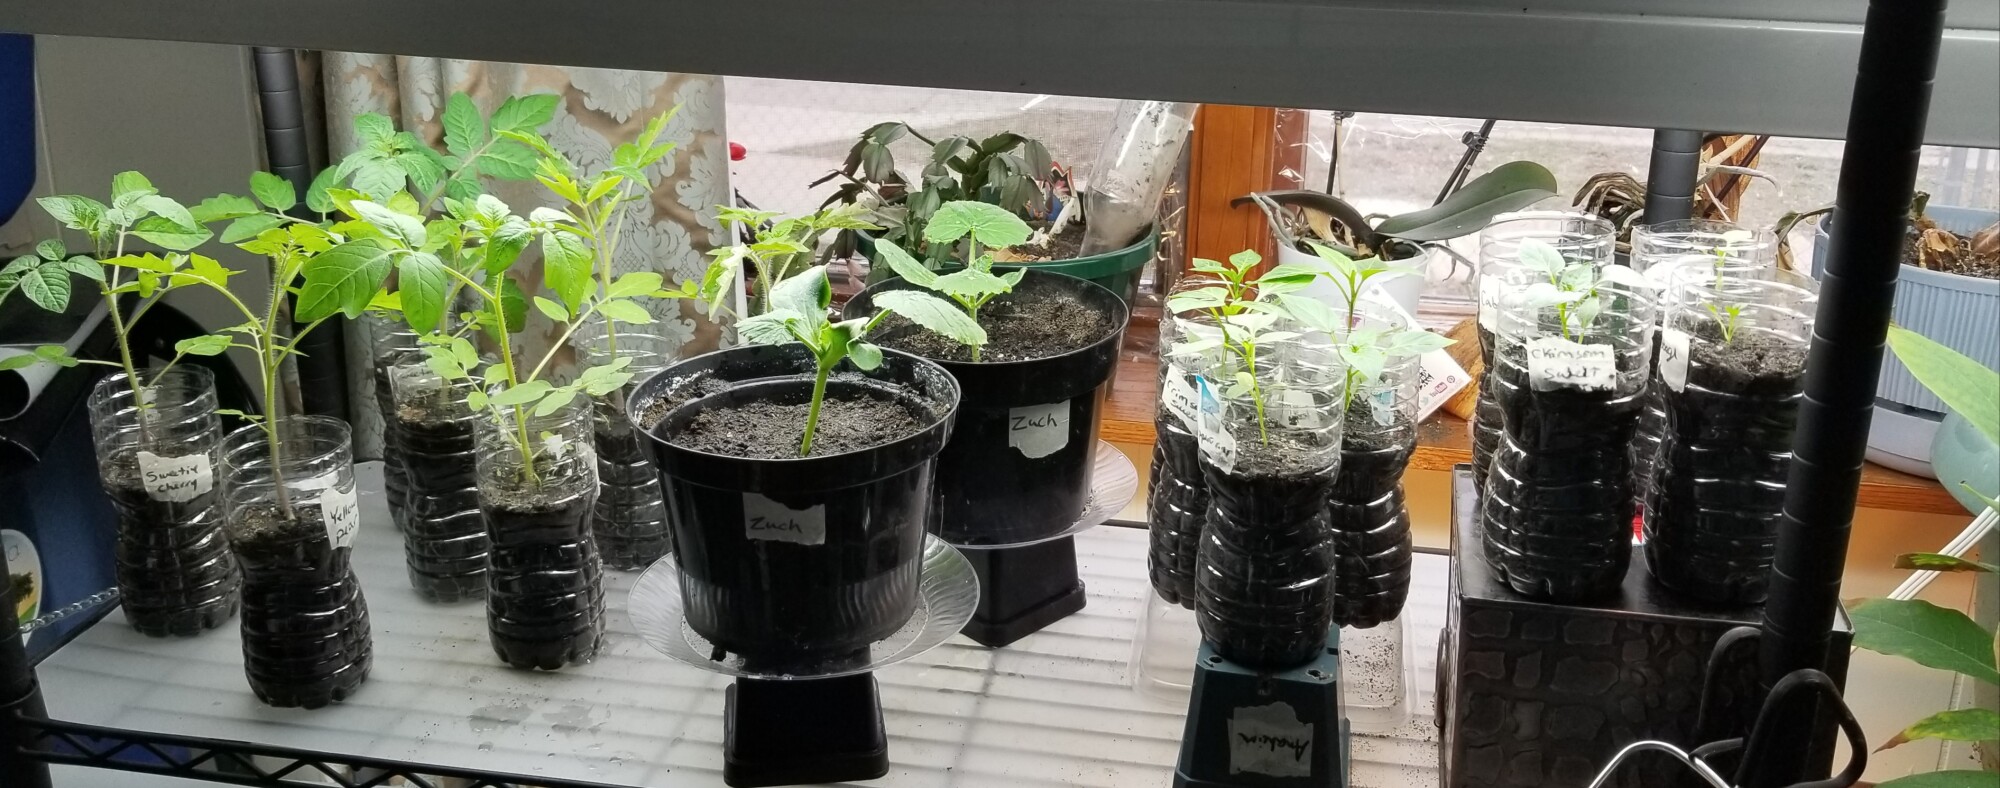
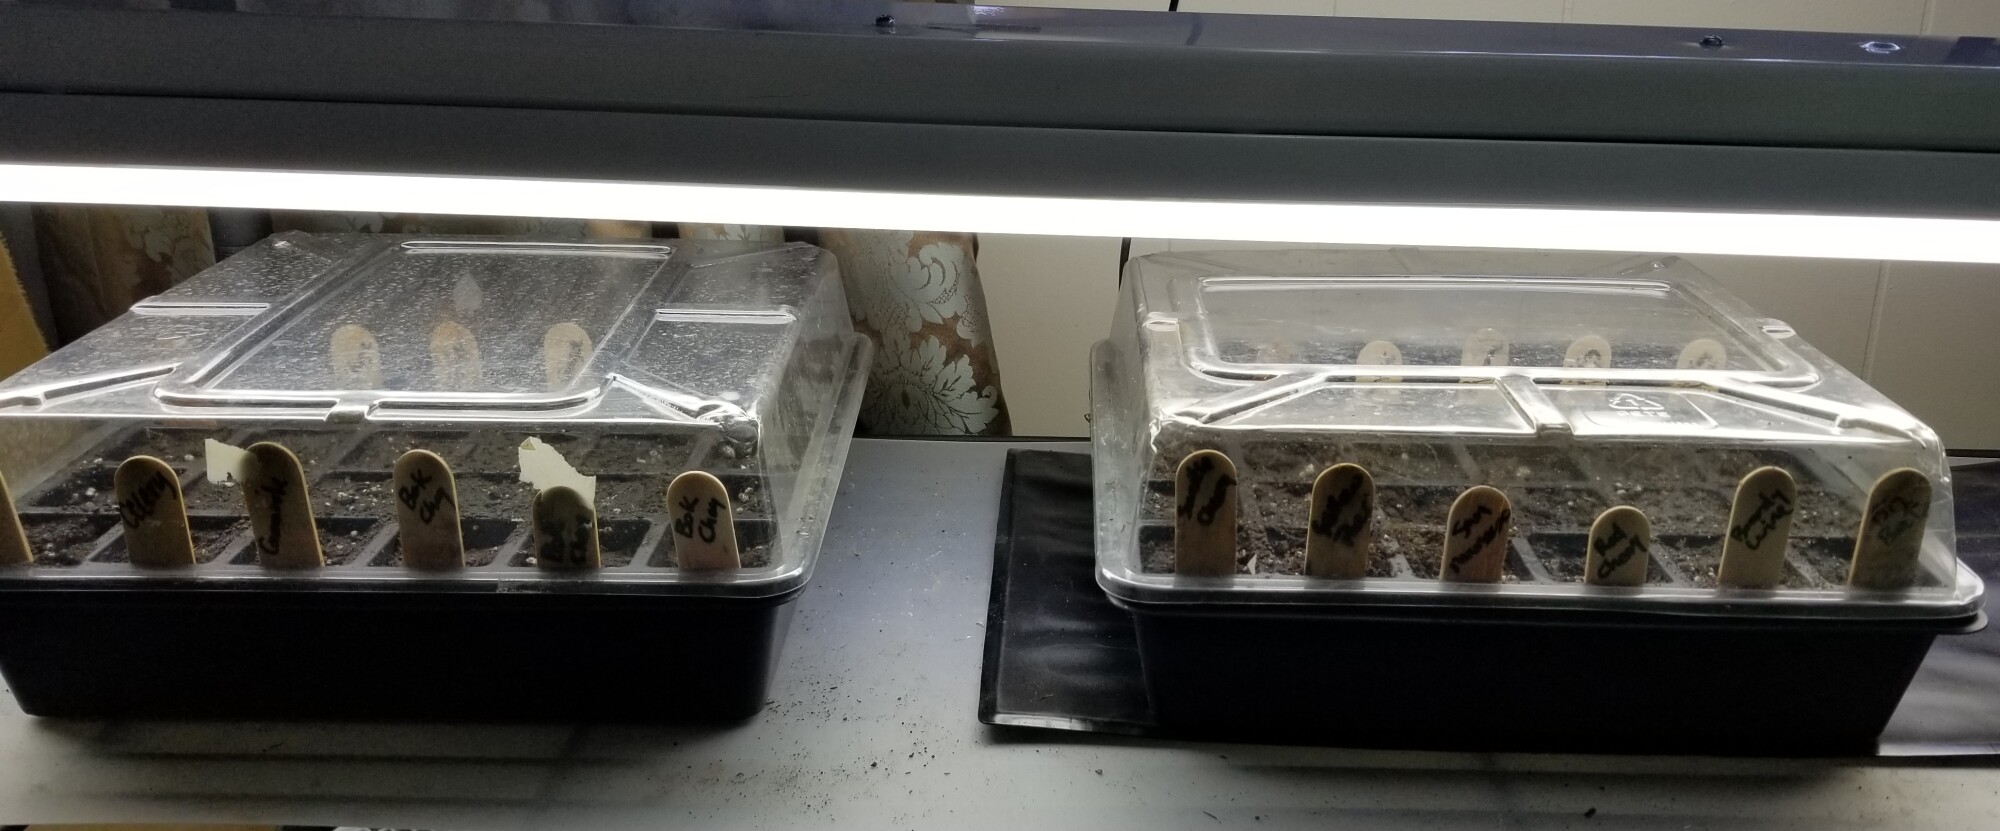 seed trays under lights
Starting your own seeds can also save you money. I start all my own transplants in the house from seed.
Transplants at many nurseries are another option if you don’t have the time and space to start your own. Here are some tips for choosing plants at your local nursery. (I highly suggest picking a local nursery over a big box store because they will more likely have varieties appropriate to your climate where big box chain stores will ship the same ones to every store across the country.)
Look for plants that have a pot about the same size as the plant. Small pots and large plants will more likely be root bound and suffer shock when transplanted.
Look for stress signs like yellowed leaves or insect damage.
Ask if the plants or seeds were treated with potentially harmful chemicals. Pollinators are critical for fruit set and you don’t want to spend money on a plant that may be harmful to them or not produce fruit.
 seedling transplants under lights
8. Plant with care
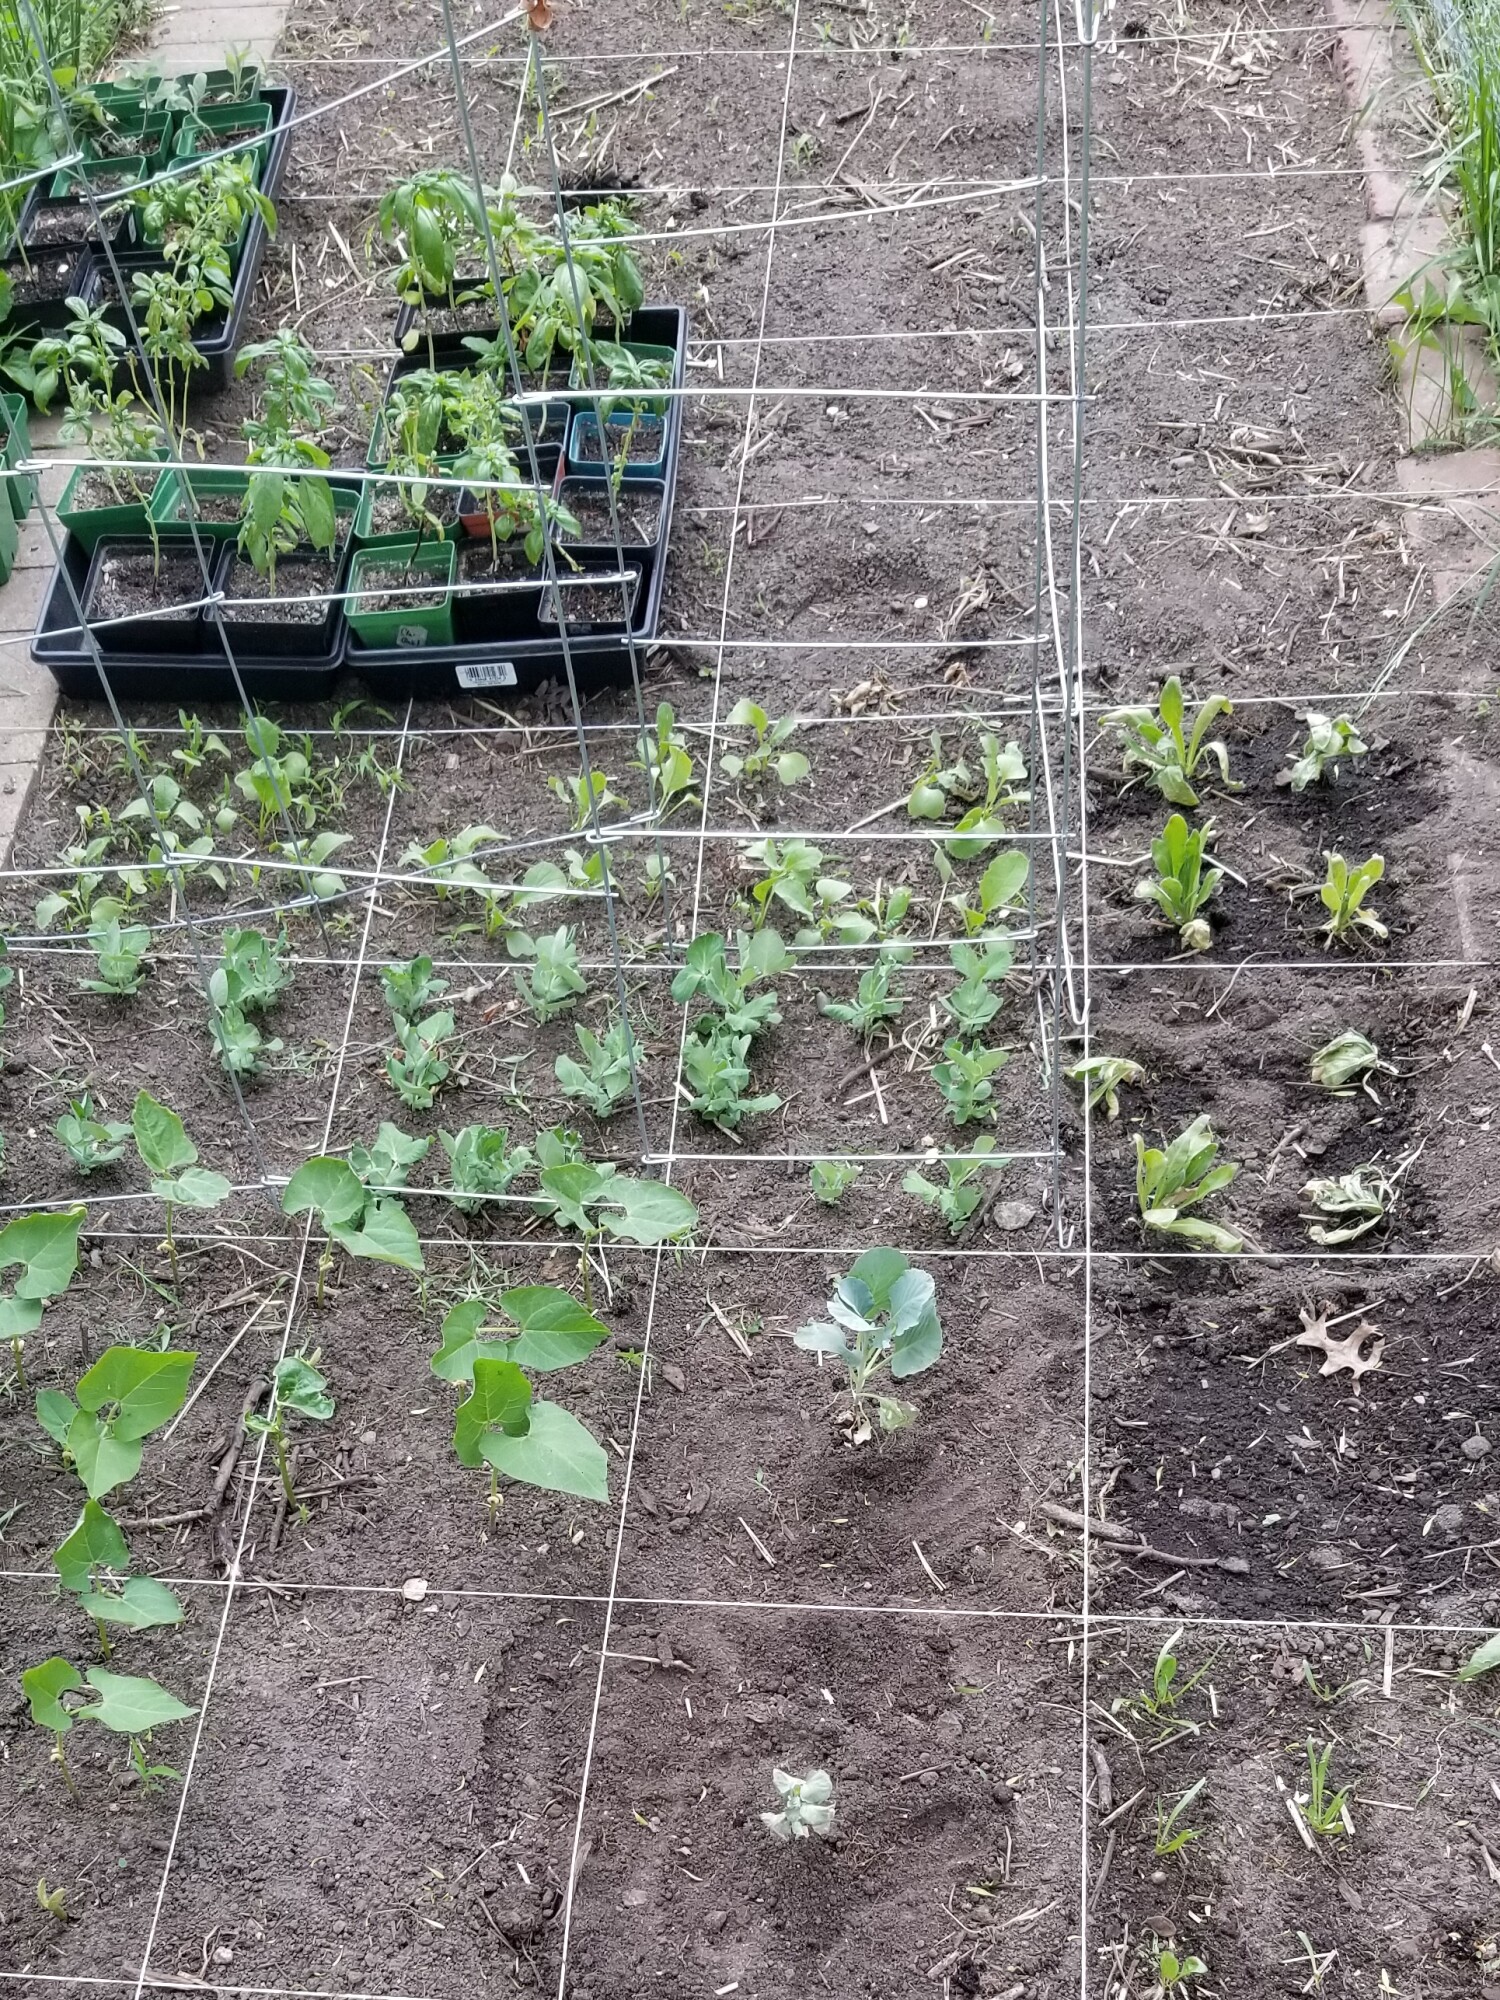 square foot garden grid-ed and transplants being added
Most seed packets and transplants will come with basic instructions. Once your beds are ready to go, you can start planting based on the planting time on the packaging. If you used a garden planner online, they may also break down a planting schedule for you. Writing out your schedule or putting planting times on a calendar when you are planning the garden will help save you time at this point. Here are some other tips as well.
Plant seeds roughly 3 times as deep as the diameter of the seed unless otherwise directed on the package.
For transplants- most are planted at the same depth they are in the pot, with the exception of tomatoes which can be planted up to the first branch as they will root along the stem and be much stronger.
Wait till the danger of frost is past for heat loving plants, like tomatoes, peppers, cucumbers, etc. If you started your transplants yourself, you will need to harden off , or slowly acclimate them to outdoor conditions before transplanting them.
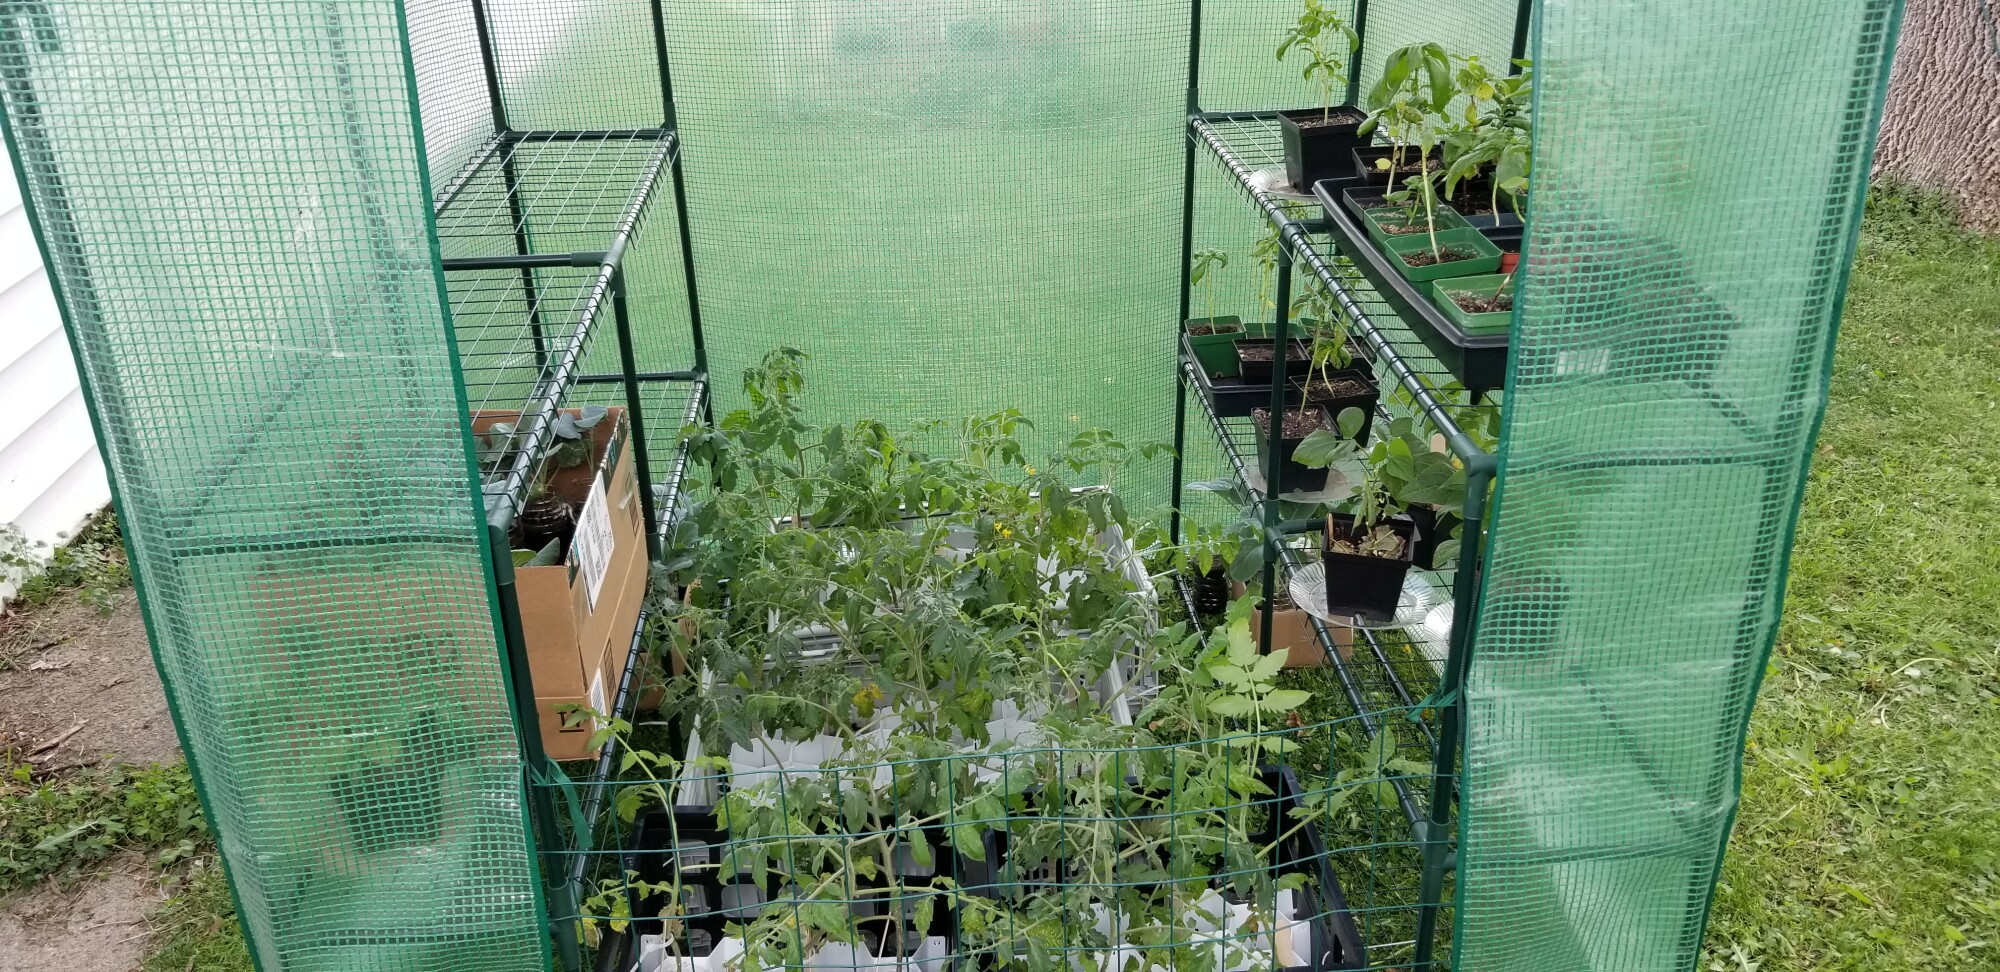 plants hardening off in temporary greenhouse
You can click here for a guide to download from the USDA school garden program that shows planting depth, plant spacing, days to germination and days to harvest for a variety of common garden crops.
9. Nurture your garden
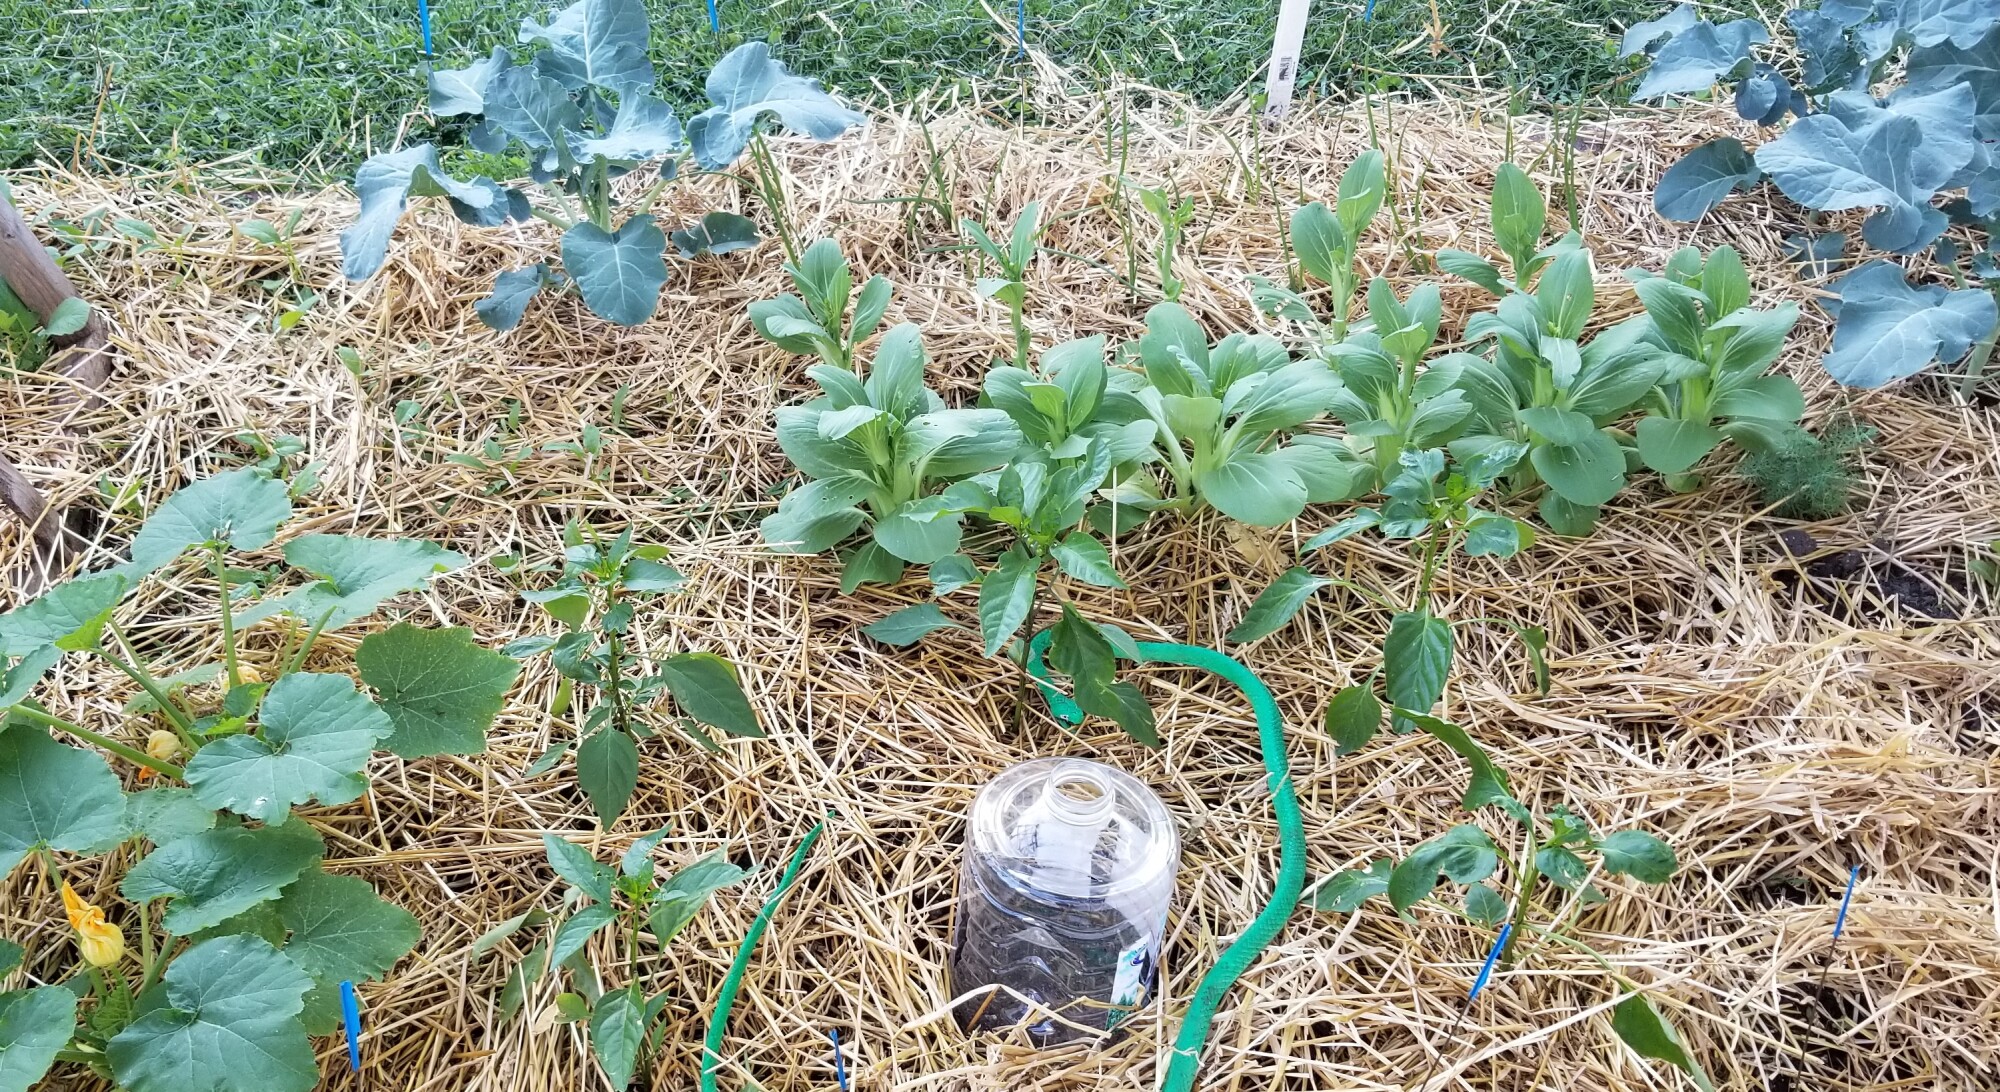 garden mulched with straw
The size of your garden will determine the time it takes for care. This is where a smaller garden can work better for busy schedules and help you get an idea of how much work it will take.
Nab weeds while they are small. As little as 20 minutes a day early in the summer can greatly reduce your weeds and make less work later.
Once transplants are in and seeds have grown tall enough, mulch around the plants to keep the weeds down. I use straw or grass clippings.
Plants need about an inch of water per week during growing season. If you don’t get rain you will need to water.
Over watering is as bad as under watering so check the soil before you water.
Pests are more attracted to stressed or plants that are deficient in some way. If you have healthy plants your pest problems should be minimal. If you have a problem, chances are there is an organic solution. If you are going to the work of growing your own food you wouldn’t put toxins on it, right? Check back for my follow up post on Natural pest control for gardens.
10. Enjoy your harvest!
Harvest your crops as they are ready to get the best quality.
Leafy greens and many herbs are “cut and come again”. Meaning you can get several harvests from them.
Pick beans and peas every couple days to keep them producing.
Harvest corn when the cobs are well filled out and silk is dark.
Flavor is usually at peak in the morning after the dew has dried.
One of the main things I’ve learned about gardening is that it’s an art form not a science.
Yes, there are main rules based on science but every year is different and the weather is different, so many plants will not do well one year but thrive the next. Keep trying even if it doesn't do well the first year.
Gardening has so many health benefits, helping to fight depression, reduce stress and improve your diet. It’s good for the soul. I hope this and future articles will help you come to love gardening as well.


0 Comments