
Do you have fermented foods in your diet? Here are several reasons you should, the best ones to choose at the store and 3 easy steps to make your own homemade sauerkraut.
First, the background. We are talking about Lacto- fermentation. This is a process of food preservation where oxygen is limited and salt is used to limit spoilage bacteria while letting lactobacilli- beneficial bacteria grow. The lactobacilli in the food has many benefits:
• produces enzymes
• enhances digestibility of vegetables
• increases vitamin levels
• offers antibiotic and anti- carcinogenic substances
• supports healthy gut flora
For making your own, using the healthiest fruits and vegetables grown in rich organic soil with natural methods is the best.
• produces enzymes
• enhances digestibility of vegetables
• increases vitamin levels
• offers antibiotic and anti- carcinogenic substances
• supports healthy gut flora
For making your own, using the healthiest fruits and vegetables grown in rich organic soil with natural methods is the best.
If you are looking for lacto- fermented foods in the store start at a natural food store or co-op look for organic vegetables that are made without refined salt or vinegar and contain active cultures. Avoid pasteurized options.
To make your own sauerkraut you will need:
To make your own sauerkraut you will need:
a medium head of cabbage,
approximately 1/2 to 1 Tablespoon of unrefined sea salt. I like Real salt since it contains the natural minerals, but it can cause the brine appearance to be slightly brown.
Step 1. Remove outer leaves and anything discolored. If you have multiple heads and are using a gallon size fermenting jar save 1-2 large leaves that are in good condition for the top of the jar.
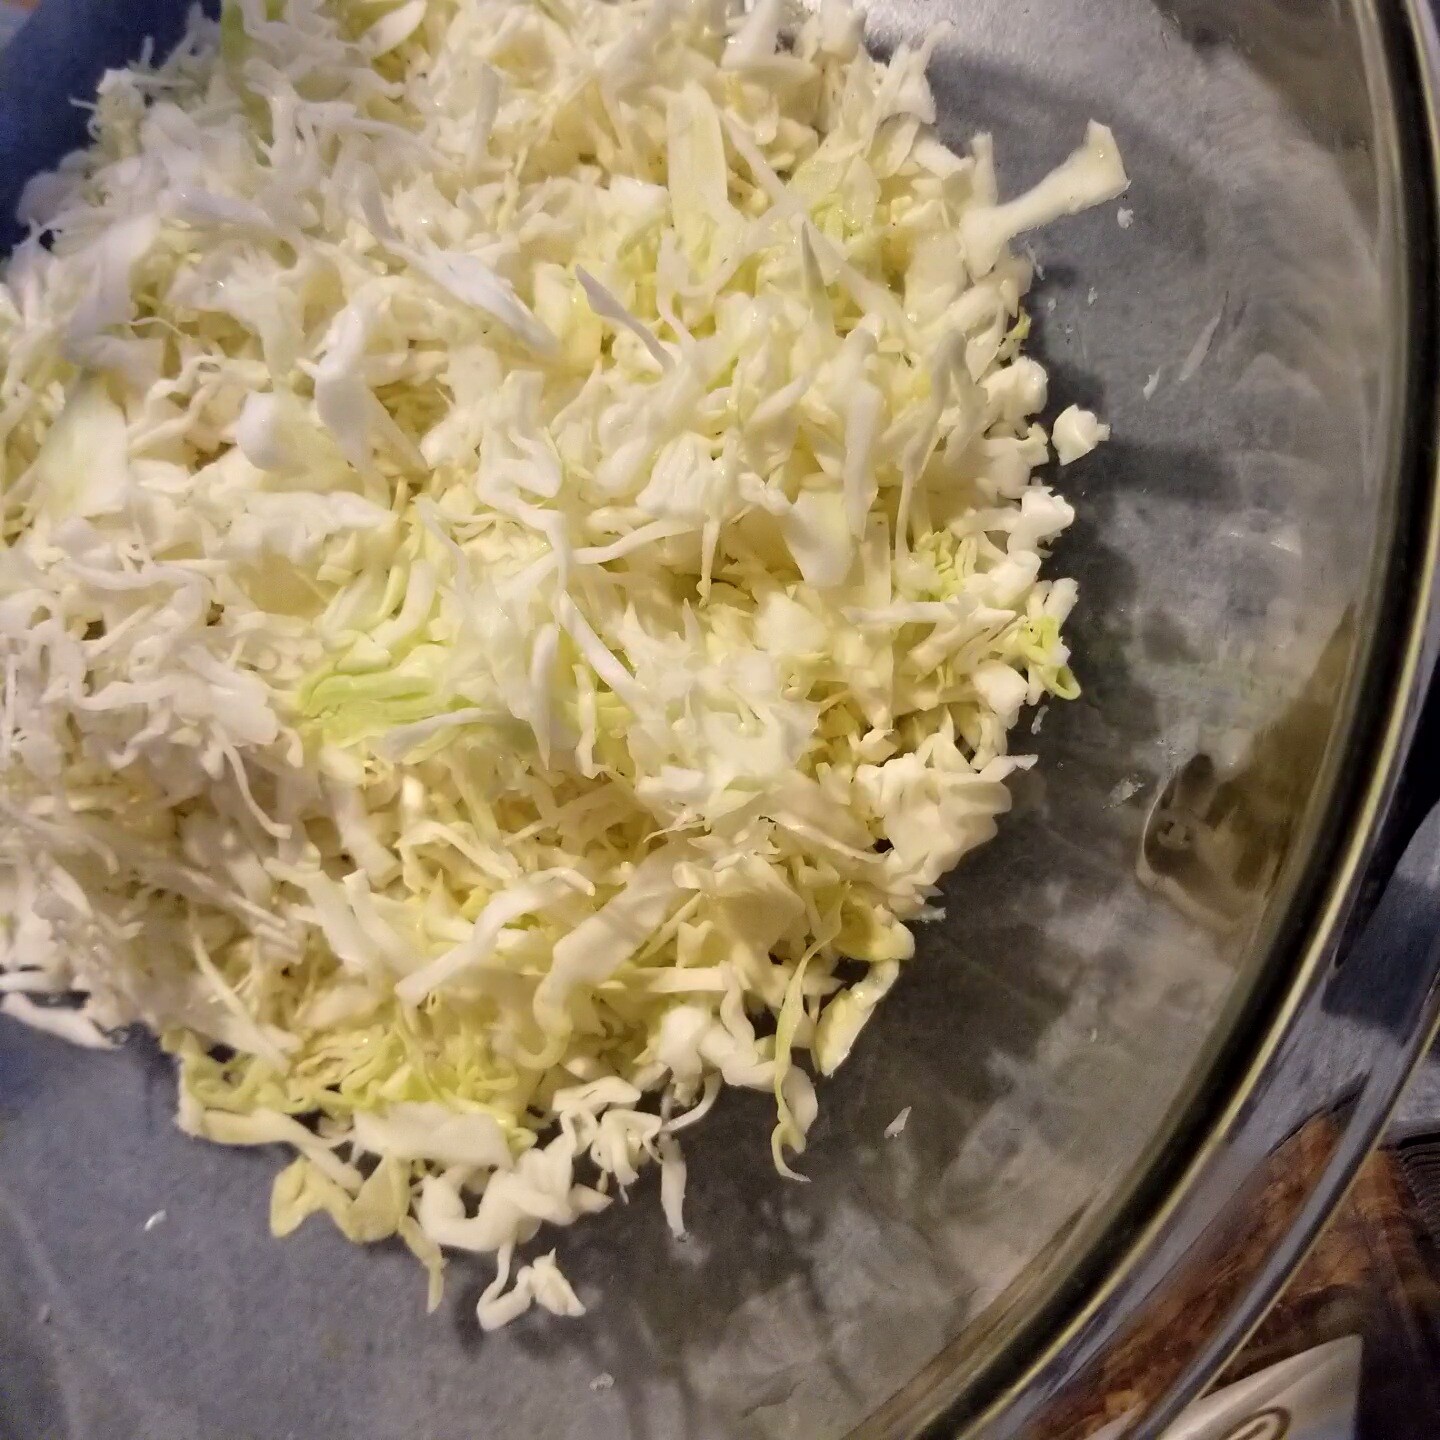 Remove core and shred cabbage- I like to use food processor to make it faster.
Step 1. Remove outer leaves and anything discolored. If you have multiple heads and are using a gallon size fermenting jar save 1-2 large leaves that are in good condition for the top of the jar.
 Remove core and shred cabbage- I like to use food processor to make it faster.
Step 2: Layer some shredded cabbage in a large bowl and sprinkle with salt. Layer more cabbage, sprinkle with salt. Repeat until all cabbage has been shredded and salted. Let it sit 15-30 min.
check back to see how much water the salt has pulled from the cabbage. You can let it sit up to several hours or pound down with a potato masher, kraut pounder , or meat masher.
check back to see how much water the salt has pulled from the cabbage. You can let it sit up to several hours or pound down with a potato masher, kraut pounder , or meat masher.
Taste the cabbage and check that it tastes like a salty vegetable, not too salty but not bland.
Step 3. When the cabbage is juicy, spoon the shreds into a clean quart jar. You can use multiple jars or a large fermenting jar with an air lock on the top if needed.
Step 3. When the cabbage is juicy, spoon the shreds into a clean quart jar. You can use multiple jars or a large fermenting jar with an air lock on the top if needed.
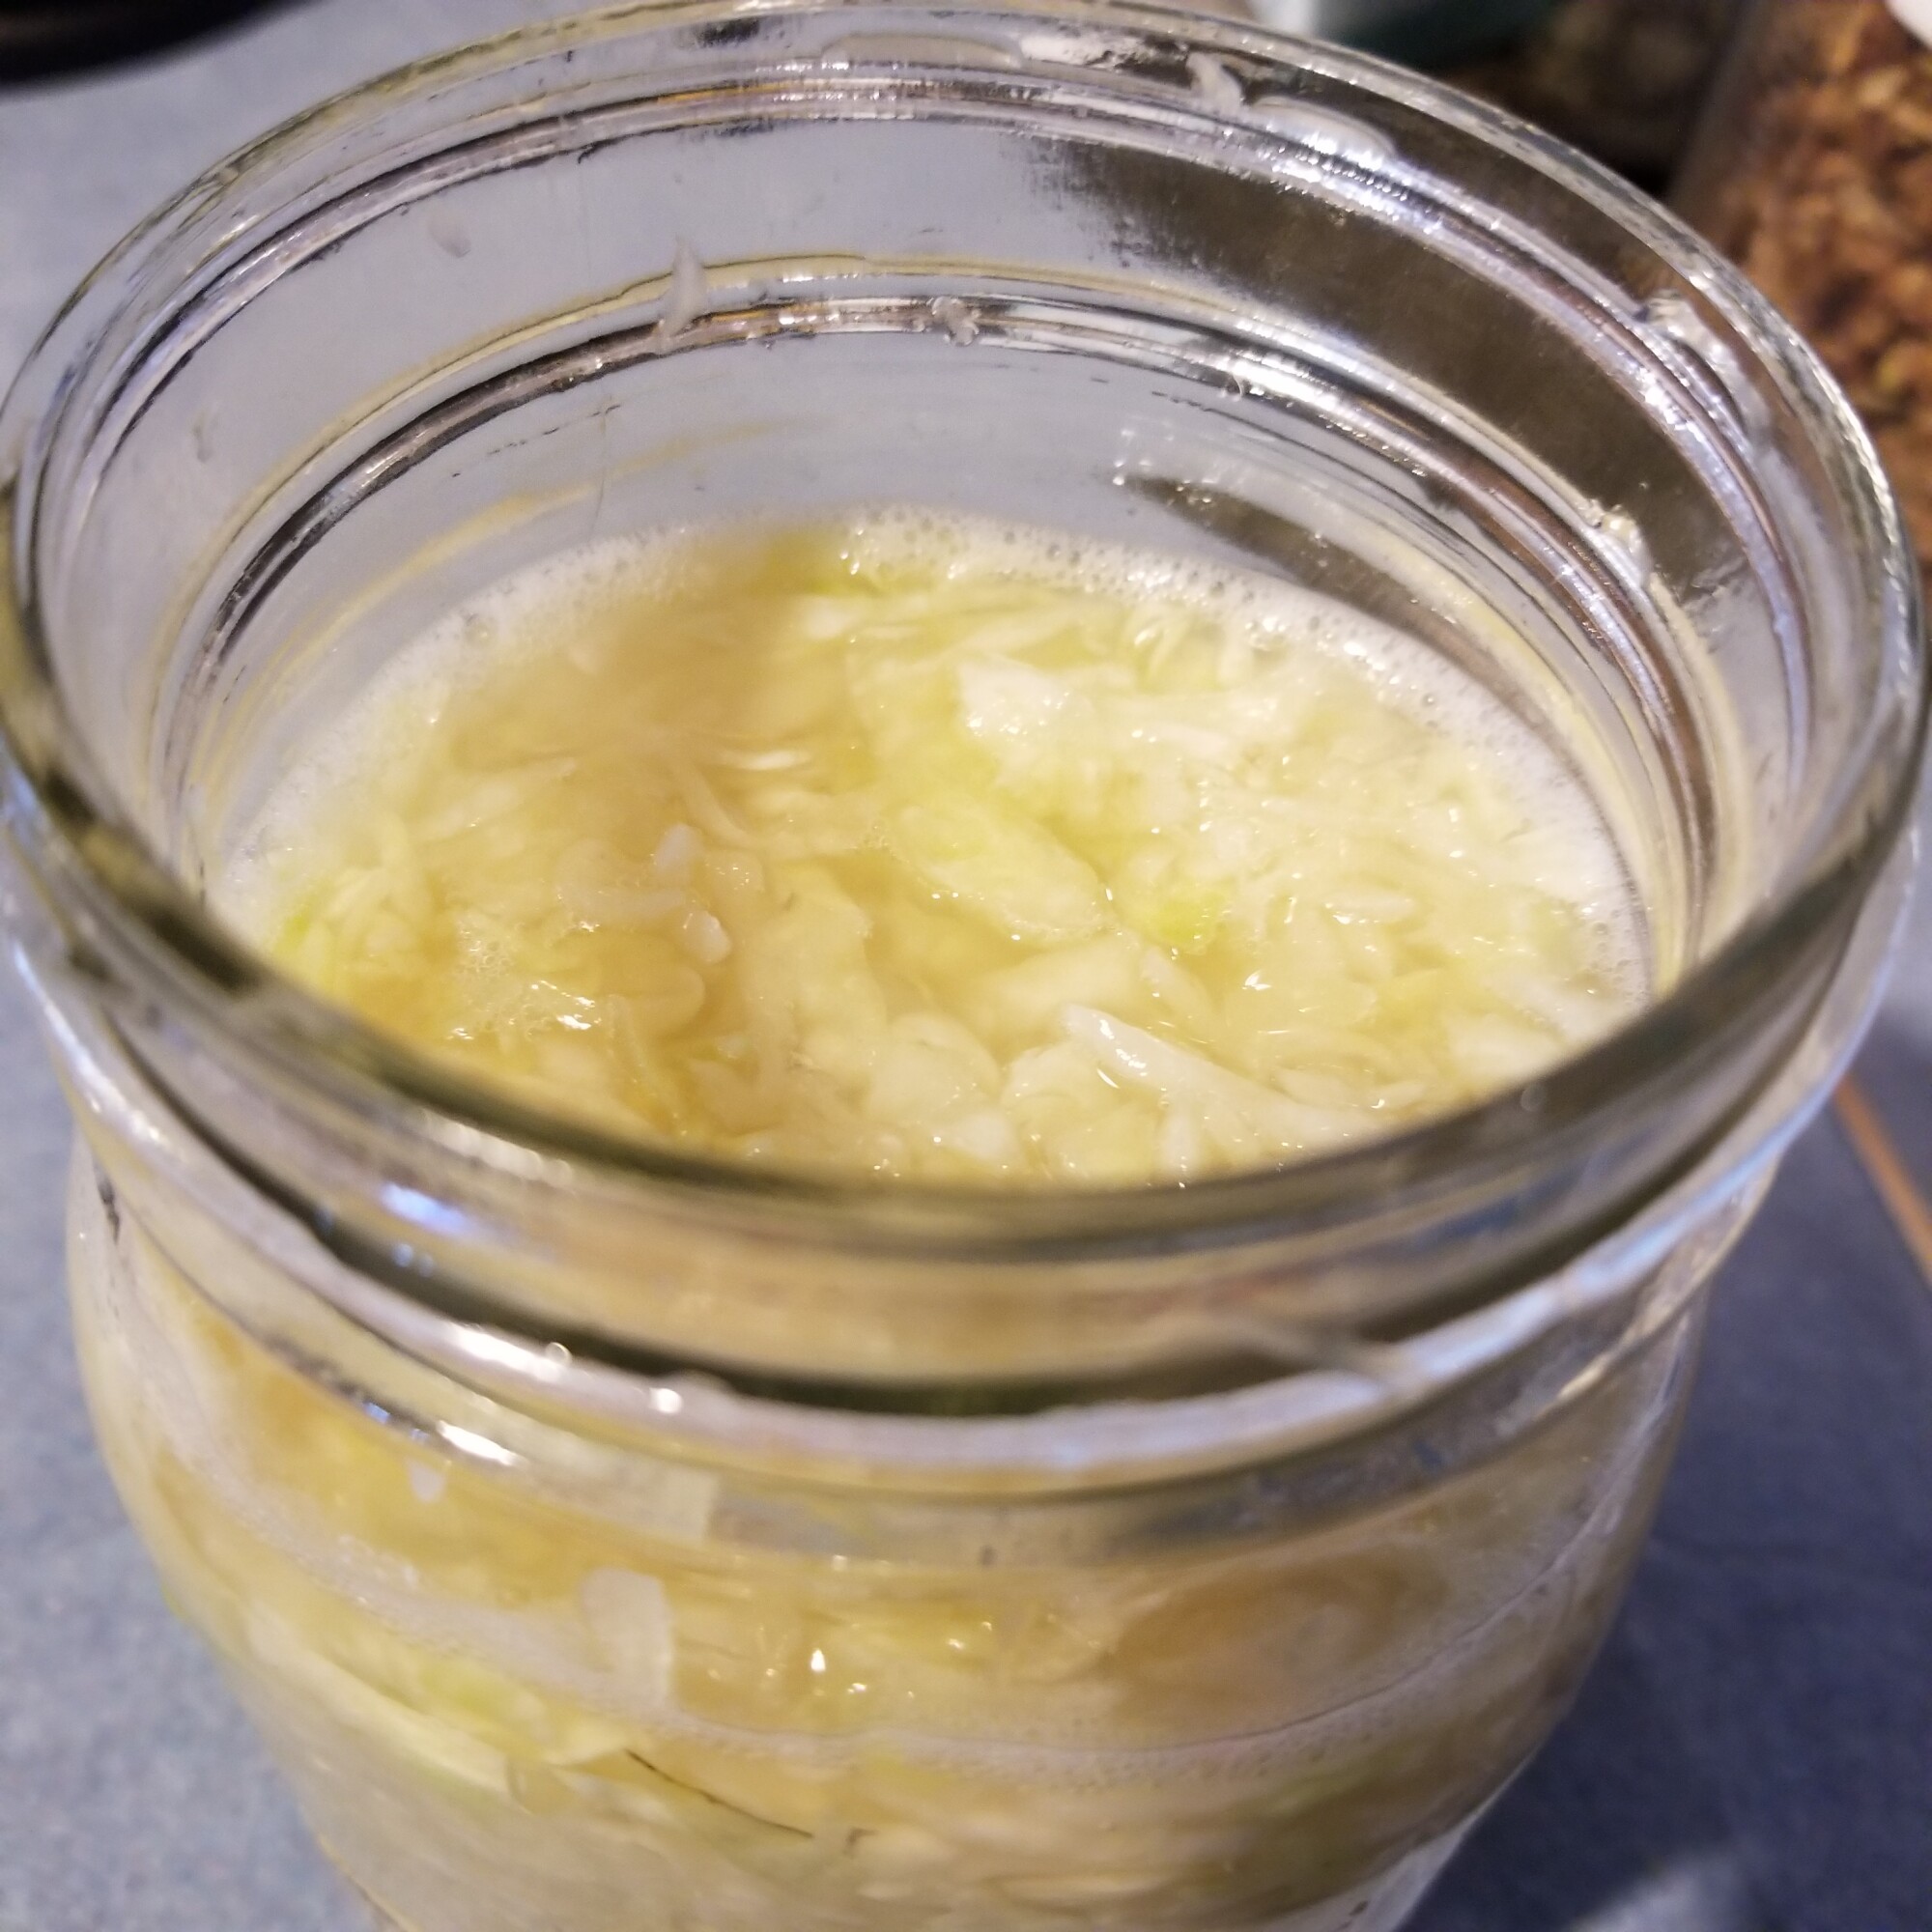
Press the cabbage down tightly and pour juice over the top. You want the cabbage to stay beneath the level of liquid.
This is where the cabbage leaf helps in a large fermenting jar as you can use the solid leaf like a plate on top of the loose cabbage and use the weights that come with the jar to hold the cabbage down.
If just using a regular jar, just pack tightly and make sure there is liquid on the top.
In the batch here, my cabbage was very dry and didn’t get juicy. In this case I made extra salt water for the brine.
You can also use whey if you have it and that would speed up the fermentation for you.
I took a 1/2 cup of pure spring water - you don’t want tap water for this as the chlorine in the water will inhibit the lactobacilli that we are wanting to thrive- and added salt a small amount at a time to see it dissolve. Once it stops dissolving that is enough. This time it took about 2. 5 kernels of coarse real salt.
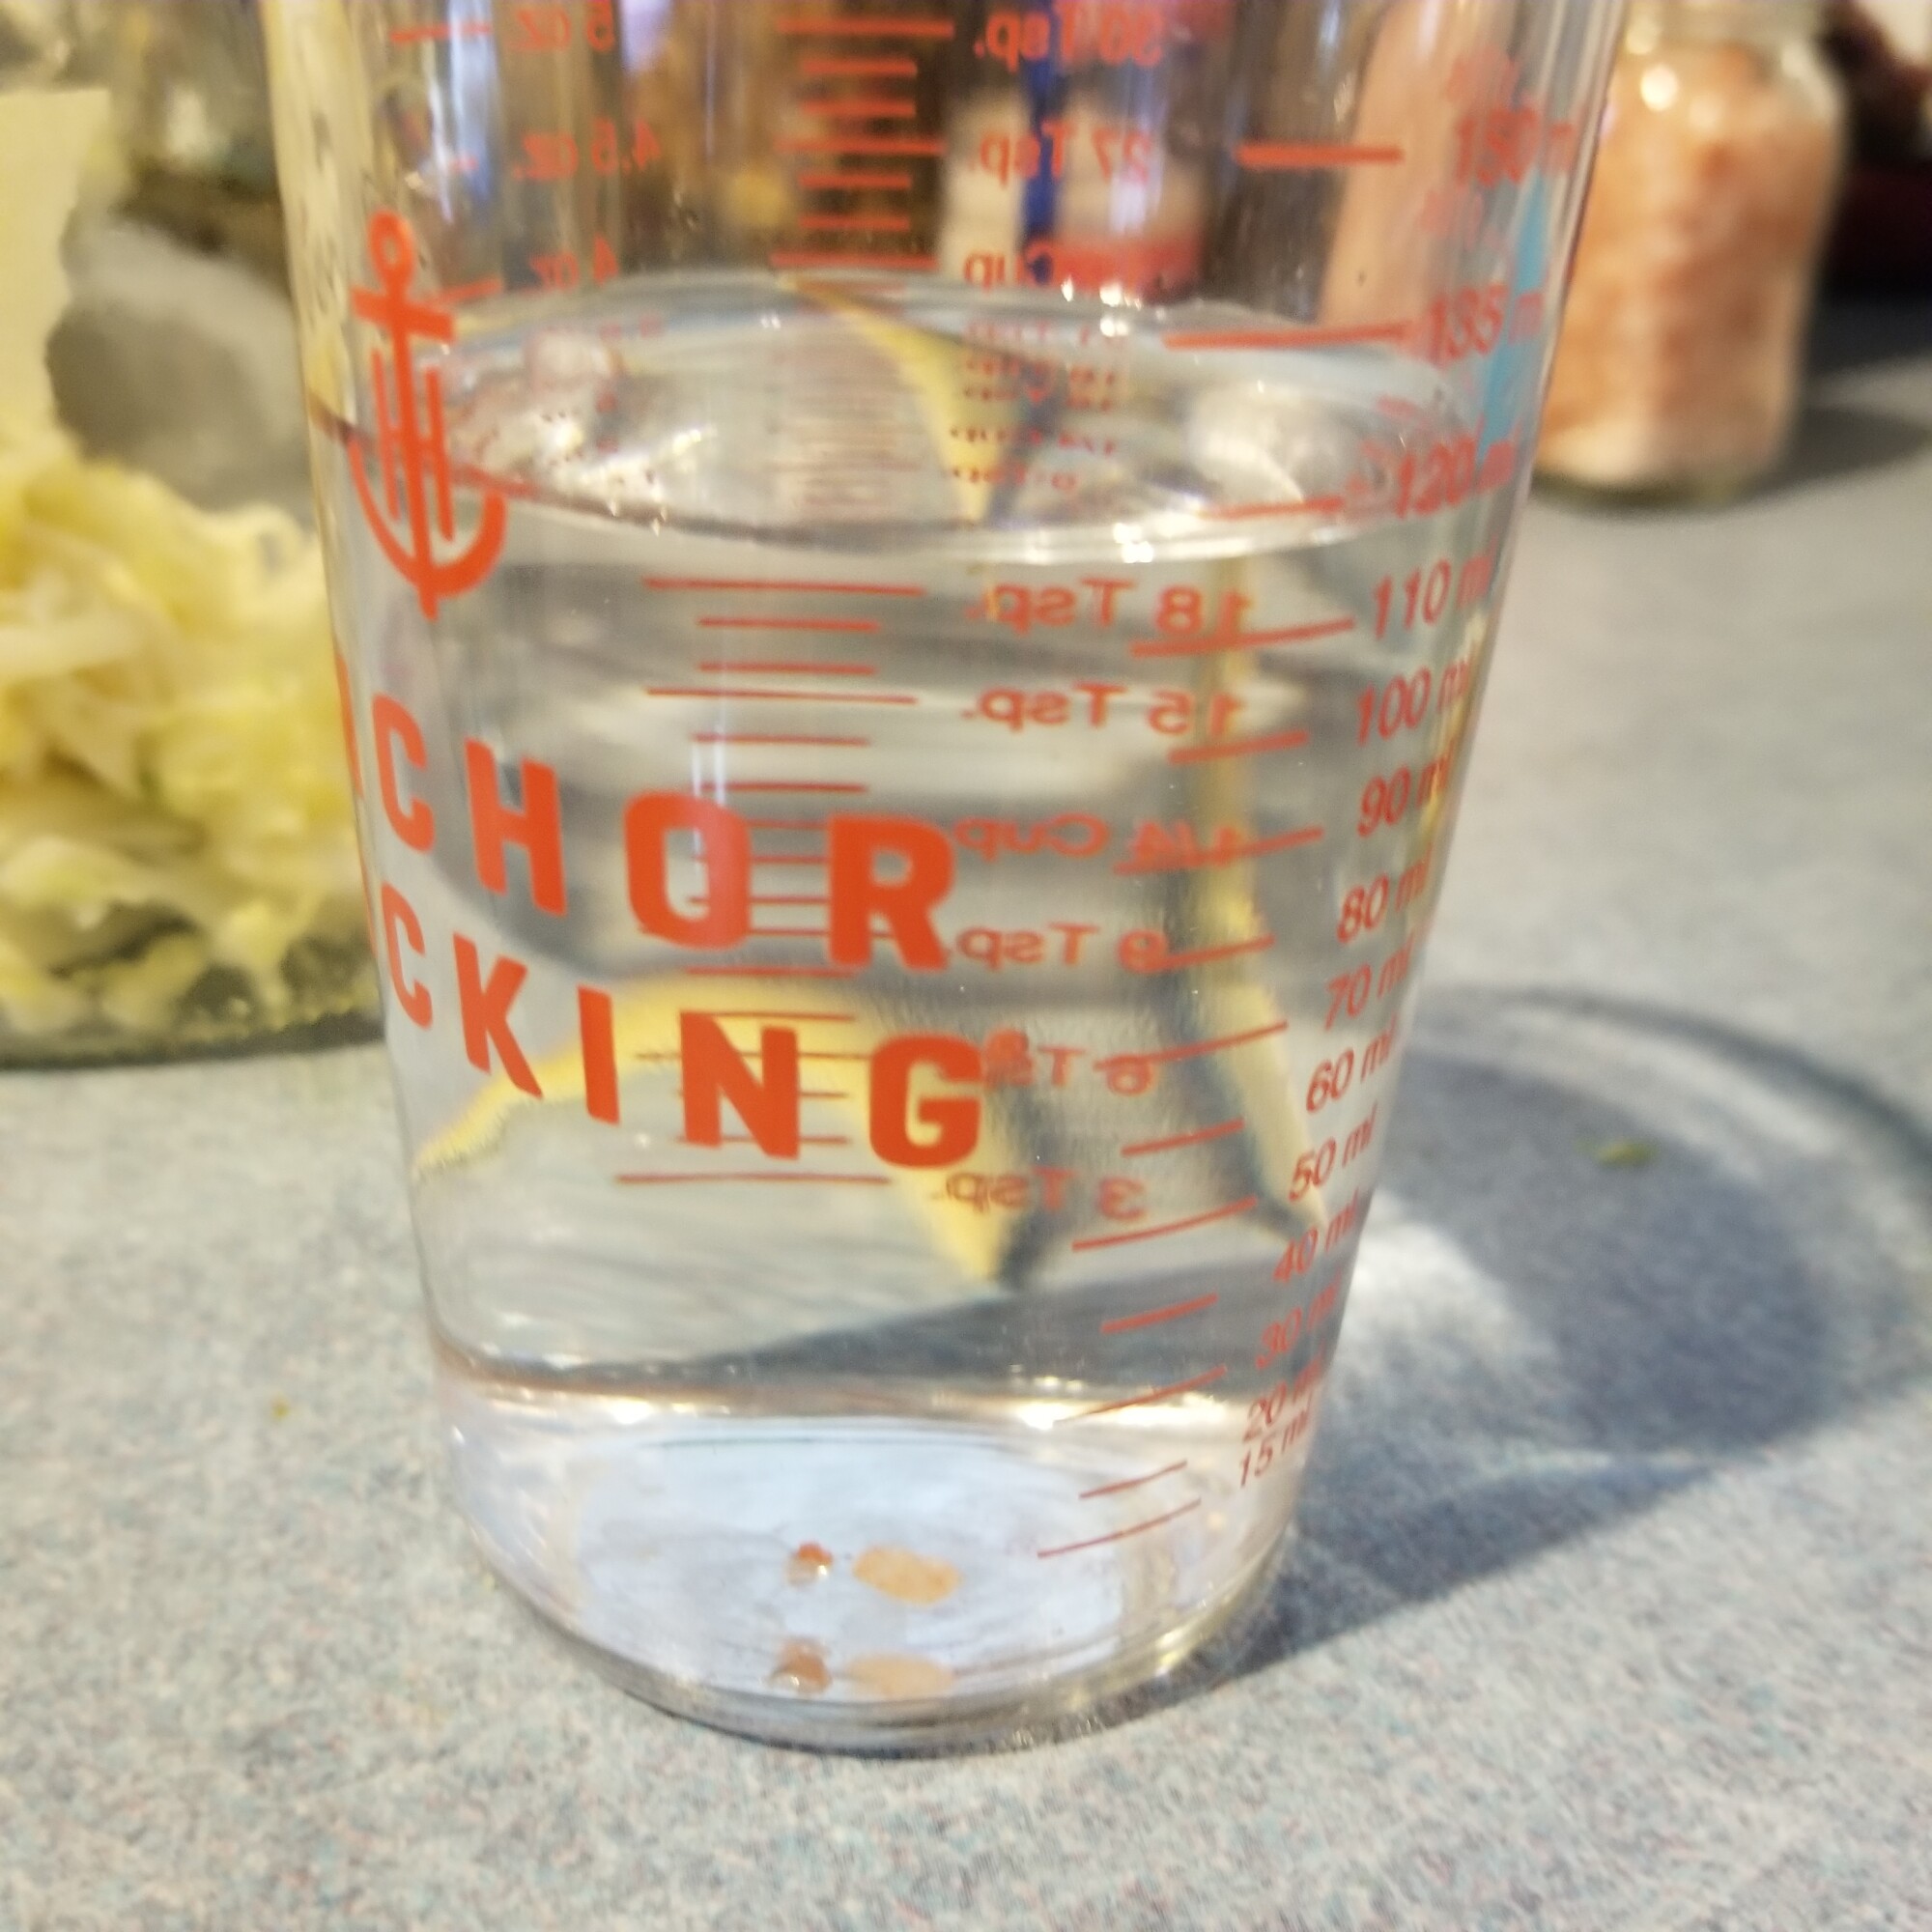
Once I had the cabbage packed tightly in the jar i added enough of this salt water to create a layer of water on the top of the cabbage.
Maintenance
Then screw on a lid. In this method you will need to open the jar and release the pressure at least once every day.
Maintenance
Then screw on a lid. In this method you will need to open the jar and release the pressure at least once every day.
You could let it ferment open, but may have mold form on the surface. The mold can be skimmed off and the rest would be fine.
I usually label the side of the jar with the date started so I know how long its been sitting there.
Process times
If you added whey, it will ferment faster about 3-7 days.
Process times
If you added whey, it will ferment faster about 3-7 days.
Room temperature will also affect the fermenting time. Warmer may ferment faster but also increase risk of mold forming. Cooler temps will take longer to ferment but may result in a nicer sauerkraut .
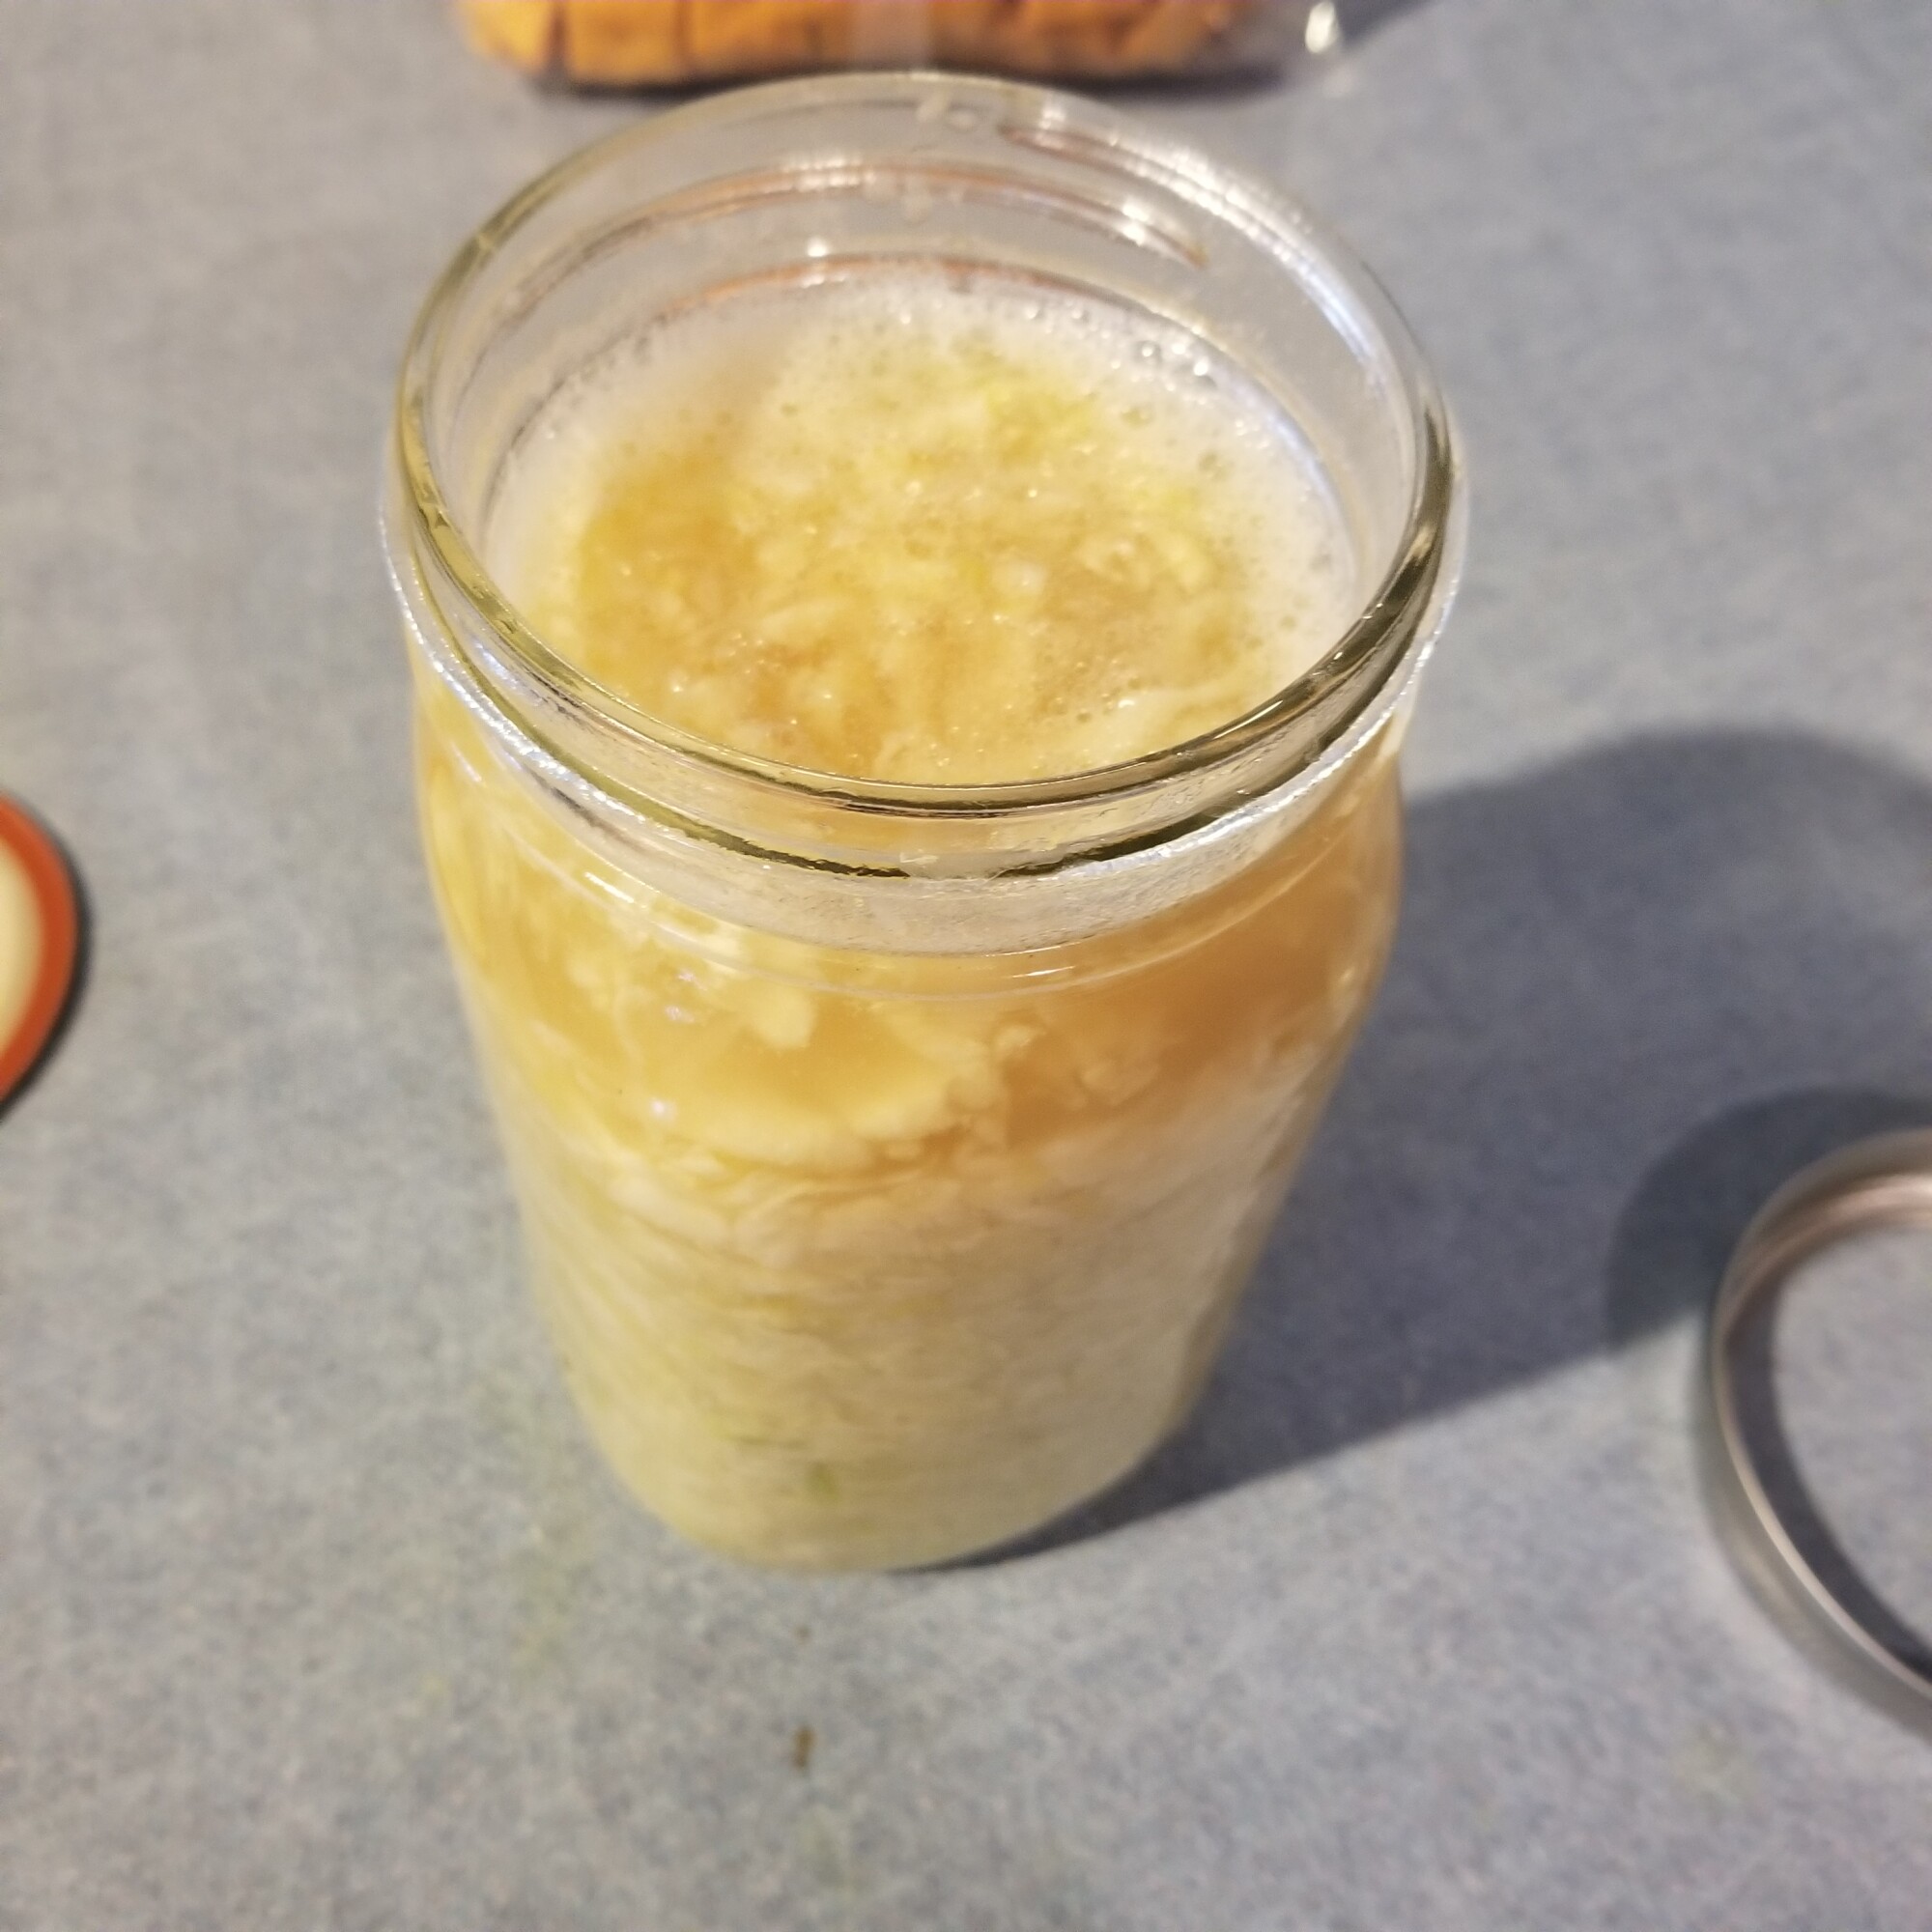
The first few days look for bubbles forming or rising as you open the jar to release pressure, this is a sign of a healthy ferment. When the bubble slow, the fermentation is ready, however if you like a more sour taste you can let fermentation continue longer.
I also look for a nice tan color tint to the cabbage that was green to start with. Taste the ferment when it’s getting close to see when you have the taste you want.
At that point, let the pressure out one last time and move the jar into a cool cellar or the fridge slow the fermentation. It may be eaten as is, or allowed to age in the cold storage.
Serve cold as a side dish or gently warm and serve with sausage or grilled meats. Really good on a Reuben sandwich.










0 Comments